-
Posts
2,725 -
Joined
-
Last visited
-
Days Won
70
Content Type
Profiles
Forums
Events
Gallery
Blogs
Store
Community Map
Everything posted by murrayec
-
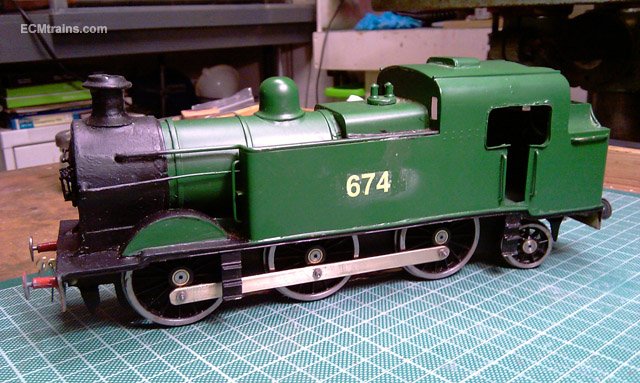
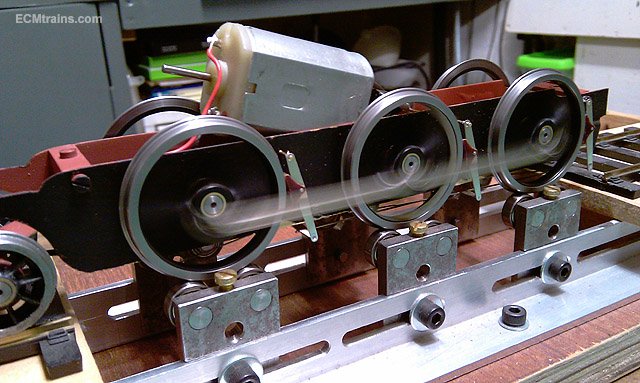
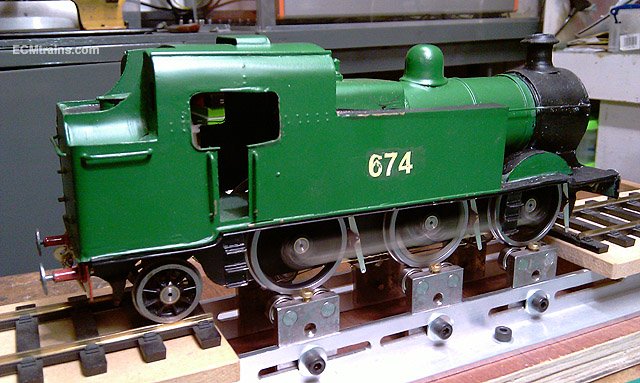
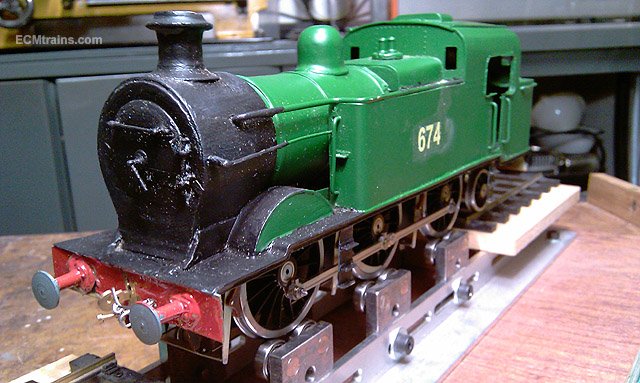
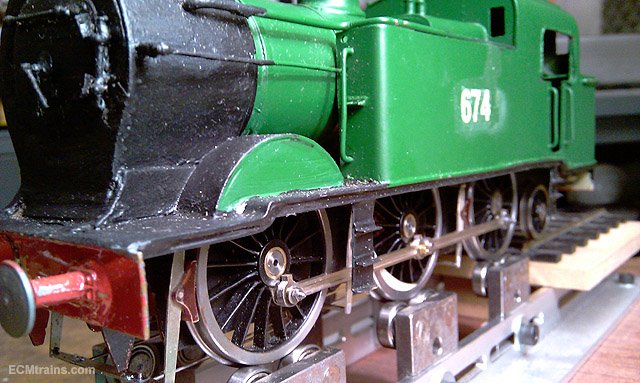
Hi Ken Thanks for offer of help but alas the loco work is complete and it's gone back to it's crew. Having done this work on 674 I really like this loco design and would very much appreciate any drawing information you wish to impart, I may build one for myself. Your build is looking great- both of them Eoin
-
Looks great KT, you've been busy Eoin
-
I should have put the wheels on the rail! Eoin
-
That's the problem- no walls left in my place! Eoin
-
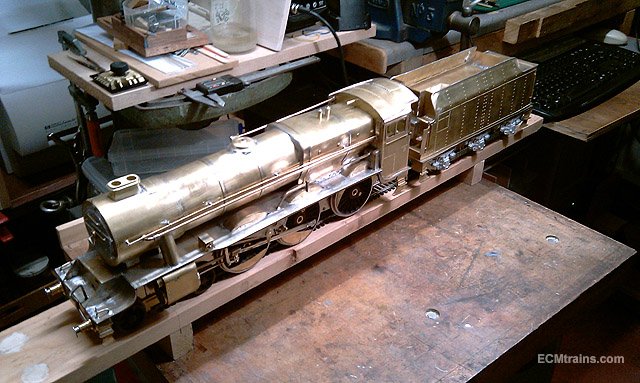
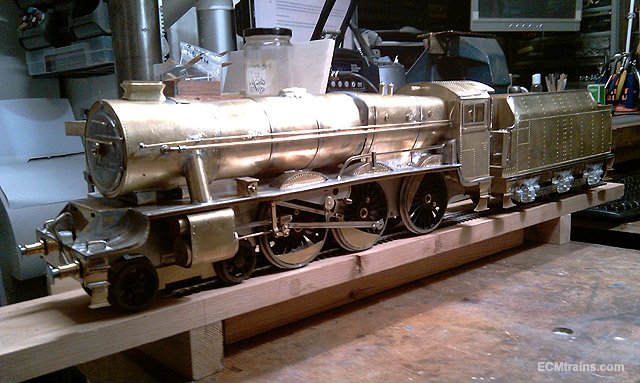
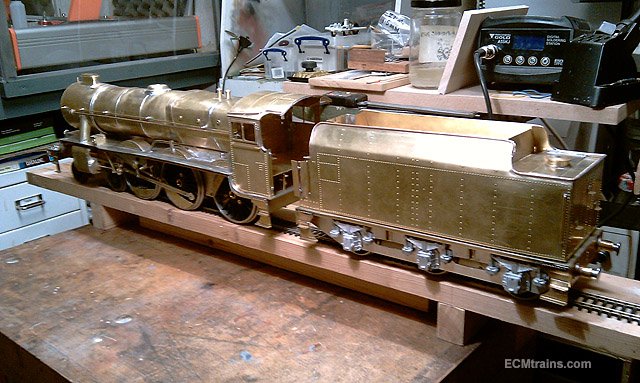
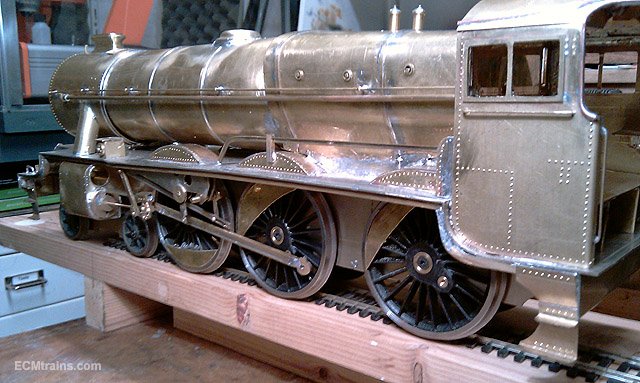
Here is a new project for 2019, a Class 800 Gauge 1 built by Brendan Kelly, it's in the workshop for cylinder parts, valve gear, coupler rods, and bake system work. I couldn't resist posting up some photos- it's a beast You'll have to wait until after Christmas to see more.......... Eoin
- 30 replies
-
- 12
-

-

-
Hi Paul Building Gauge 1 models is not much different to building any other gauge, except its bigger, a bit easier to handle the parts and more expensive... What are you thinking? Have you a kit? Is it plastic or brass? More info required Eoin
-
Hi David You only need to use a peened rivet if your chassis is sprung or compensated, your chassis is fixed so I would solder the back of the rivet and the join ensuring the rods are straight first- you may need to file the back of it down after soldering, depending on the clearance to the wheel! Eoin
-

CIE Laminate Coaches - Worsley Works - ECMbuild in 4mm
murrayec replied to murrayec's topic in Irish Models
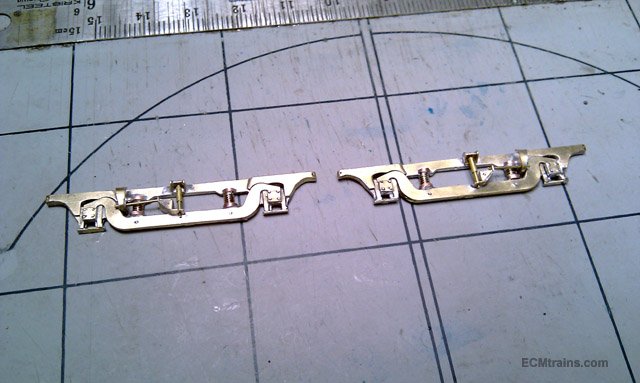
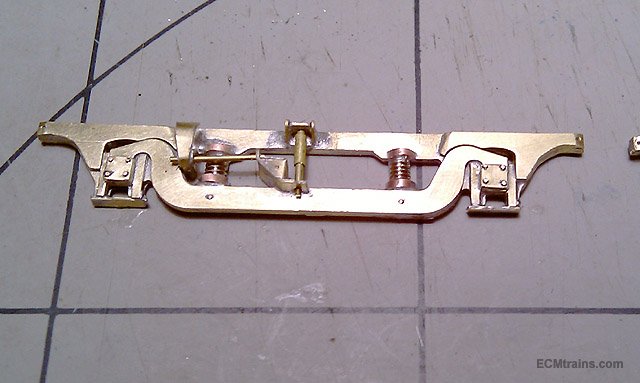
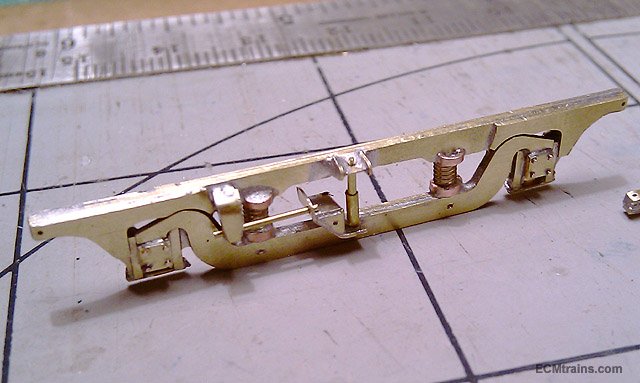
Soldered the bogie side pattern details today, here are a few photos of the completed work;- They need a bit more cleaning up, some filling and painting and we're ready to make the moulds. The shock and torsion bar will not be moulded, these will be installed after the frames are cast for better detailing of the finished units. The new 8' bogie units and other parts ordered from Dart Castings 3 weeks back have gone astray in the post! so procedures on the laminate kit build has ground to a halt...... Eoin -
That's handy!! Eoin
-
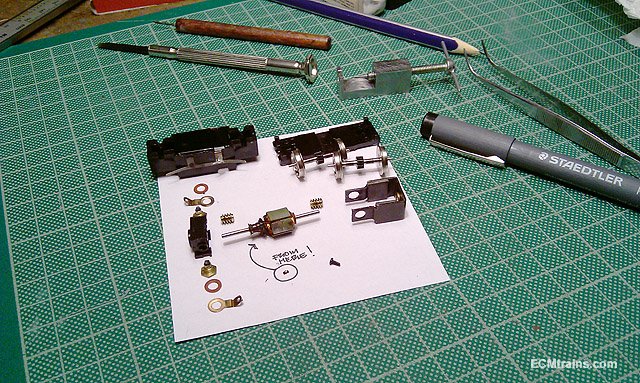
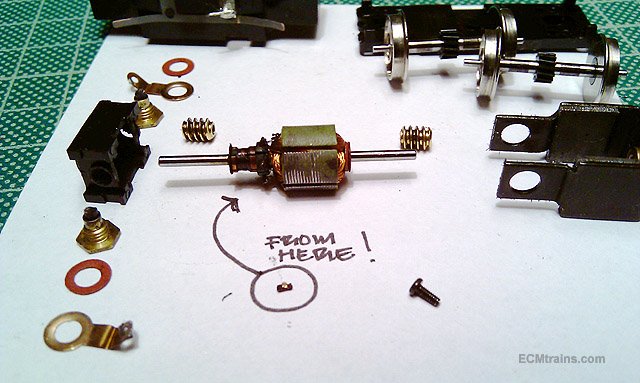
Sad news in the Model DART Workshop- following a slight altercation with the Guinness DART at the Raheny Show, the long running display DART25 retired to the workshop refusing to drive in the forward direction. In the shop on the rolling road it refused to run at all and protested with bellows of smoke and that distinctive whiff of burning, the motor was removed and a post-mortem was carried out at 8.00 this evening;- If you are anyway squeamish now is the time to look away On opening up a small piece of copper fell on the bench! on removal of the brush nuts and close inspection of the brushes- one had a sizeable chunk missing! and spying through the hole one could see where the copper came from- the rim of the commutator (just above the arrow in the pic). We can deduce from this inspection the cause of the failure- the crash into Guinness DART jolted the motor causing one of the worn brushes, loose on its spring, catching the rim of the commutator and chipping the piece off and a piece off the brush in question. This motor has been on the go since 2013, it would run each month at shows, sometimes twice a month for the duration of the show, not to mention when run at home. It has done a fair amount of mileage and probably would have kept going had it not had that bang? It's not dead yet- spares!! Eoin
-
Hi jhb As far as I know that's it's colour, it's now just the chassis and new bits that require painting. If your free in the morning there is an open time in the MRSI club from 11.00 to 2.00, the Gauge O Guild meeting is on at the same time and the above loco I'm sure will be run, also the T2 from my other post, and other Gauge O stuff...... Eoin
-
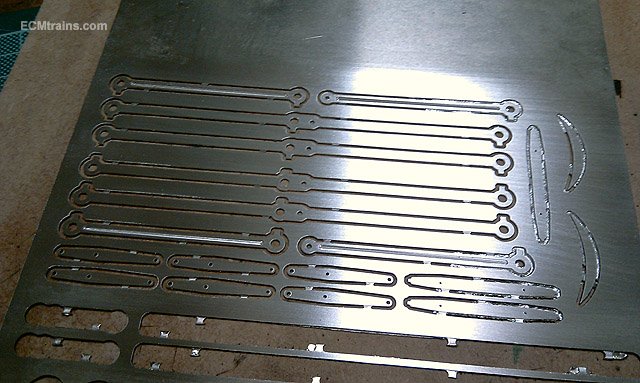
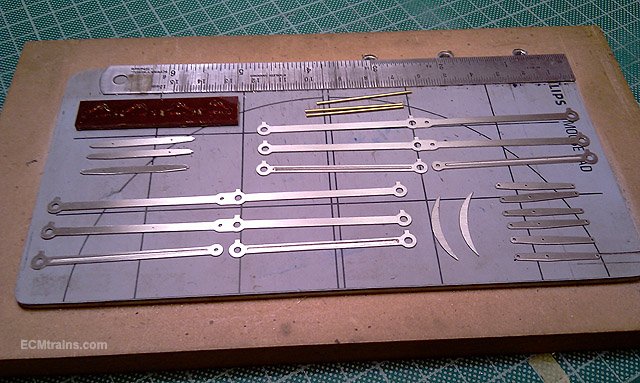
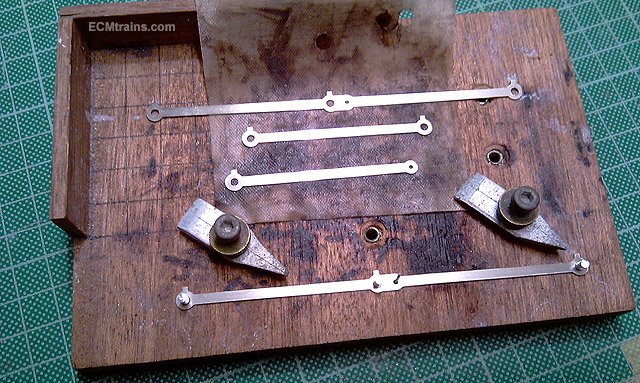
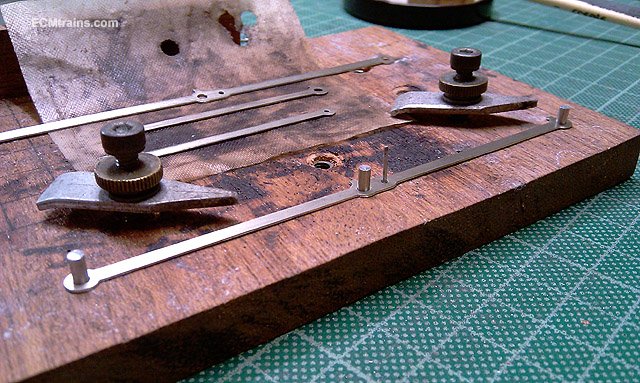
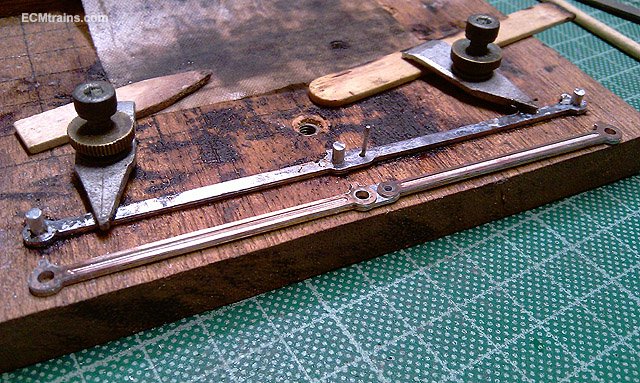
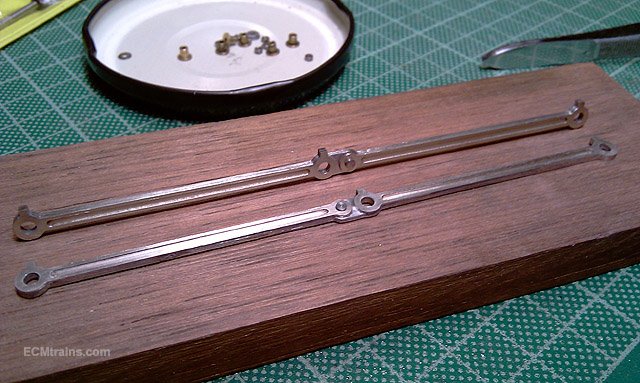
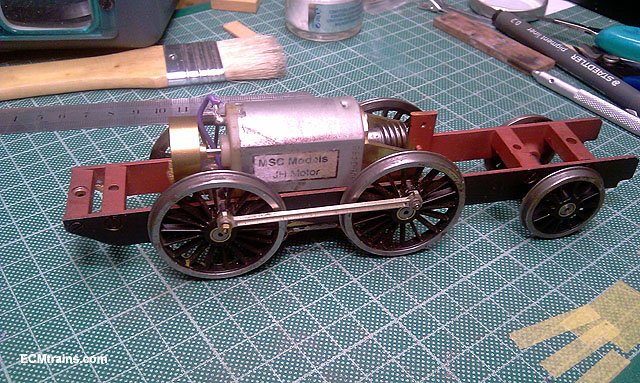
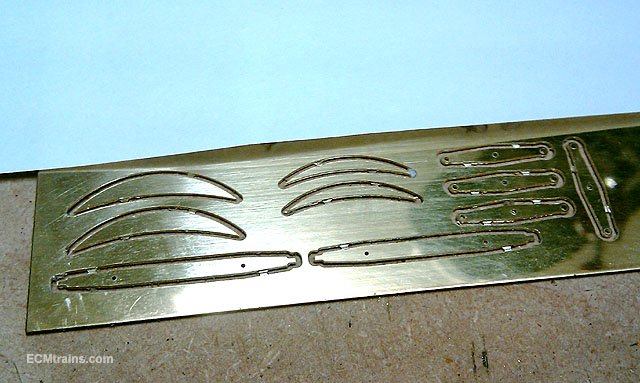
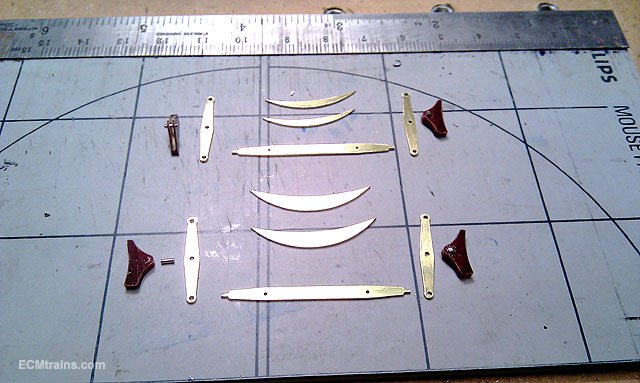
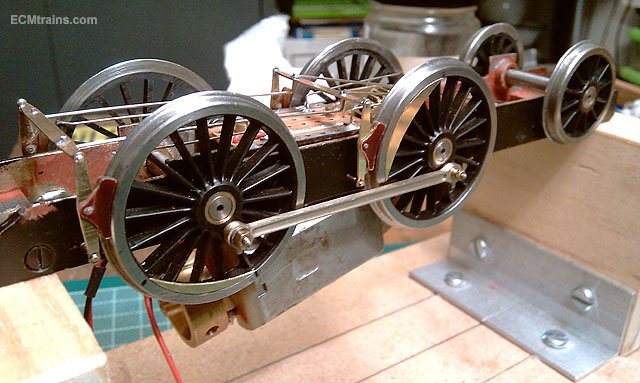
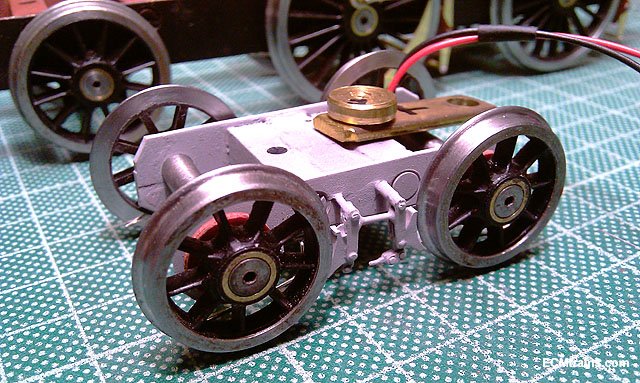
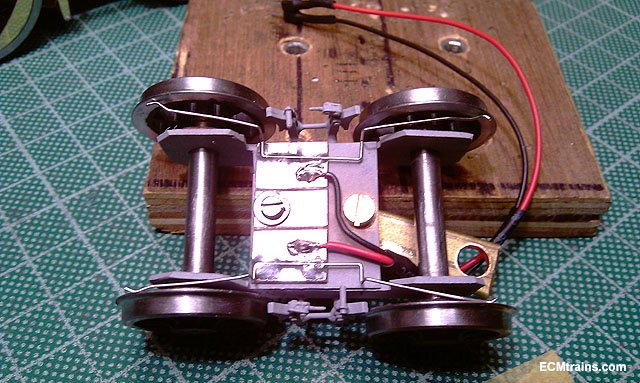
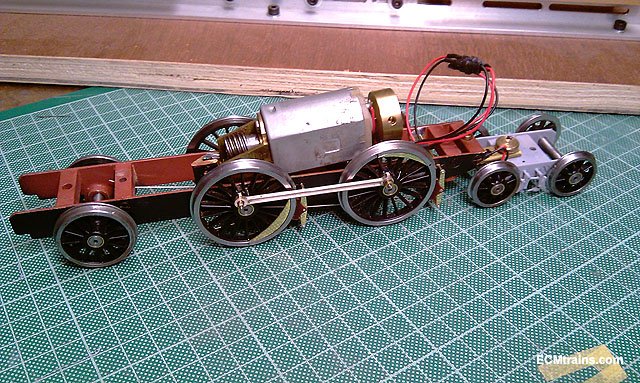
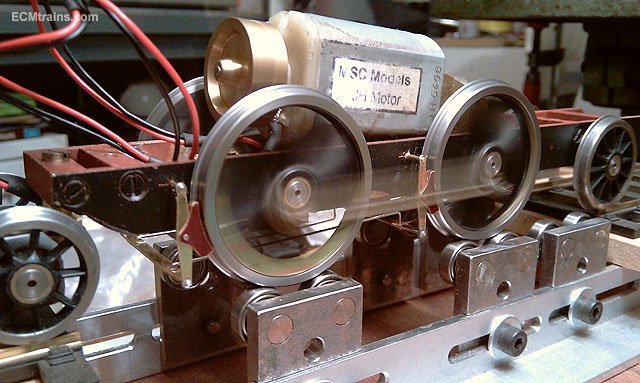
A Kelly/Hamil Gauge O 0-6-2 Tank Loco was in the workshop for coupling rods, wheel weights, and break gear upgrades;- On arrival After the survey & research was carried out a drawing was prepared to cnc the main parts from .5mm nickel silver and Tufnol for the shoes. All done and cleaned up The coupling rods are made up of 3 laminates, a jig was prepared to hold the laminates as they were sweat soldered together. Aluminium rods to appropriate size were inset on the jig board, the parts were covered with 180deg solder, then clamped in the jig, fluxed n heated until all laminations sat flush and soldered throughout. One done and the other doing Rods complete and crankpin bearings being fitted Break gear prepared and ready to go on the chassis A new NS wiper pickup system was installed to recess the boards and give clearance for the break rod gear- the chassis is a bit deeper than it should be and with the original pickup system would have pushed the break gear down pretty close to track level! First run- with a bit of tweaking! Body back on Running well and now off to the owners paint shop....... Eoin
-
Hi CM Yes, I'll put you on the list Eoin
-
Hi David That's the 'Dribble Bib' when one gets modelling excited! - but as you say it could double up for recycling spilled Guinness...... Eoin
-
-
Hi David I have a copy of the IRRS booklet 'Steaming through a century 1866-1966' 'The 101 Class Locomotive of the G.S.&W.R.' published in 1966 edited by PJ Flanagan, Ph.D. Food for thought;- On page 16 in the section 'An Engineman's Tribute' by Driver Jack O'Neill, Waterford- he says;- ....... ''But no engine in Waterford was as well known or universally loved as 111 - known locally as 'The Sergeant' or sometimes as 'Nelson'. I wont explain the nick-names as the first is obvious and the second vulgar!''...... Eoin
-
Hi David Here is a link to some back head photos by popeye;- Also if you trawl through the O'Dea photos there are some excellent back head photos for the modeller;- http://catalogue.nli.ie/Collection/vtls000148612 Eoin
-
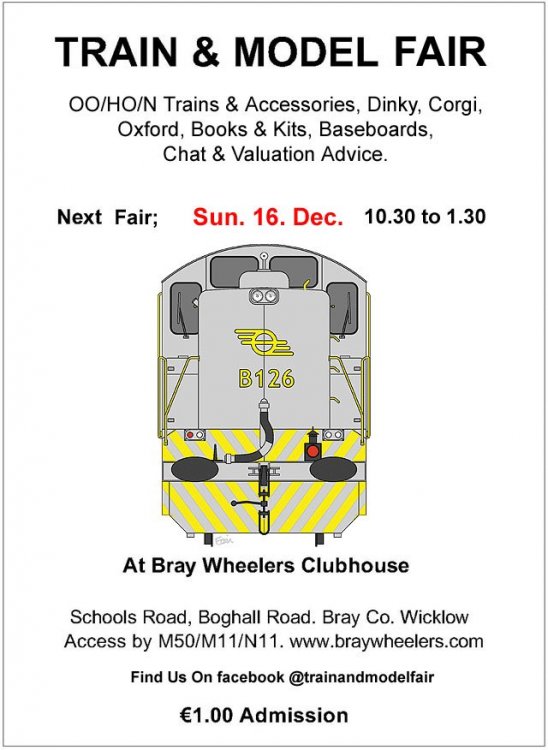
untilPlease note that the Fair closing time is now 13.30
-
Next months Fair date;- Please note the Fair closing time is now 13.30 The Kinvara Train Man will be attending this Fair, and we hope will be a regular trader at future Fairs Welcome back Walter Eoin
-
Excellent John I have 2 of them in 4mm to do and this is very helpful, keep it coming Eoin
-
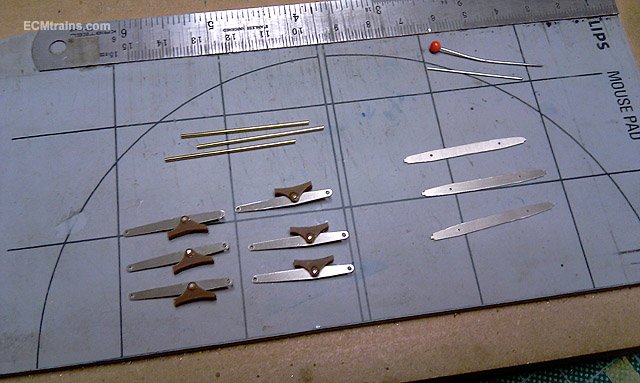
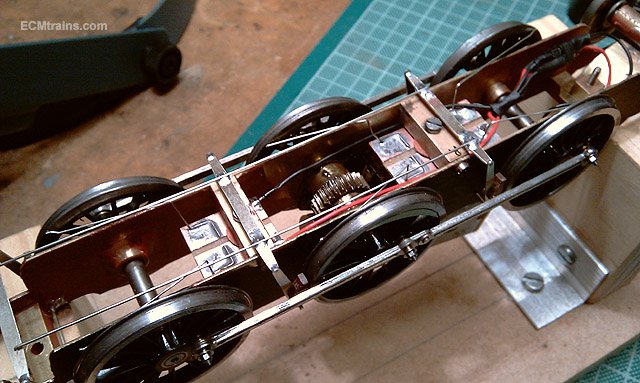
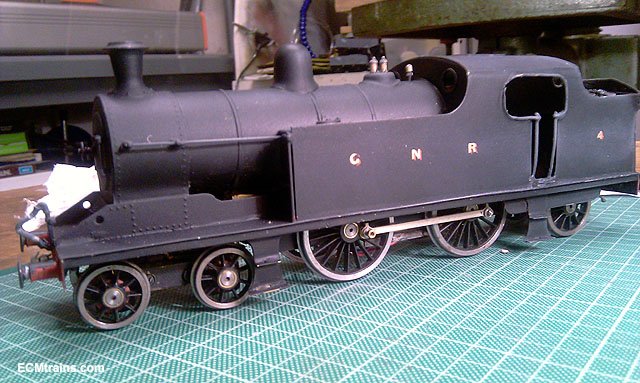
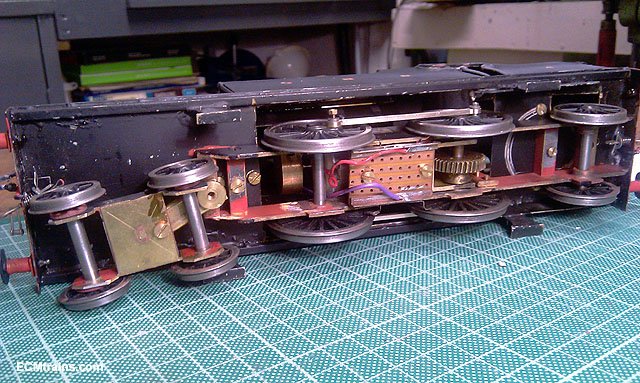
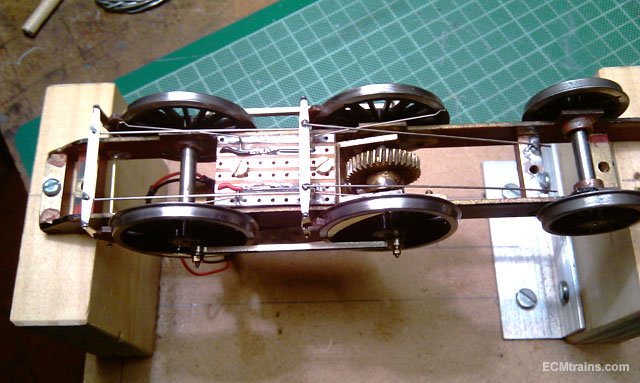
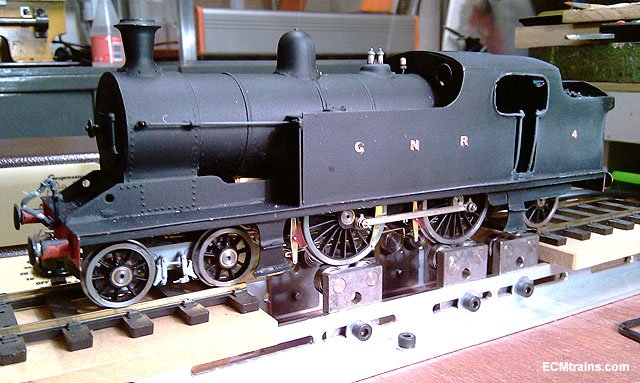
This GNR T2 tank loco visited the shop for some upgrades- breaks, pick-ups, and wheel weights. Body off and a bit of a survey being carried out. With drawings done the parts were cut out in .5mm brass- wheel weights, break hangers n bars. All cleaned up with the Tufnol break shoes ready to go on. Main pick-ups upgraded with .4mm NS wipers and break stuff being soldered on. Nice little set of cast brass break shoes soldered on the bogie truck. .4mm NS wiper pick-ups installed under the bogie truck. Almost there. Chassis up and running. Body back on and its off to the owner and paint shop. Eoin
- 1 reply
-
- 5
-

-
There is a great article in the Gauge O Guild Gazette this month on the MRSI 'Locos For Ardmore' where the above model builder and others are credited for the amazing array of Irish type locos on this layout, amazing stuff...... Eoin
-
If you use stick on LED strip lighting you wont have to worry about light coming up through the roof, the LEDs are facing downwards. You could also mount the strips on a wide piece of card and then fix that to the roof?.... Eoin
-
Excellent, we'll file that for future reference...... Eoin
-
I reckon Broithe's approach is correct, it looks like yours have the screws removed! are they second hand? as some clever chap may have glued them without the screws. Here is an image I found on e-bay which clearly shows screws;- Eoin
.png.c363cdf5c3fb7955cd92a55eb6dbbae0.png)

