scahalane
-
Posts
858 -
Joined
-
Last visited
-
Days Won
4
Content Type
Profiles
Forums
Events
Gallery
Blogs
Everything posted by scahalane
-
Thanks Kevrail: I just ordered some of those LED's from the ebay link from that post, good prices too!
-
Thanks Broithe: I'm looking at perhaps a tungsten bulb grain of rice (1.8mm) 12v in white or a tungsten bulb sub-mini 1.2mm 1.5v white both sold at DCC supplies but I'm not sure why there's such a large voltage change between the two types. WT CLASS 2-6-4TNo.4: I looked at Maplin and they don't sell anything under 3mm which is too big for me. Des: I'm looking to build a particular type of lamp so at the moment yours won't suit but maybe another time. I'll be looking for a bunch of 40'flats of you soon anyway so I hope you've some left!
-
Nice and neat and well explained, thanks.
-
I'm trying to get an idea of what's the best lighting to use to light the inside of my engine shed and for doing some street lighting as well (LED or bulb what size and voltage). Also can anyone recommend a good place to order them from. I've been looking at DCC supplies but they seem kind of expensive.
-
Looking good Tom.
-
Hi Alan, there all scratch built, check out my workbench (scahalane's Workbench) for more info on these build's.
-
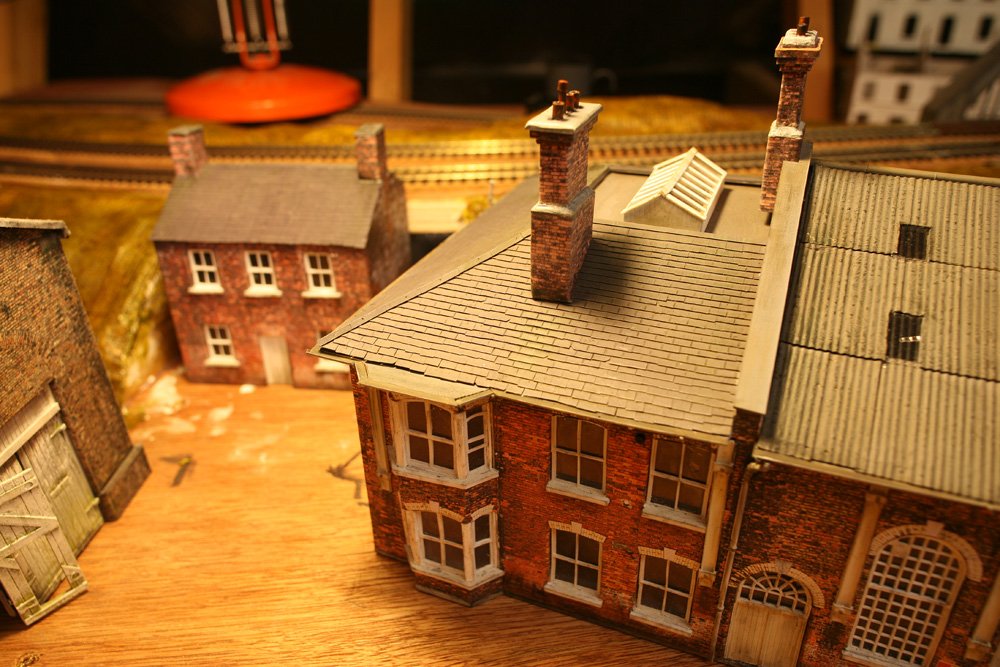
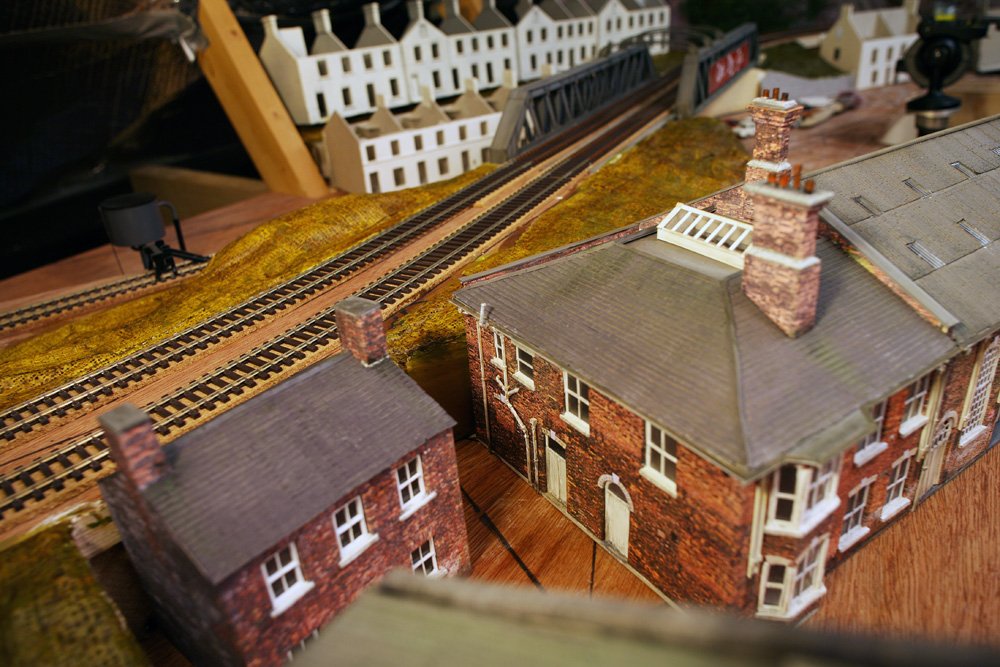
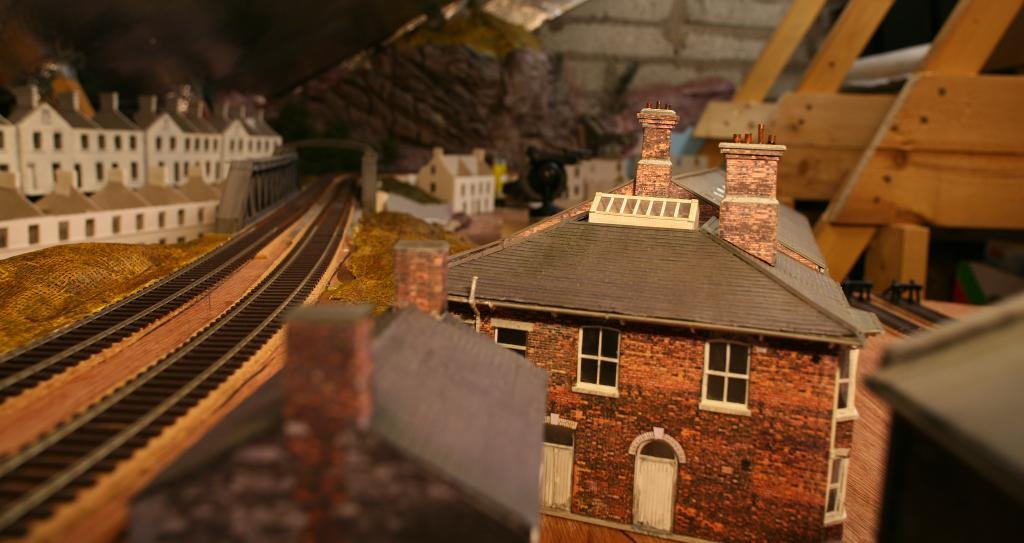
Thanks for all the supportive comments, its much appreciated. In answer to some of your questions. Jimbo325ci: The roof tiles are individually cut from 0.5mm evergreen plastic card 5mm square and laid down in much the same way as you'd do a real roof, its a slow procedure but it gives good results. I normally hand paint it with acrylic paints. I got the idea from reading one of Allan Downes articles, check out his stuff to see how a real master works! Dave: The windows were cut from 0.5mm evergreen sheet using a silver bullet die cutter machine that I bought a couple of months ago. It was a pricey enough investment that I was hemming and hawing about for a while but under a bit of advise from Richie who has one himself I bit the bullet (excuse the pun) and bought one with no regrets. The process I use involves drawing up the shapes in autocad, normally a window will have 3-4 different layers that are cut and laminated on top of each other to build up to the right depth. Josefstadt: The texture process I use for the brick work is me taking a photo of the actual building facade and cleaning it up in photoshop and if I can't get access to a particular part of the building I find a similar looking wall either locally or online (http://www.cgtextures.com is a good one). As I have the building in question drawn up in autocad I simply export the drawing as a pdf file into photoshop and layer over to insure everything lines up as it should. I print it out at as high a resolution as I can to be glued onto each facade. I print out an elevation of the building from autocad and using the point of a compass I mark the corner of each window, door and wall edge for cutting out. Everything lines up perfectly. The only draw back of using this process is it can look a bit flat so I try to break up the space using features made of plastic as much as I can. The real focus of any building on a layout is the roof and its here I spend the most time on. I hope this answers some of your questions, if you've any more I'd be only too happy to answer.
-
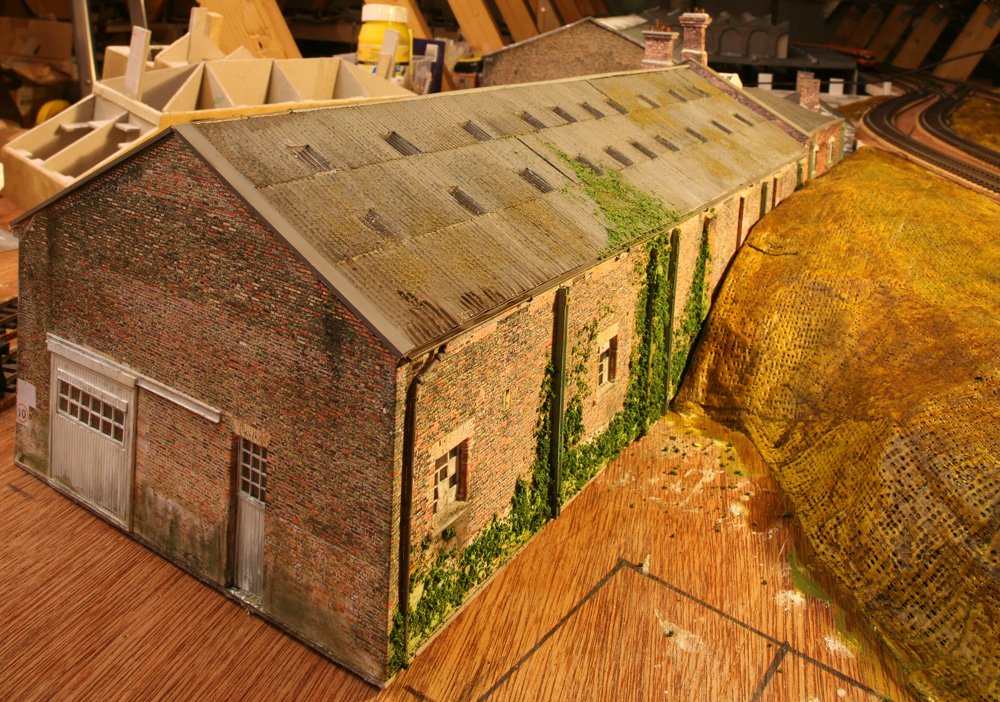
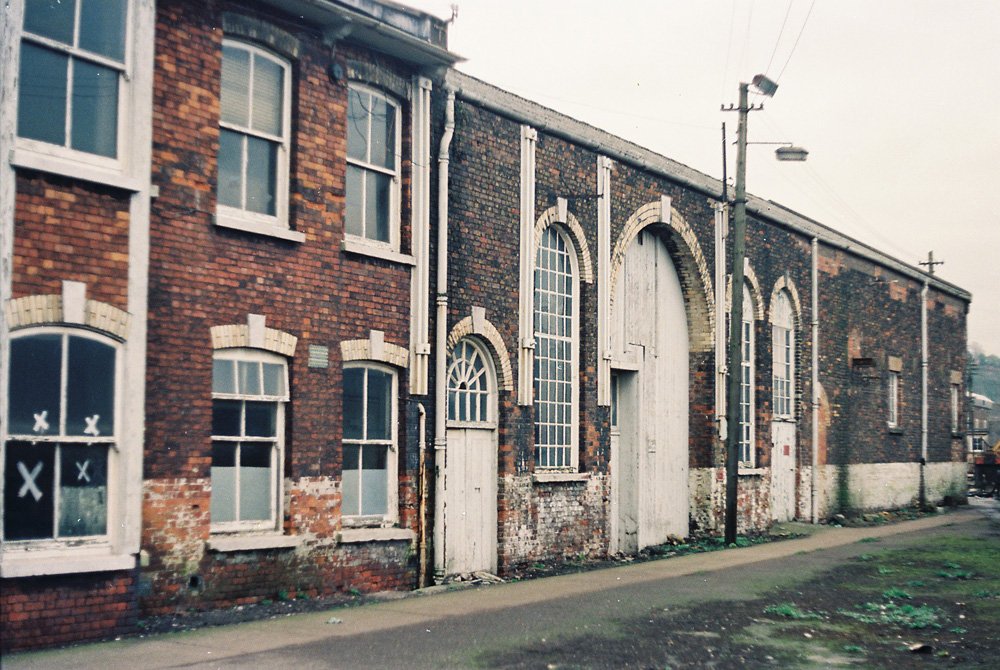
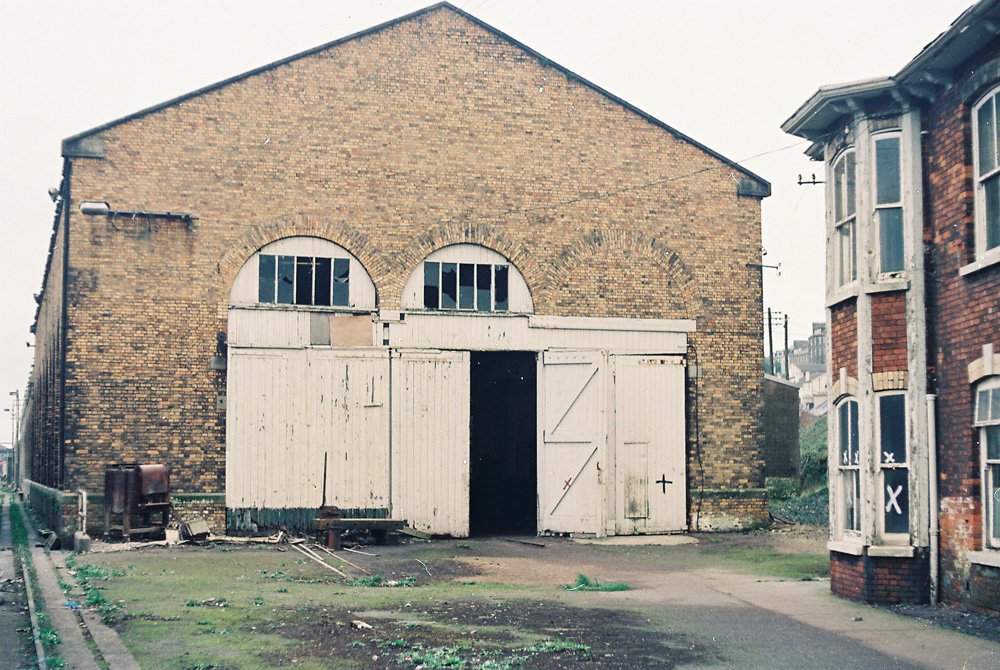
Slow progress but another bit done. Managed to finish the workshop building. The walls are made from photo's turned into textures then printed and glued onto card. The windows and doors etc are made from plastic card as are the roof tiles. The corrugated roof is made from pressed tin foil. I thought I'd through in a few photo's of how it looked in 1990, the era I'm basing it on compared to how it looks today.

-
Great start keep us updated.
-
Really great stuff going on in this layout. A35 pulling the mixed freight for me is the money shot.
-
Great looking finish, well done
-
Its the little bits of detail like that, which brings the models to life, well worth the effort and it shows.
-
The detail on this layout is simply breath taking, brilliantly lush.
-
Nice spray job on the CAF. I'm looking forward to seeing how the Bredin's turn out.
-
That's a cracking looking layout, well done.
-
Pure filth and I love it.
-
Excellent finish well done. Nice bit of kit bashing on the dapol engine sheds as well.
-
Great looking shots Kirley. I particularly love that weed sprayer.
-
It would be great to see a high quality rtr a-class. But in the four years it would take to churn this model out I'd imagine that 3d printers will have reached a high enough quality so we'll be knocking these out from our desktops!
-
Lovely subtleties, you can smell the diesel from here.
-
Truly amazing detail Anto.
-
I got a reply back from Gareth using orders@modelshopbelfast.com which seems to be the only point of contact at the moment. He's stating the delay with the sound chips is to do with awaiting the new chips from Mr. Sound Guy. He has offered me a refund or the option to wait for there release. At least I got a reply anyway, not sure whether to take the refund or hang on and give him the benefit of the doubt.
-
Interesting, I ordered a 071 sound chip as well from them over a week ago and haven't received anything or heard from them. I've emailed them and tried ringing till the phone rings out several time to no avail. Very disappointing, if I could get in contact with them I would cancel my order. Let me know how you get on.
-

Graham's layout - Monkhill and Saltstown.
scahalane replied to irishthump's topic in Irish Model Layouts
That looks excellent. I am doing one at the moment following the Everard Junction method which I'm finding a nightmare, I wish I'd seen yours first! -
Great job George.