.png.c363cdf5c3fb7955cd92a55eb6dbbae0.png)


Mol_PMB
-
Posts
3,869 -
Joined
-
Last visited
-
Days Won
239
Content Type
Profiles
Forums
Events
Gallery
Blogs
Everything posted by Mol_PMB
-
Thanks DJD! I hadn't realised this thread existed but it is very appropriate. Somewhere I've seen a (EMD) 201 class in EWS livery - I think it was a model. Can't find the pic now though...
-
The Park Royal Snack Cars were converted from some of the former 'main line' Park Royal coaches in 1968, after the green livery had been superseded. Most lasted into the early 1980s before being converted again; some became brake standards (a type not yet produced by IRM). In the green era, Park Royals could be found in a wide range of trains but usually mixed with other types of coaches, and/or formed into railcar sets. Dublin Suburban and Dublin to city expresses were often around 8 coaches but it varied a lot. In the green era (and later) Park Royals also worked services such as Cork-Tralee which were often 4 coaches. There are photos showing them in Sligo-Limerick trains too, of similar length.
-
I'm a couple of weeks late for an April Fool, but I quite like these impressions of what a British Rail Metrovick Co-Co might have looked like: Embedded images linked from Flickr user northernblue109
-
With my broad gauge version I'm not sure I'll have room under the splashers to hook a wire over the top of the flanges. Once I've trial assembled some more parts I'll give it some more thought. My CSB springy wires also potentially block your copperclad block locations. Mine will be DCC and have a stay-alive fitted, but it still needs effective pickups! I wonder if I can fit something lower down bearing on the back of the wheels.
-
You need an orange and black one without a TL suffix on the number. 1387 or 1413 would fit the bill, and both are still in stock. Let me know if I need to explain why!
-
I'm sorry that my contribution was unhelpful.
-
There are some very neat ideas there - I like the sheet of foam as well as the pickup location and shape. Excellent work, and I shall be inspired by those ideas when I get to that stage.
-
JB outlasted my stamina too!
-
This photo from Ernie shows a couple of numbers quite close up. They seem to be a fancy serif font with elaborate shading in two colours and directions, maybe with highlights in a third colour. Not something you're likely to find as a standard computer font. Ernie's CDR album has plenty of colour photos too, none quite so clear for the numbers but these are pretty good:
-
Any chance of some photos of the models that arrived undamaged? To whet our appetite for the goodies to come in about 6 weeks time. When do you anticipate making the next new Irish model announcement? Something at Wexford?
-
"Voiding the Warranty" - Mol's experiments in 21mm gauge
Mol_PMB replied to Mol_PMB's topic in Irish Models
Thank you for you kind words! I have of course donned my hair shirt and embossed some rivets. Not perfect but I think they will look the part once the other paraphernalia is in place on the smokebox. Here’s the boiler unit bolted in place on the footplate, with the chimney and dome just loosely placed. They need more fettling. There is a lot more detailing yet to do here, but I’ve had my fill for today I think.
-
My understanding (not the official line) is that they are on the ship from China, due to arrive in the UK late May, and probably distributed in early June. Given that there's a short grace period after they arrive before you have to pay, I don't think you need to rush to pay this month.
-
"Voiding the Warranty" - Mol's experiments in 21mm gauge
Mol_PMB replied to Mol_PMB's topic in Irish Models
Two deliveries have enabled me to make progress on the J26. The High Level gearbox has now been assembled and trial-fitted satisfactorily. That has confirmed the space envelope for the motor, so now I can add more details to the chassis such as a representation of the firebox and ashpan. But this morning the piece of brass tube for the boiler also arrived. This was missing from my secondhand kit but having to replace it was a benefit as I could choose a thinner-walled section that’s easier to cut and solder. First I cut it to length and made a cutout for the motor: Then I soldered on the smokebox front and used parts of the spare OO gauge frame spacers to make a smokebox bottom. Then I soldered all that together: In the base there is a triple thickness of brass - two flat parts and the tube - so I will drill and tap a hole in that. The front fixing bolt for the chassis can then screw through the footplate into the boiler and hold it in position at the front. Next I need to make a smokebox wrapper - am I going to try and emboss the rivets or add them with decals later? Hmmmm…
-
Sorry, that should have been Pantry. I’m not sure they had the facilities to be considered a Kitchen.
-
Many thanks John, that’s most helpful. Even with the new book things aren’t entirely clear. 655 and some others of the class latterly had tenders with the back end of the tank flush with the headstock, and with slightly rounded back corners. These features are not apparent on the diagrams for type R, V or Z tenders. However, there is a photo of an earlier Beyer Peacock tender which appears to be a closer match in this area. Clearly all the tender types were modified to some extent at the front of the sides, and photos show much variety in shape here that may reflect individual rebuilds rather than a type R / V / Z characteristic. I shall need to spend more time looking at photos and working it out.
-
An excellent talk, mix of old and new. I look forward to travelling on the branch in the future.
- 1 reply
-
- 2
-

-
I think the point is that it represents an earlier era before the larger marker lights were fitted, and that reduces its 'desirability'.
-
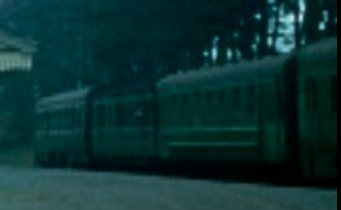
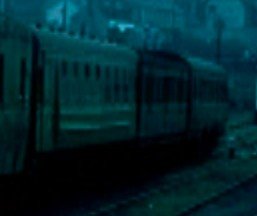
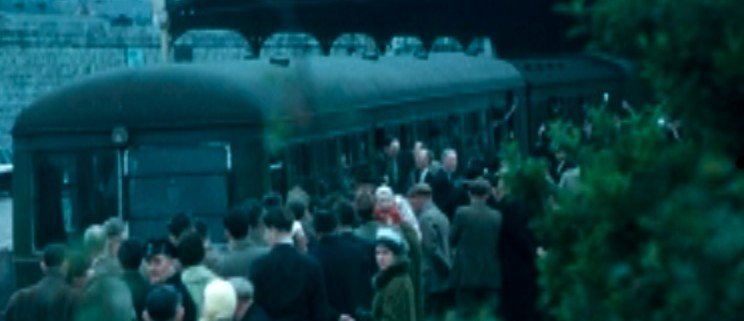
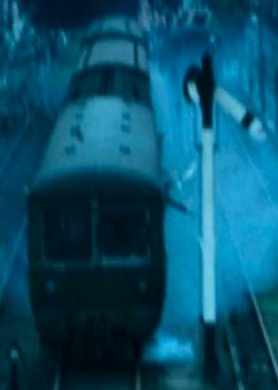
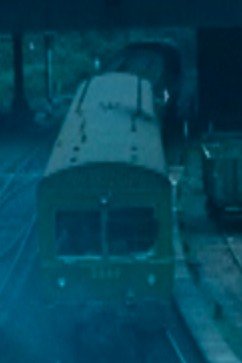
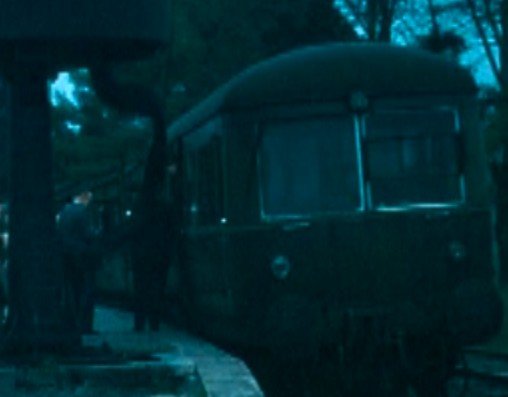
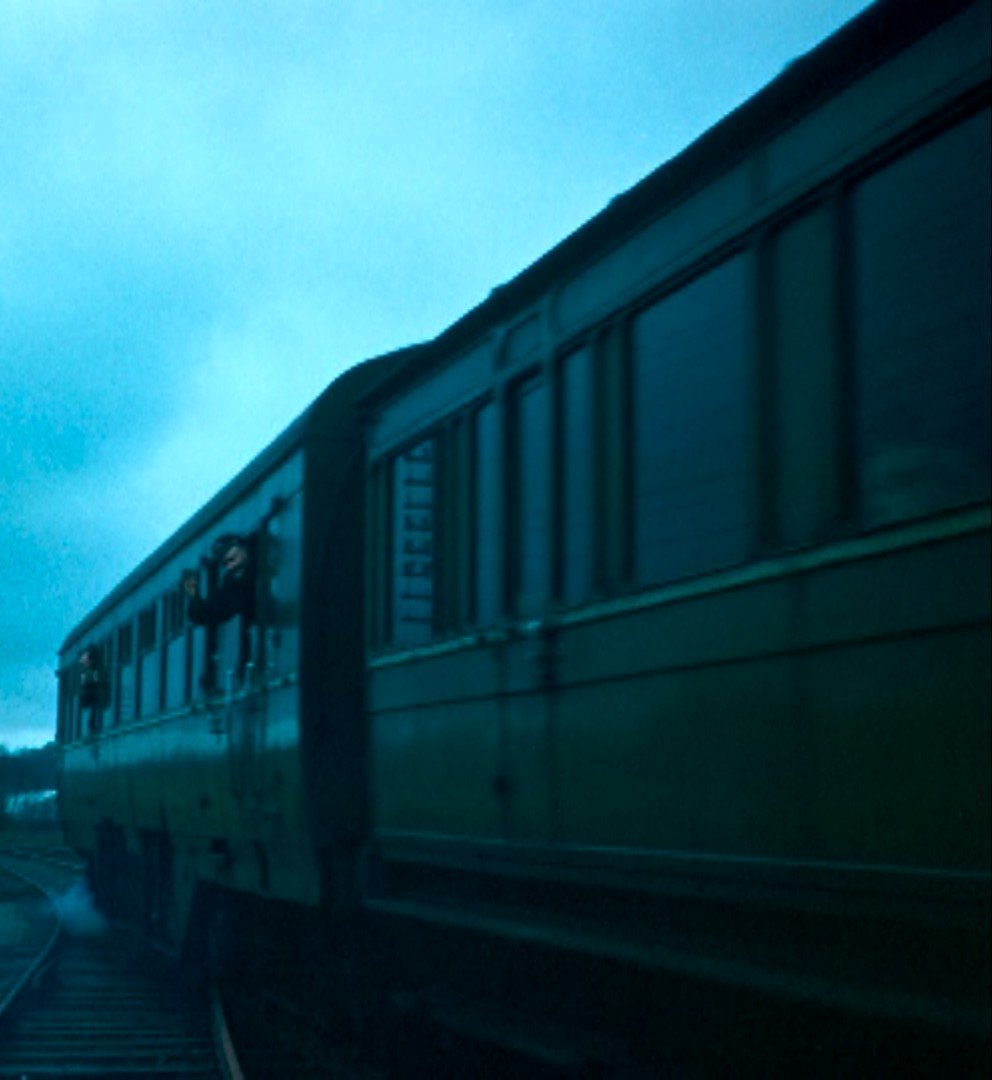
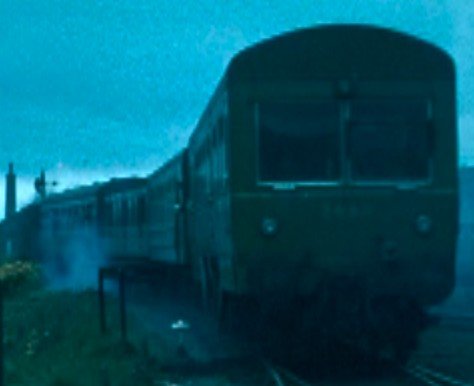
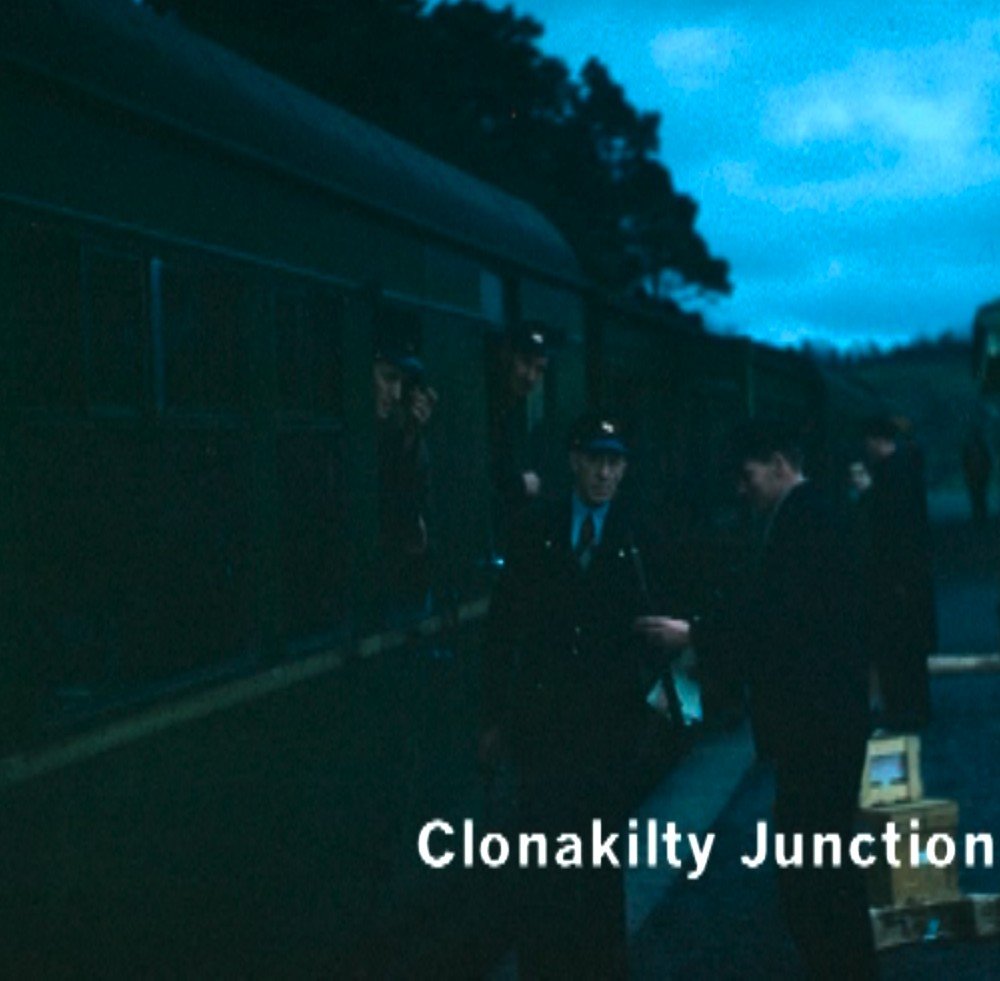
On @Westcorkrailway's recommendation I have increased my collection of obsolete media formats by purchasing some DVDs from Clonakilty! Why, well there are some shots of 841, as a tea car, in the railcar set on the last day of services on the West Cork lines. There's lots of other nice footage too including colour film of 559, the J26 I'm building, and a C class on the rails just 3 miles from my house in Manchester! But back to the GSWR coach theme, as ever the old film wasn't such good quality as one might hope, but there is something to be seen in the footage that adds to the image of the train at Crossbarry that I posted above. As a reminder, the link below is the only good photo I have found showing one of these tea cars (in this case 843), but the diagram of 841 and 843 (available from the IRRS) definitely helps too. https://www.flickr.com/photos/irishrailwayarchive/53509172565 So what do the rather rubbish screen captures from the DVD tell us? Well it looks like the normal roof vents are only over one of the two saloons in the coach, but the roof furniture in the middle of the roof is busy all along, and there seems to be a central water tank at the other end of the roof. Some of those features match what we can see on the photo of 843 (style and location of roof tank) and 843 also had extra 'Flettner' rotating vents on the centreline of the roof which are marked on the diagram and probably present on 841 too (especially with the normal vents being removed). The photo of 843 also shows extra vents on the sides above the windows at the pantty end, but none of the photos of 841 are clear enough to show whether these were fitted. All I've done to the etch to enable this is to make adjustments to the holes in the roof, with more of them half-etched than holes right through. I hope that by the time I have got the etches made, I might have found some better photos of 841! I'm wondering whether to wait until after my trip to the IRRS archives at the end of the month, before getting the etches made. It would be frustrating to find new information just too late to change the artwork.
-
"Voiding the Warranty" - Mol's experiments in 21mm gauge
Mol_PMB replied to Mol_PMB's topic in Irish Models
As per attached spreadsheet. CSB_calcs.xlsx -
Having a closer look at the section on tenders over lunch break. Tenders were routinely swapped between locos so to check the correct type of tender for your loco requires study of photos of the correct period. There are 126 tenders listed as passing to the GSR, which are of the following types (R and V are different but not distinguishable from the archive data): Q 2 R or V 36 S 21 T 14 W 23 YA 11 Z 18 # 1 Now I'm interested in the type attached to 655 in later life, which is what I had previously considered an MGWR 'standard', as shown in Ernie's photo here: However, now I have the new book I realise that tender types R, V and Z all look like this, but they are not the same... Type R has a 5'6"+5'6" wheelbase, 17'11" over headstocks, 1600 gallon tank. Type V has a 6'0"+6'0" wheelbase, 18'8" over headstocks, 1600 gallon tank. Type Z has a 6'0"+6'0" wheelbase, 18'8" over headstocks, 2000 gallon tank. So now I need to work out which variant is coupled to 655, and which variant is provided in the kit!
-
Mine has just arrived, I've only had a very quick look through but it seems well detailed and illustrated. It's helpful for my current modelling project as it has a good photo of 559 in 1959. And when I get round to building 655 there's some information on tenders that looks like it will be useful.
-
True. And Ryanair know all about how to add extras to the fare at the last minute.
-
Super weathering! I didn't realise Bus Eireann operated third class buses.
-
And on those sparse branch passenger services, Park Royals were surprisingly common, right from the mid 1950s through to the 1990s. There are plenty of photos of them running in AEC railcar sets in the late 1950s and 1960s, on the West Cork, Western Rail Corridor, and other secondary/branch lines. The summer Sunday excursions to Fenit in the 1960s and 1970 (otherwise a freight-only branch) often included a Park Royal or two in the set. And of course they were a staple of the local services around Limerick in the 1980s and 1990s. So you can surely justify one, two, or more...
-
I think I'll line Michael O'Leary's pockets instead...