David Holman
Members-
Posts
4,359 -
Joined
-
Last visited
-
Days Won
117
Content Type
Profiles
Forums
Events
Gallery
Everything posted by David Holman
-
Add some legs to make a free standing one and you have a nice view blocker to hide the hole in the sky leading to the fiddle yard.
-
Correct me if I'm wrong, but wasn't the main difference between Irish open wagons and those in Britain, the fact that in Ireland, they mostly had 4 or 6 planks, whereas 3, 5 or 7 was common in Britain? Now worried I've become a plank counter. Hopefully can get get some cream for it.
-
Great stuff all round. Thanks JB.
-
Interestingly that odd numbers of coaches seem to look better. Certainly three always seems better than two or four to me. Will have to have a think about how many vans I could make. The initial idea was for a single turf van, together with three other four wheel wagons or vans, plus a Sligo brake, as essentially that is all the room I have in the fiddle yard. However, three might be better. More thought required!
-
Away last week, so only just got to look up Shepherd's book on the WLW. Appendix D on coaches lists at least five 6 wheelers converted to turf wagons, all five compartment thirds that were broken up in 1955. Clearly not enough to cover the needs of the Emergency, but looks like I can justify at least one on Belmullet in its 1950s phase. The information on this thread also highlights just how creative the railways had to be in those difficult times. Thanks again!
-
Freelance Mixed Gauge - Handbuilt Trackwork
David Holman replied to RichL's topic in Irish Model Layouts
Impressive, though Iain Rice would certainly argue in favour of a single slip having designed numerous layouts using one with just a three way point for company. A dual gauge single slip is probably stretching things though... -
Quite a man cave! And you can never have enough books.
-
Early Dieselisation - Continuous run "micro" layout
David Holman replied to Sean's topic in Irish Model Layouts
The early Triang diesel dock shunter may be a start for a G, the chassis being a four wheel bogie. Pretty old now, so only second hand. Scary to think had mine over 50 years ago, but it could pull more than my Princess Royal pacific and had a top speed of Warp 9, while buzzing like an angry hornet. -
Needless to say, Turf, Coal and Trains is available on Amazon. Several copies, second hand from a tenner and new from twenty quid. Hopefully have mine by the weekend. Thanks again everyone.
-
Wow, fabulous stuff - thanks everyone! Looks like the project is on. As I have given Belmullet a distillery, the idea is that a coach or two of turf from Bangor Ferris bogs will be used to take fuel there. So, either a single coach, with a removable load, or one full, one empty to likewise create the fantasy. Am thinking that a plasticard and plastic strip body on an Alphagraphix chassis should do the job.
-
A small one for the cognoscenti among you. Am interested in building one or more of the 6w coaches that were converted to carry turf, mainly by removing the roof and boarding up doors and windows. The Waterford Limerick and Western book shows many of them were their coaches originally. The questions therefore are, how long were they used for and what livery would they have been? Hopefully will make for an interesting project, including how to simulate the load!
-
Those buildings have come up really well.
-
Sligo, Leitrim and Northern Counties Railway
David Holman replied to Colin R's topic in General Chat
Lovely stuff! -
Got my Sir Henry drawing from Manchester Museum of Science and Industry. Comes on a CD and is very much of the general arrangement type. The museum holds many BP drawings, though the site can be difficult to search - or was when I used it. A telephone call was very helpful.
-
Works for me! Another one added to the list. The revolution gathers pace!
-
Vacuum powered turntables fairly common this side of the water, especially at depots where big engines were involved. Notice the brake pipe on the Pacific is connected to the table, in effect sucking itself round. Another type involved cranking a handle on a box at one end of the table. A bit like opening sluice gates on a lock. Speaking of Lough's (spot the Segway here), BBC four repeated a lovely series last week, featuring Lough Erne through the seasons. Sadly, no mention of locomotives of that name...
-
Thanks Ken, and everyone. Have done hand lettering for a while now . Started with a white gel pen, but soon graduated to an old fashioned dipping pen and white acrylic ink. Looks ok, provided you don't get too close, though recent use of transfers has shown I am not as neat as I'd like! At least most lettering on Irish railways is fairly simple - just a shame you can't get Letraset anymore. Used it in my first Sligo vans and it was ideal.
-
Alphagraphix do card kits of many of the Sligo coaches. Ok, they are in 7mm scale, but easily reduced on a printer. At four quid each, they make a good basis for scratchbuilding in plastic.
-
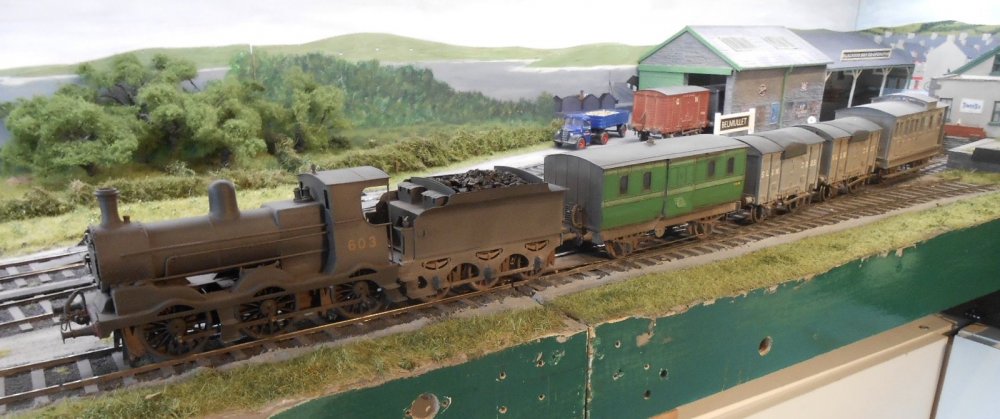
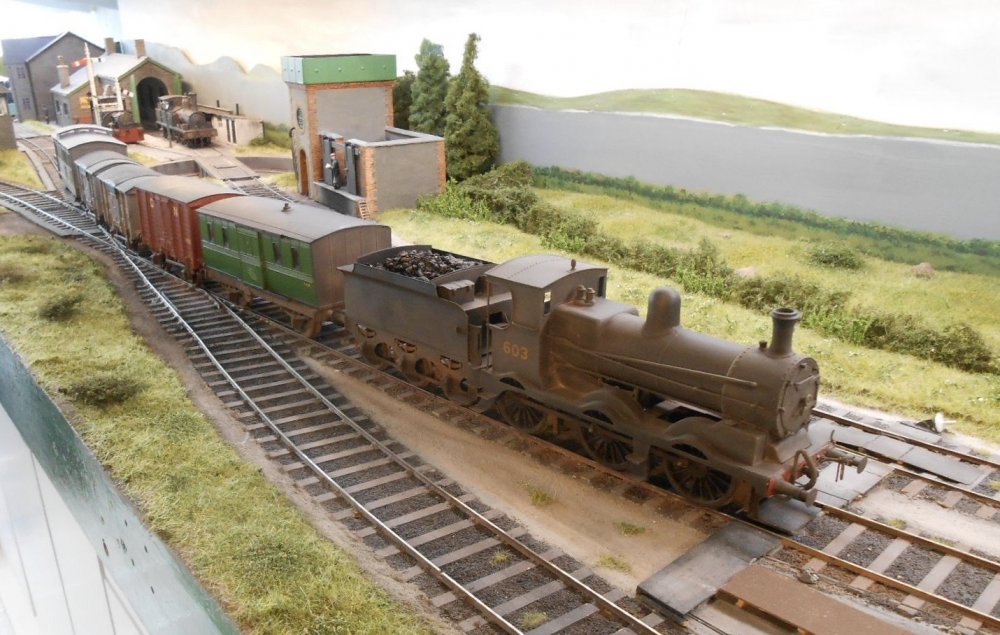
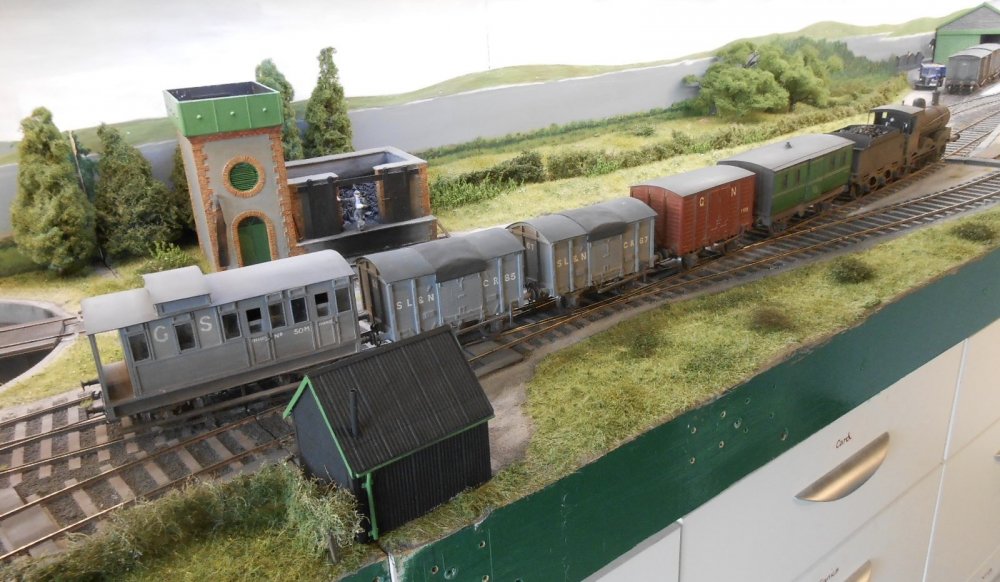
Mixed Fish When I started the J19 back at the end of May, it was always with the aim of giving it a train to haul. Hence, the addition of the MGWR 'hearse' van [for fish] and the glasshouse brake to offer limited passenger accommodation. The ensemble will be completed with three 'semis', which are the next project, but for now train is made up with a couple of Sligo and one GNRI van. At the moment, while the J19 has a Dingham hook coupling, the other vehicles have three links. Ideally, would like use Dinghams on the rest, but have yet to sort out how to make the sequence work. The problem is that Dinghams are handed, with a hook at one end and a loop at the other. Because the whole train is turned in the fiddle yard and the loco is turned on the turntable, am not sure if Dinghams are possible - hence three links for now.
- 179 replies
-
- 14
-

-

-
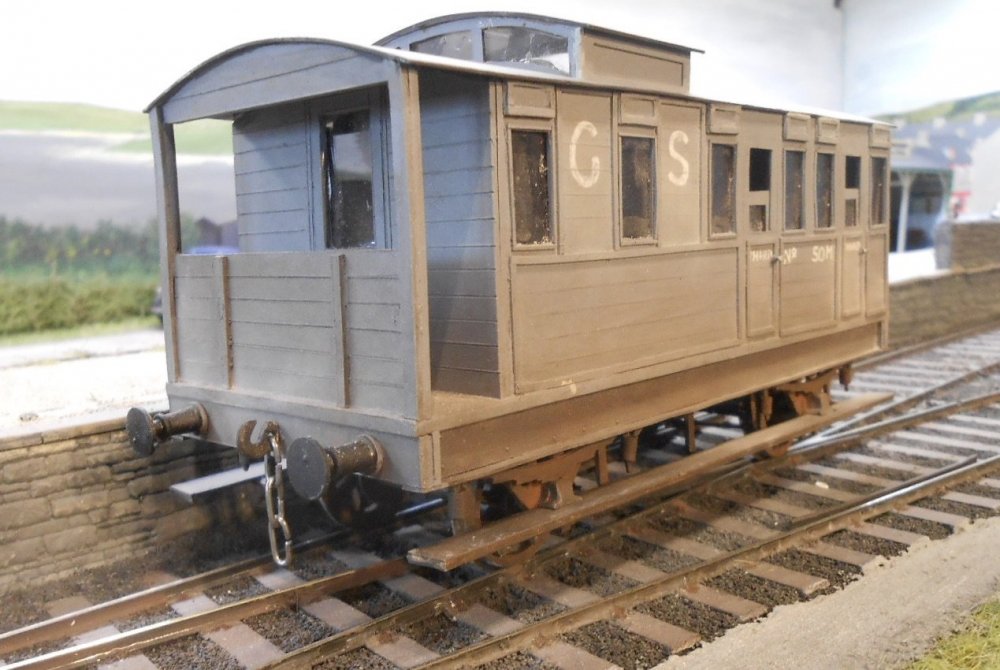
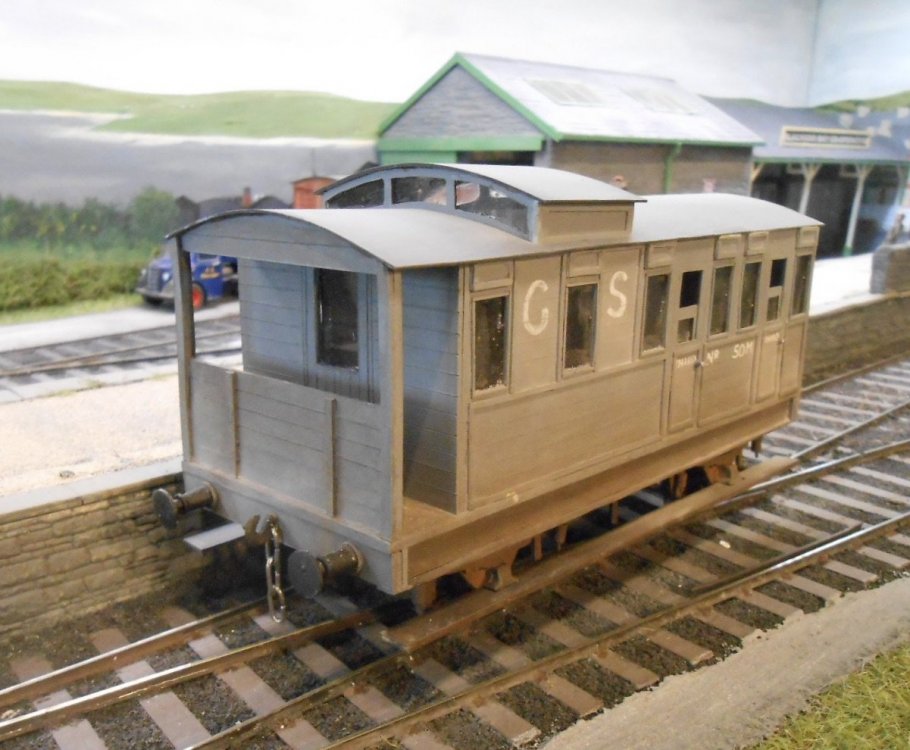
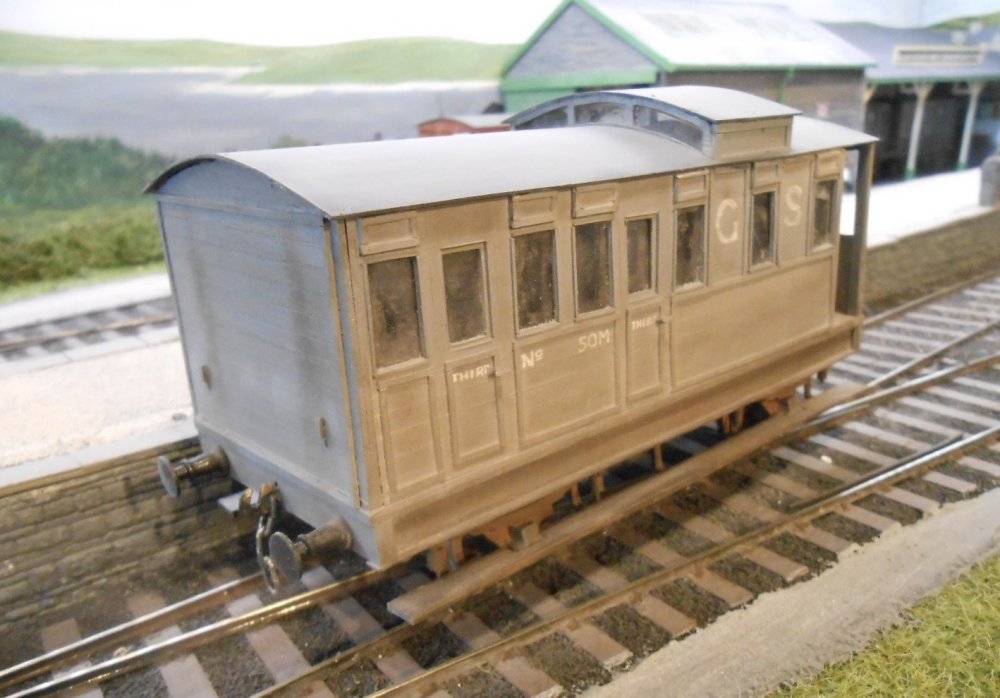
The glasshouse brake is almost finished now. Over the last couple of days have added the glazing & then the main & lookout roofs, followed by a coat of grime for the underframe. The latter is the usual mix of matt black, bauxite [133] and gunmetal [53]. This was also used as part of the weathering process for the body. Martyn Welch's bible on the the subject gives a highly detailed stage by stage approach, but takes several days and is best used if you have several vehicles to weather. When I'm doing just a single van, I use the following: apply a thinned coat of the weathering mix, starting at the sole bars and thinned even more going up the body After, while the paint is still wet, use a new, dry brush and stipple the paint until it is pretty much dry, wiping the brush on paper towel front time to time. This helps to avoid the staining marks you get from just using 'dirty thinners' The ends were dry brushes with weathering mix to simulate the spray marks from the wheels Leave for an hour and then get to work with weathering powders. I use a bauxite powder for the chassis, particularly around the springs and brake shoes, with various shades of grey elsewhere The roof was given two coats of Precision 'roof dirt' and then dusted with more weathering powders to soften it a little So, there we are, another brake added to the roster. Will post some pictures of how it fits in the overall scene on the Belmullet thread.
- 29 replies
-
- 14
-

-

-
Early Dieselisation - Continuous run "micro" layout
David Holman replied to Sean's topic in Irish Model Layouts
Some good ideas there. Think it is always worthwhile to consider operational potential of any layout, especially if it is going to be more than a simple diorama. If siding space is limited, my favourite dodge is to have a line going off scene. It might be a kickback to the fiddle yard, or a small cassette at the terminus end. Either way, wagons shunted off scene can be deemed to serve a whole variety of places, from factories to oil depots, military bases etc. Allows great variety wagons, trains and indeed shunting, which is of course what small layouts are mainly about. -
The latest RM has a full review of the new Hornby 'Rocket' set. Somehow, they have fitted a motor gear box into the tiny body, with enough traction to haul three coaches.
-
Fitting a motor and gears could require imagination!
-
Sounds more promising every day!
.png.c363cdf5c3fb7955cd92a55eb6dbbae0.png)


