David Holman
-
Posts
4,359 -
Joined
-
Last visited
-
Days Won
117
Content Type
Profiles
Forums
Events
Gallery
Blogs
Everything posted by David Holman
-
Nostalgia ain't what it used to be!
-
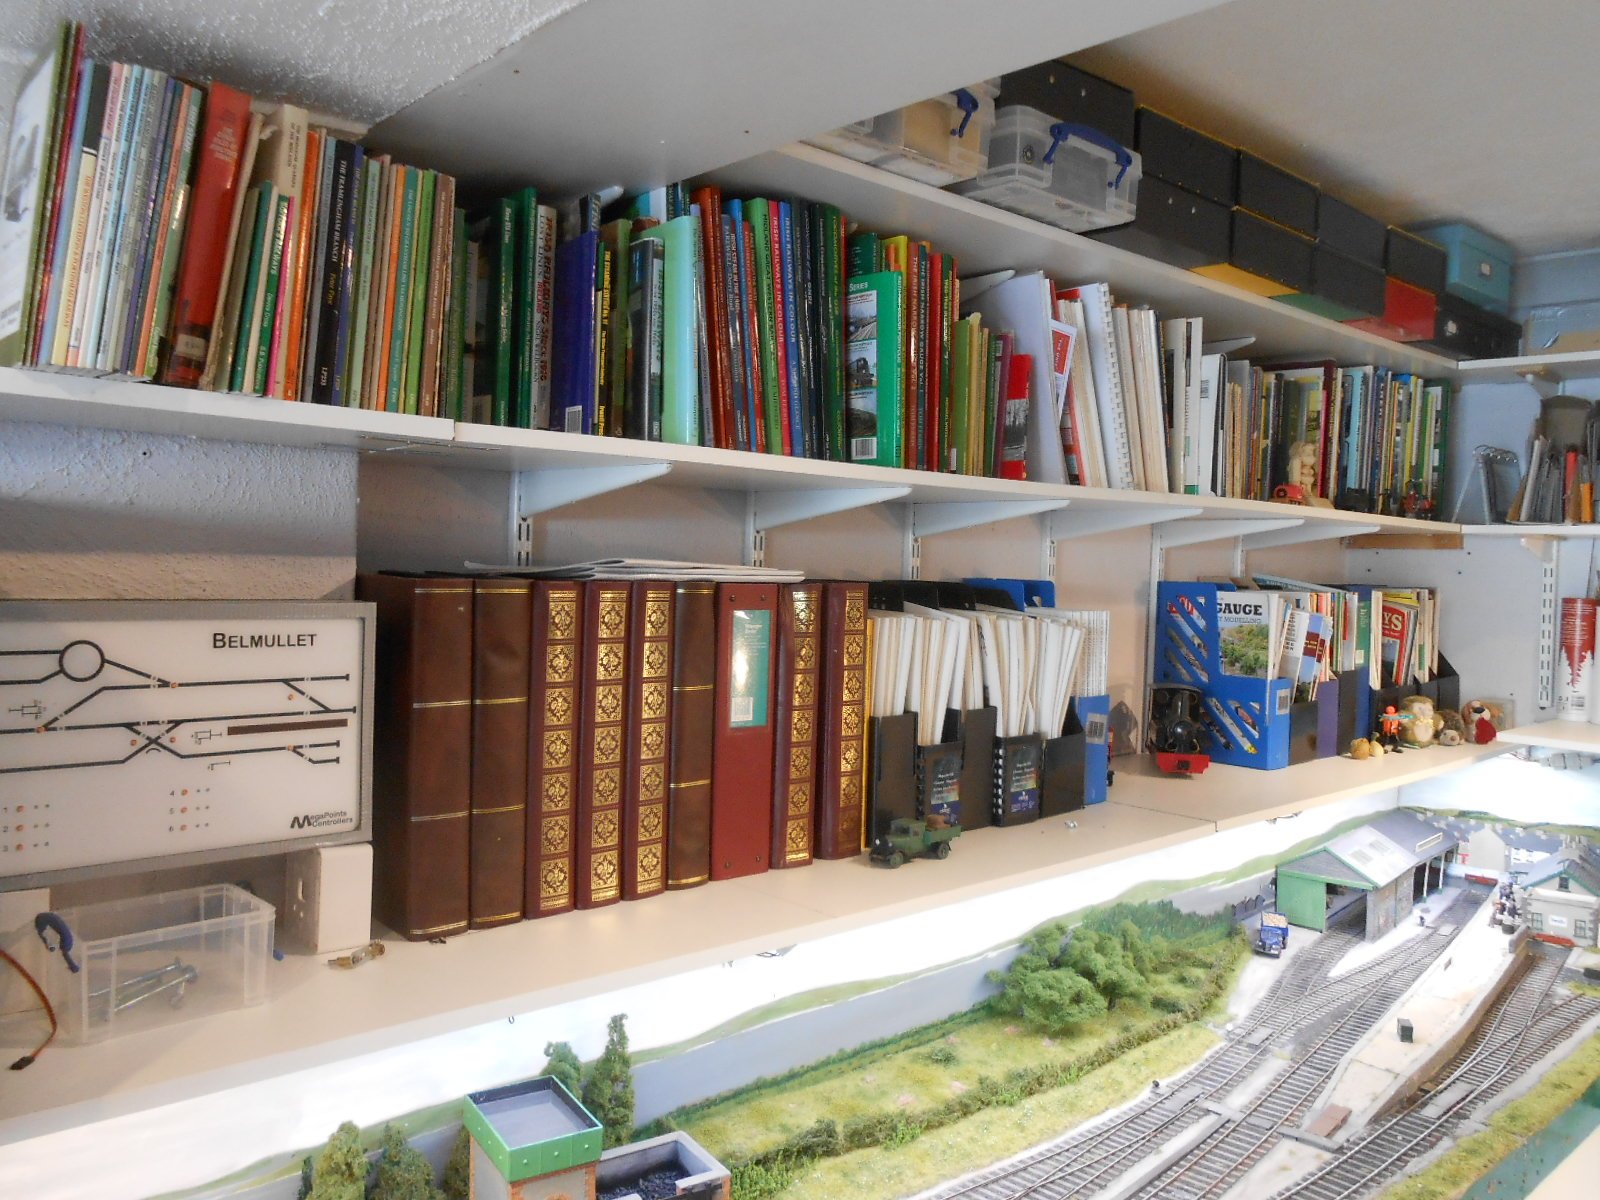
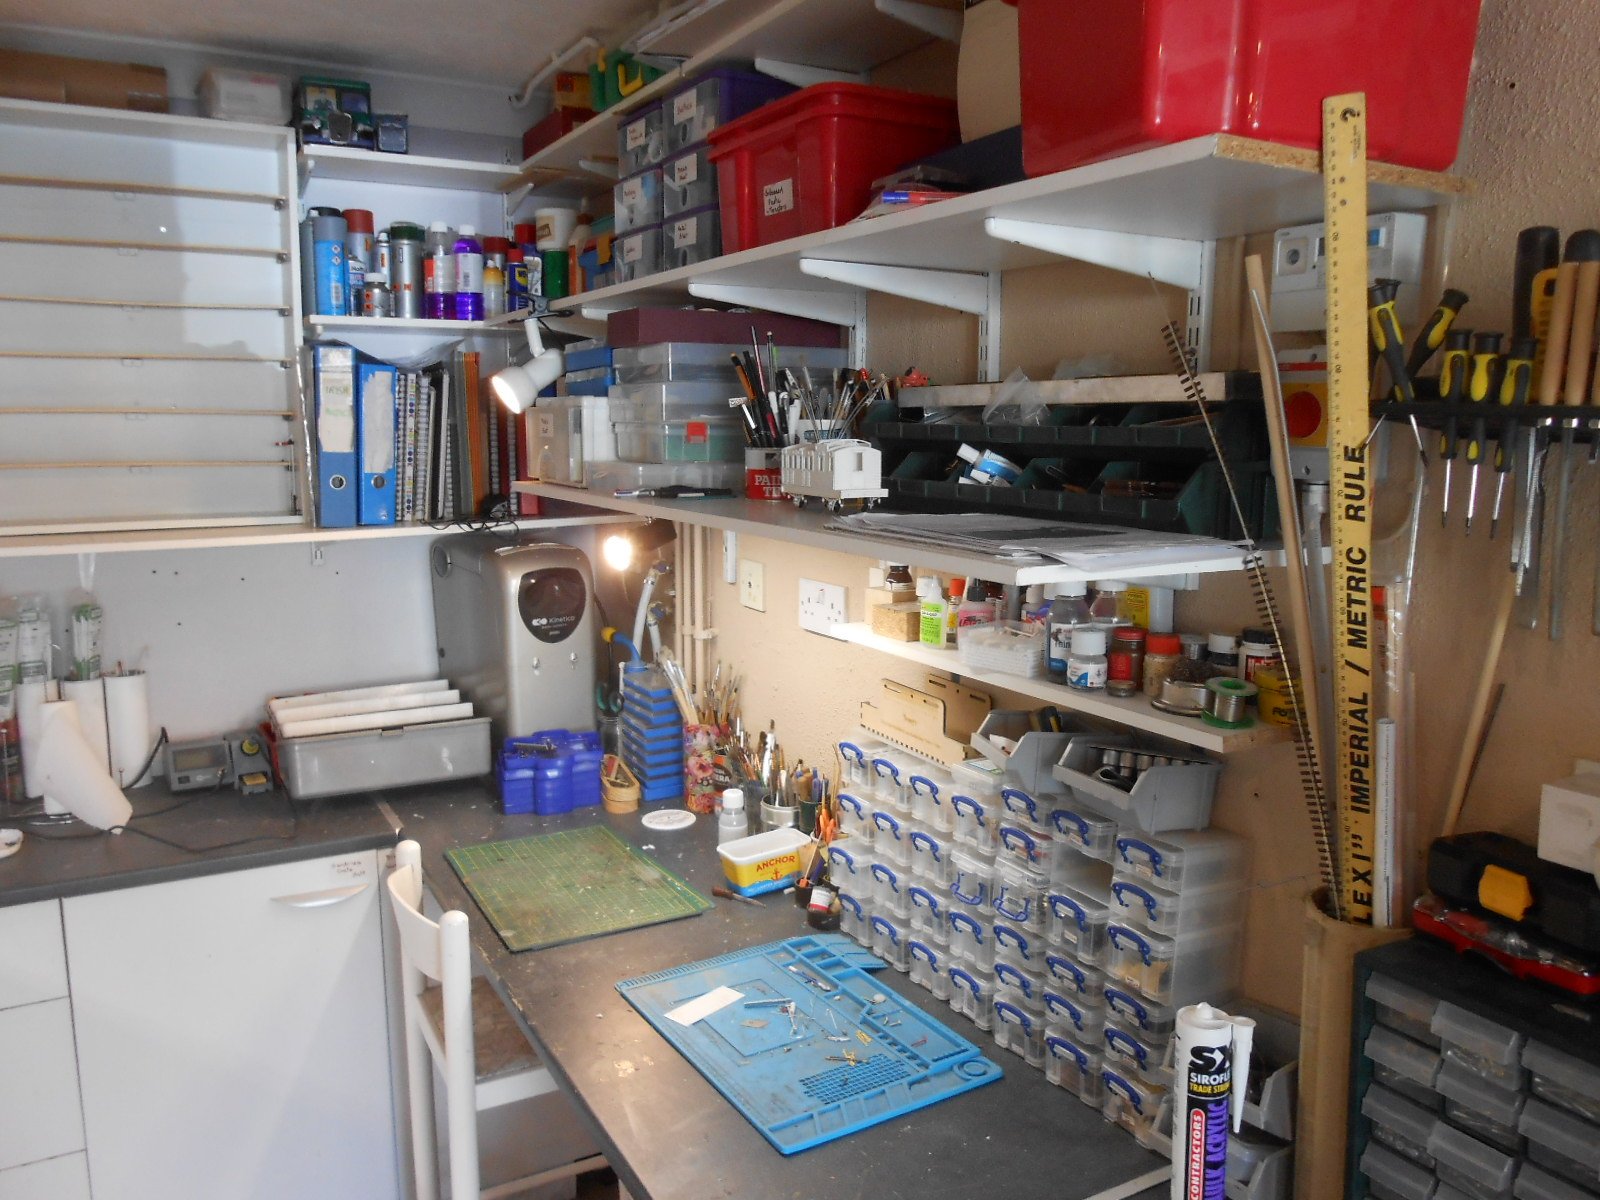
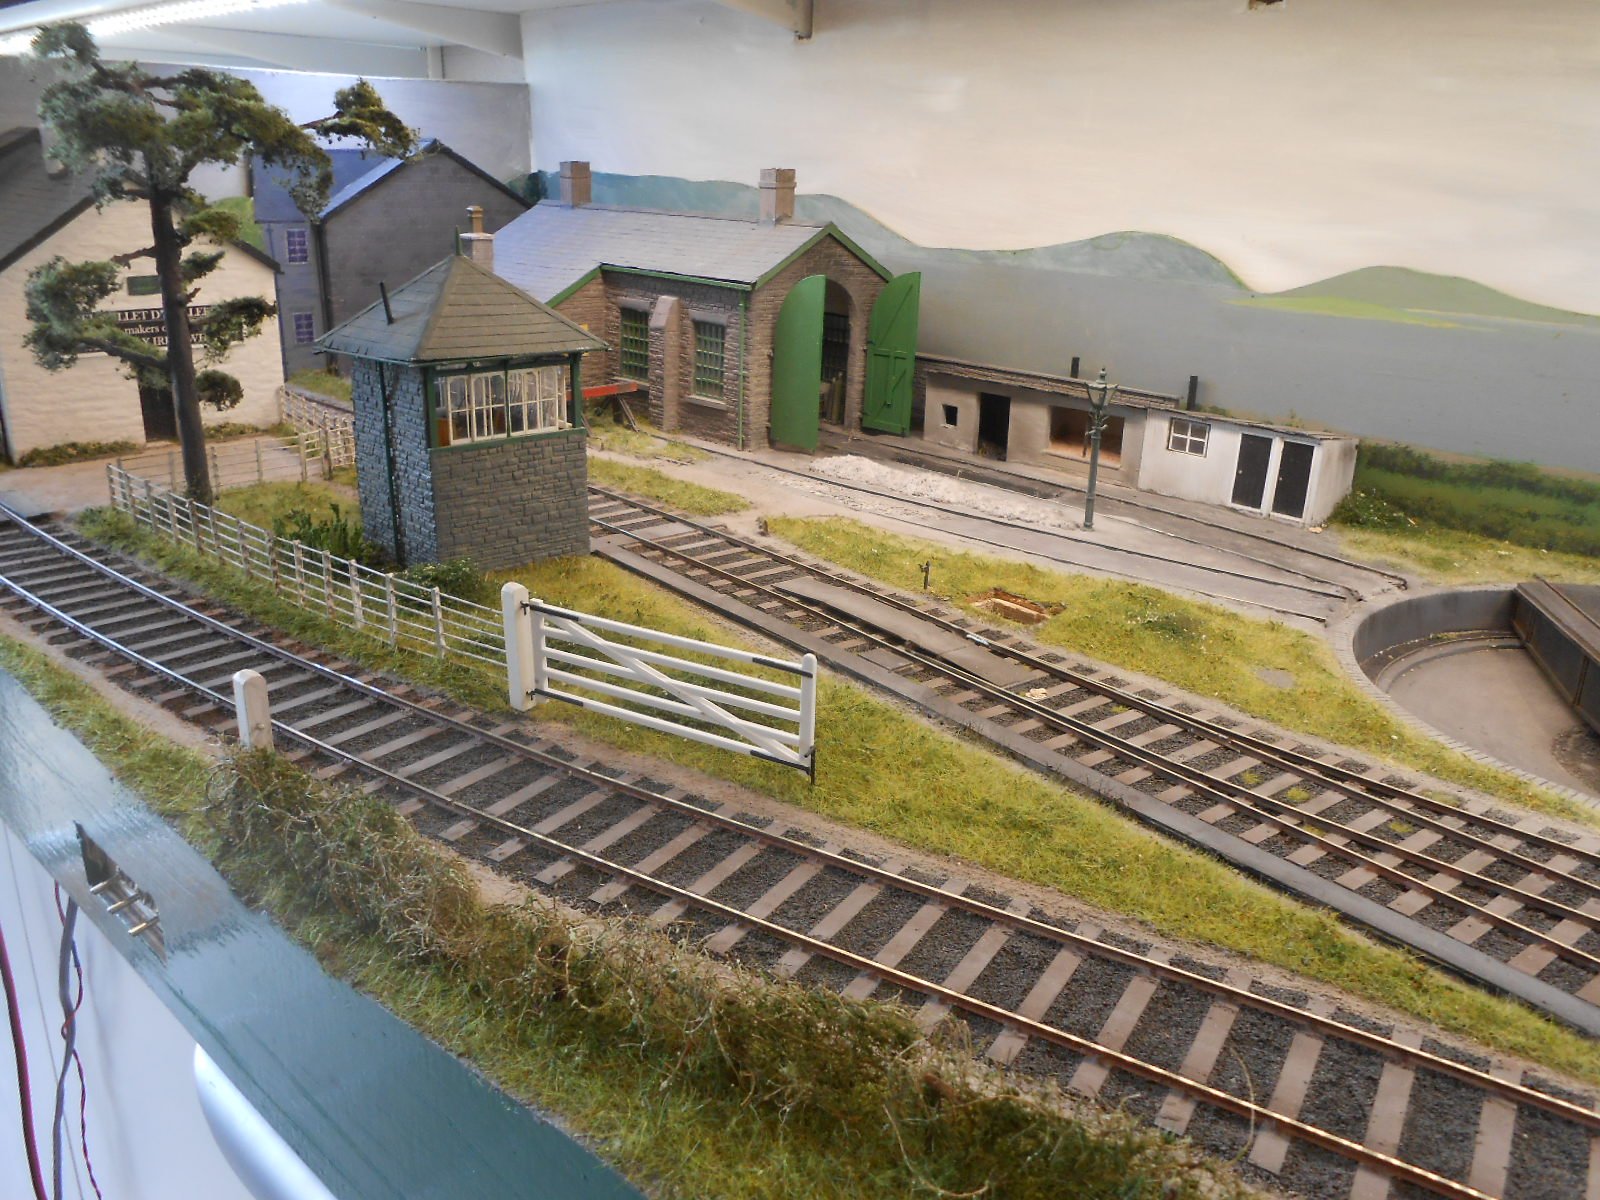
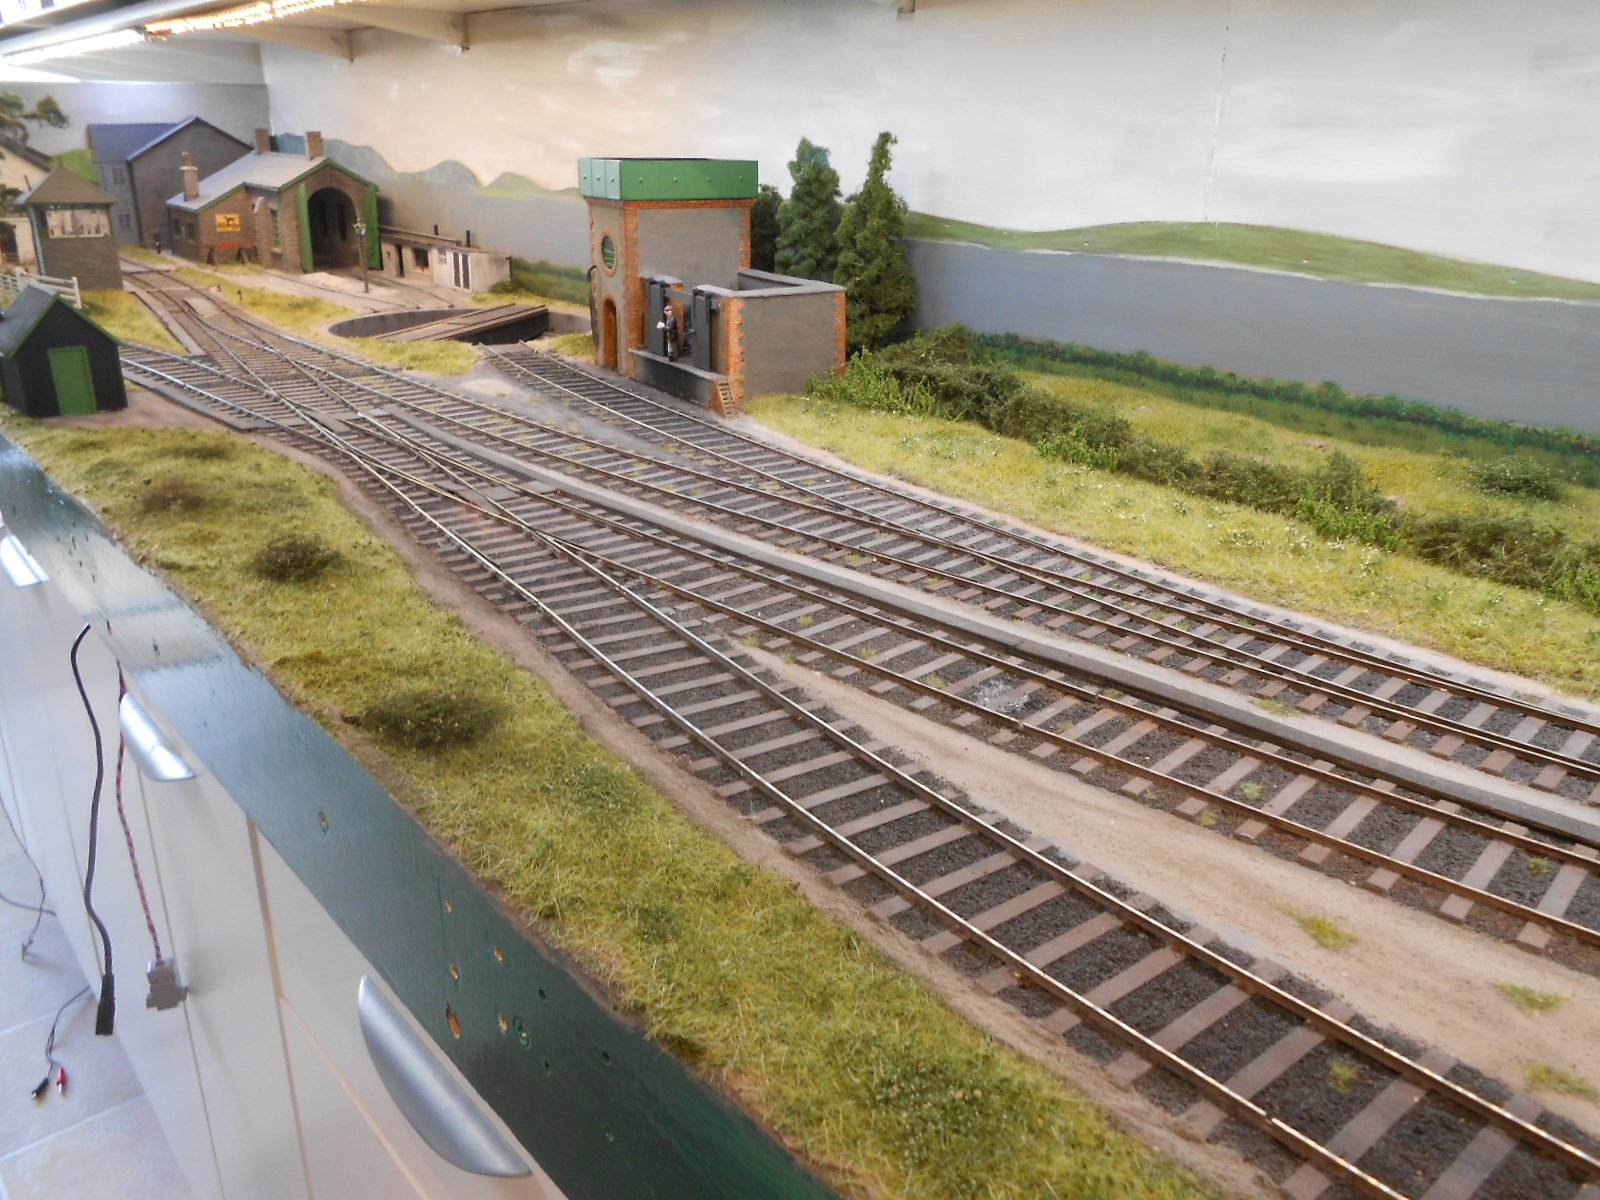
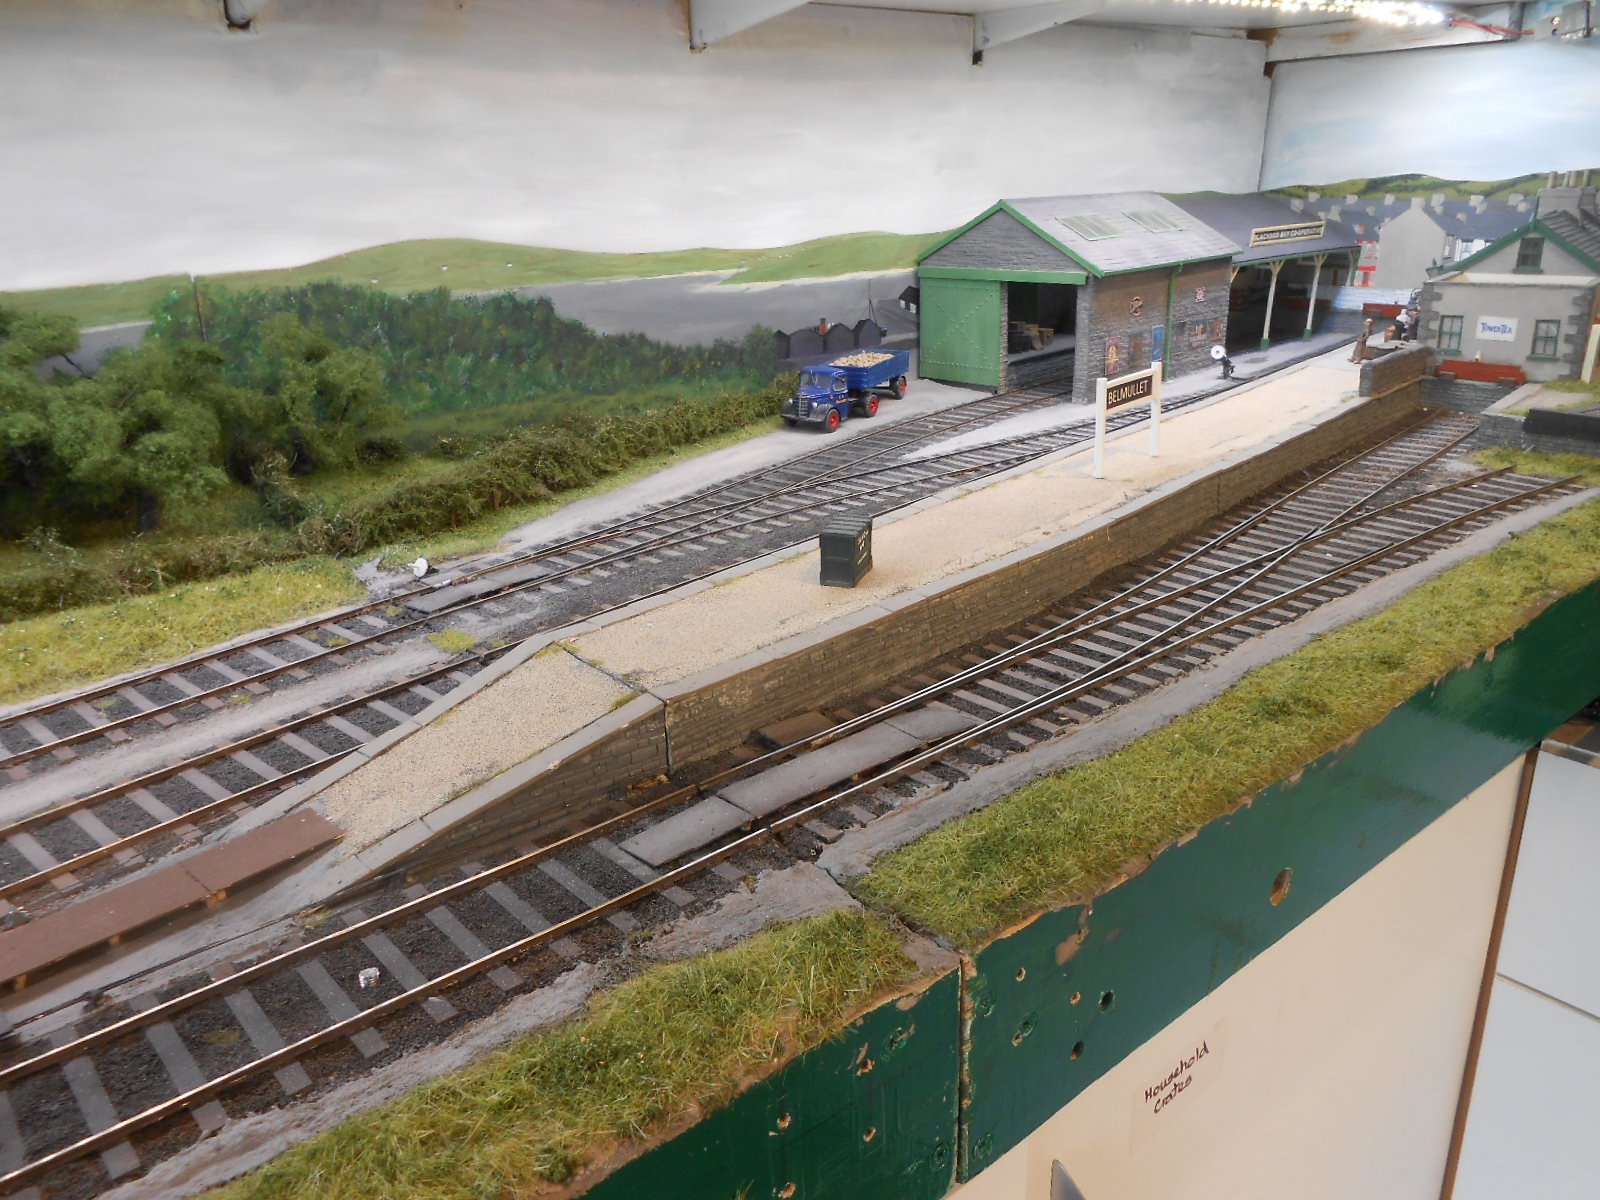
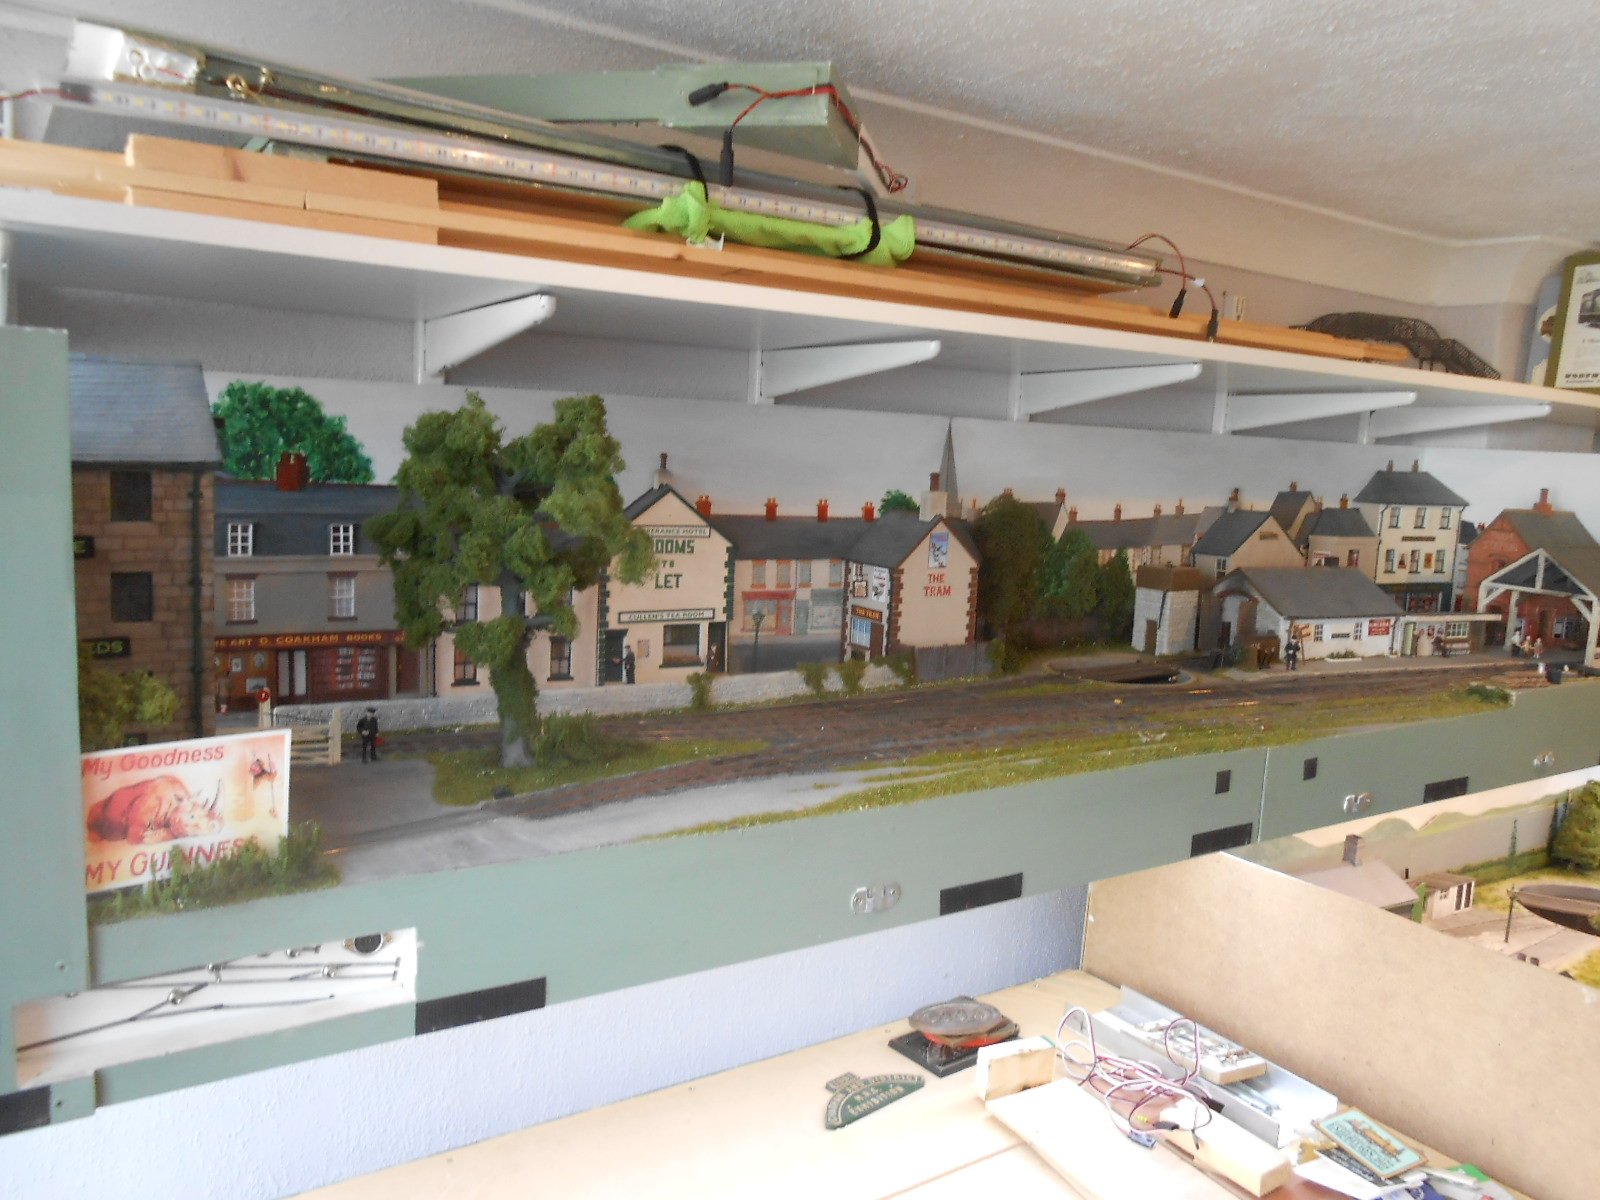
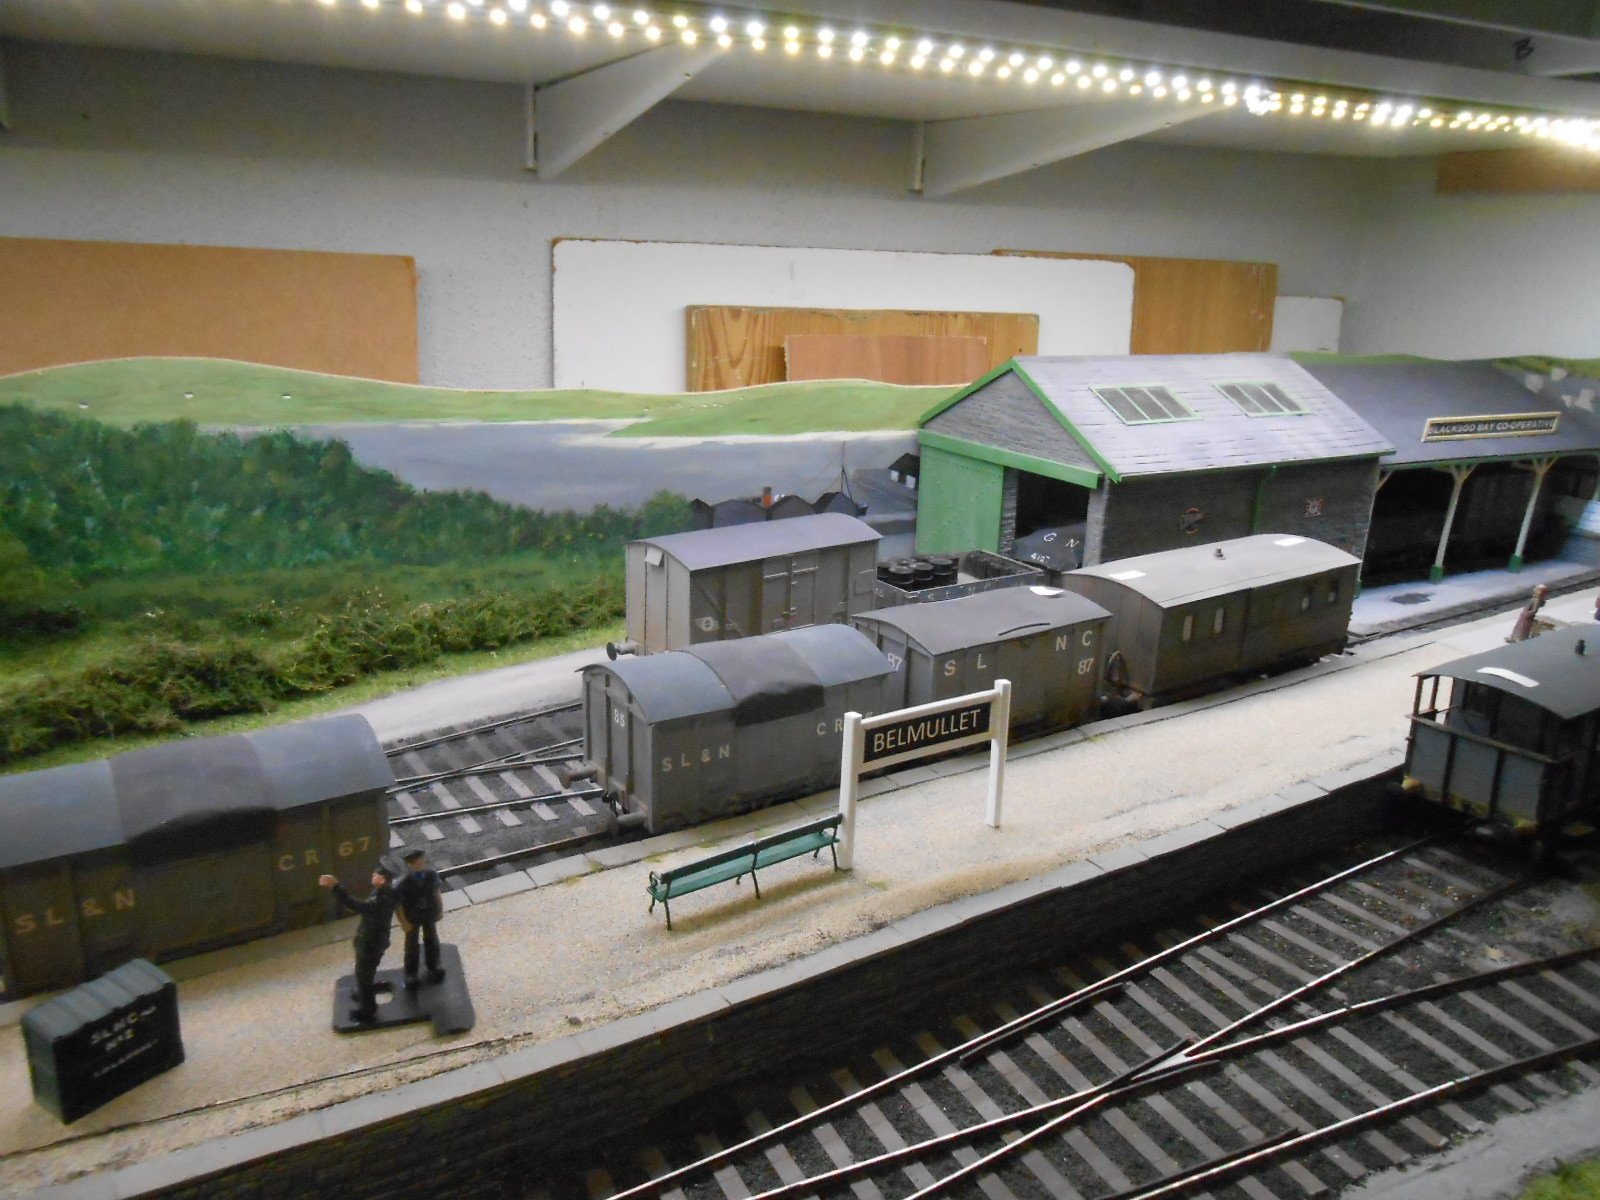
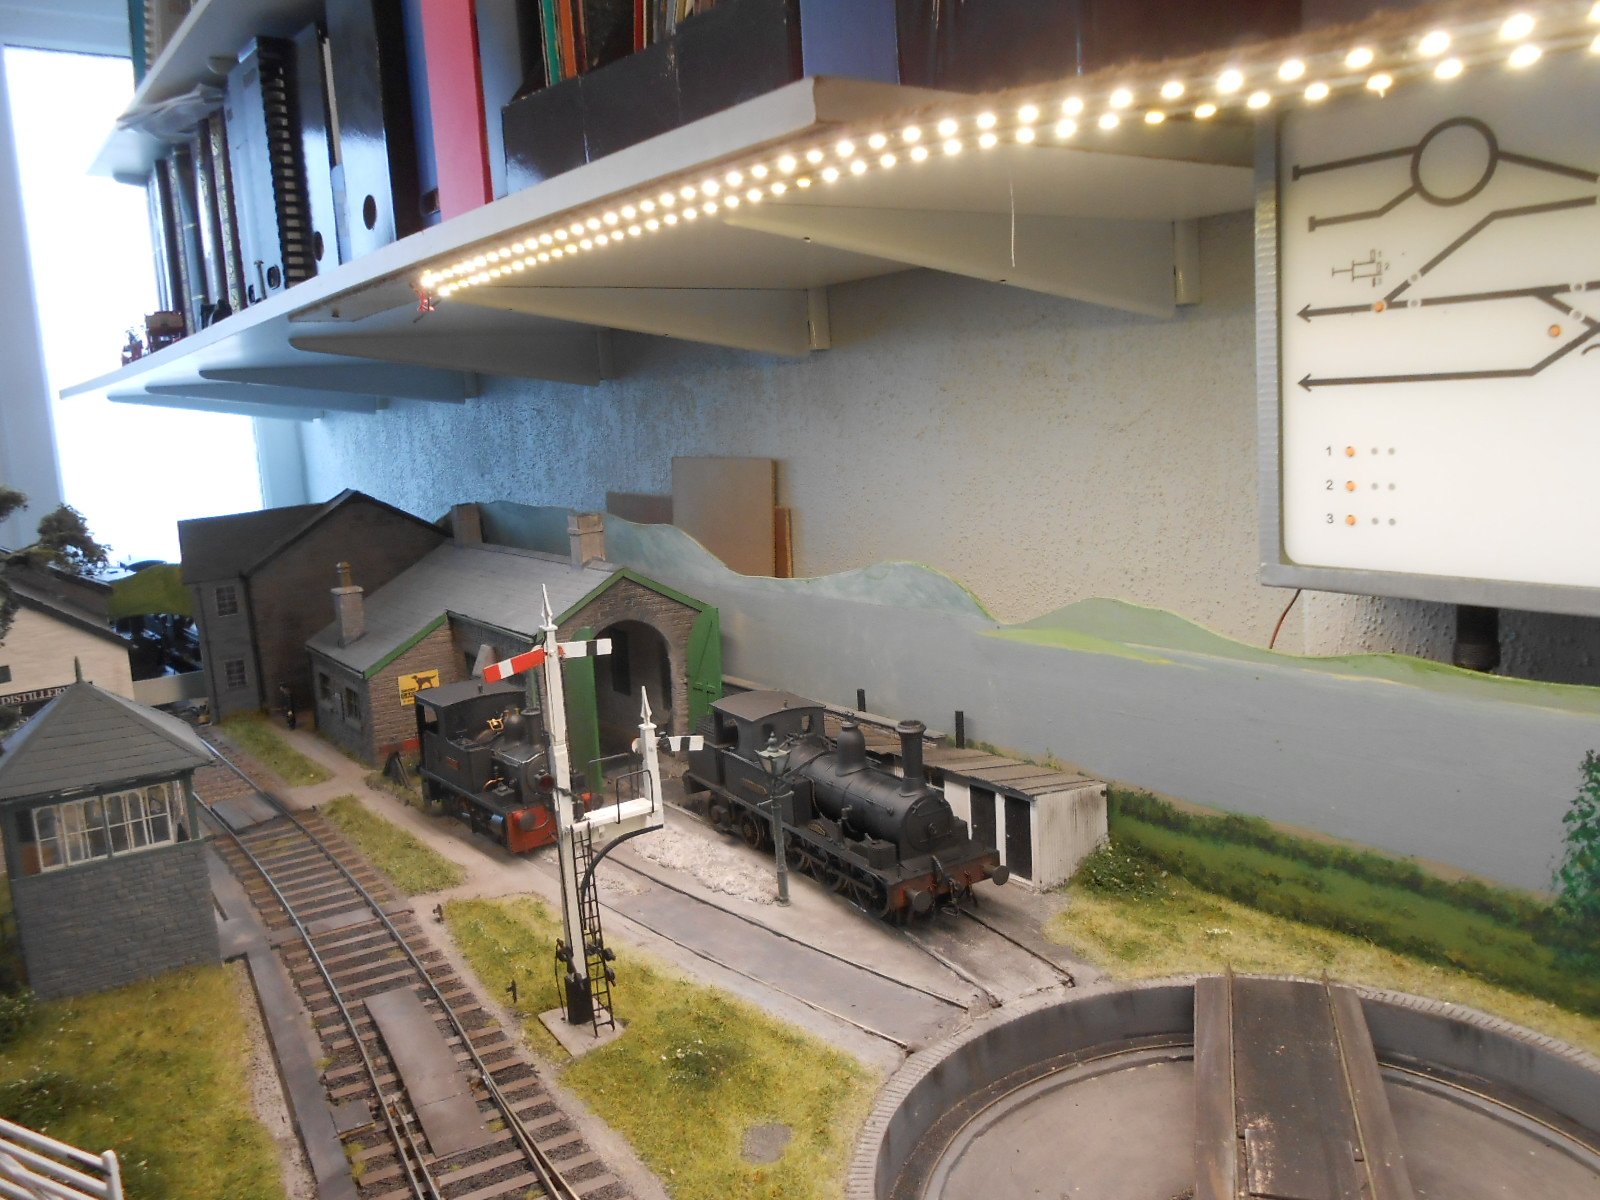
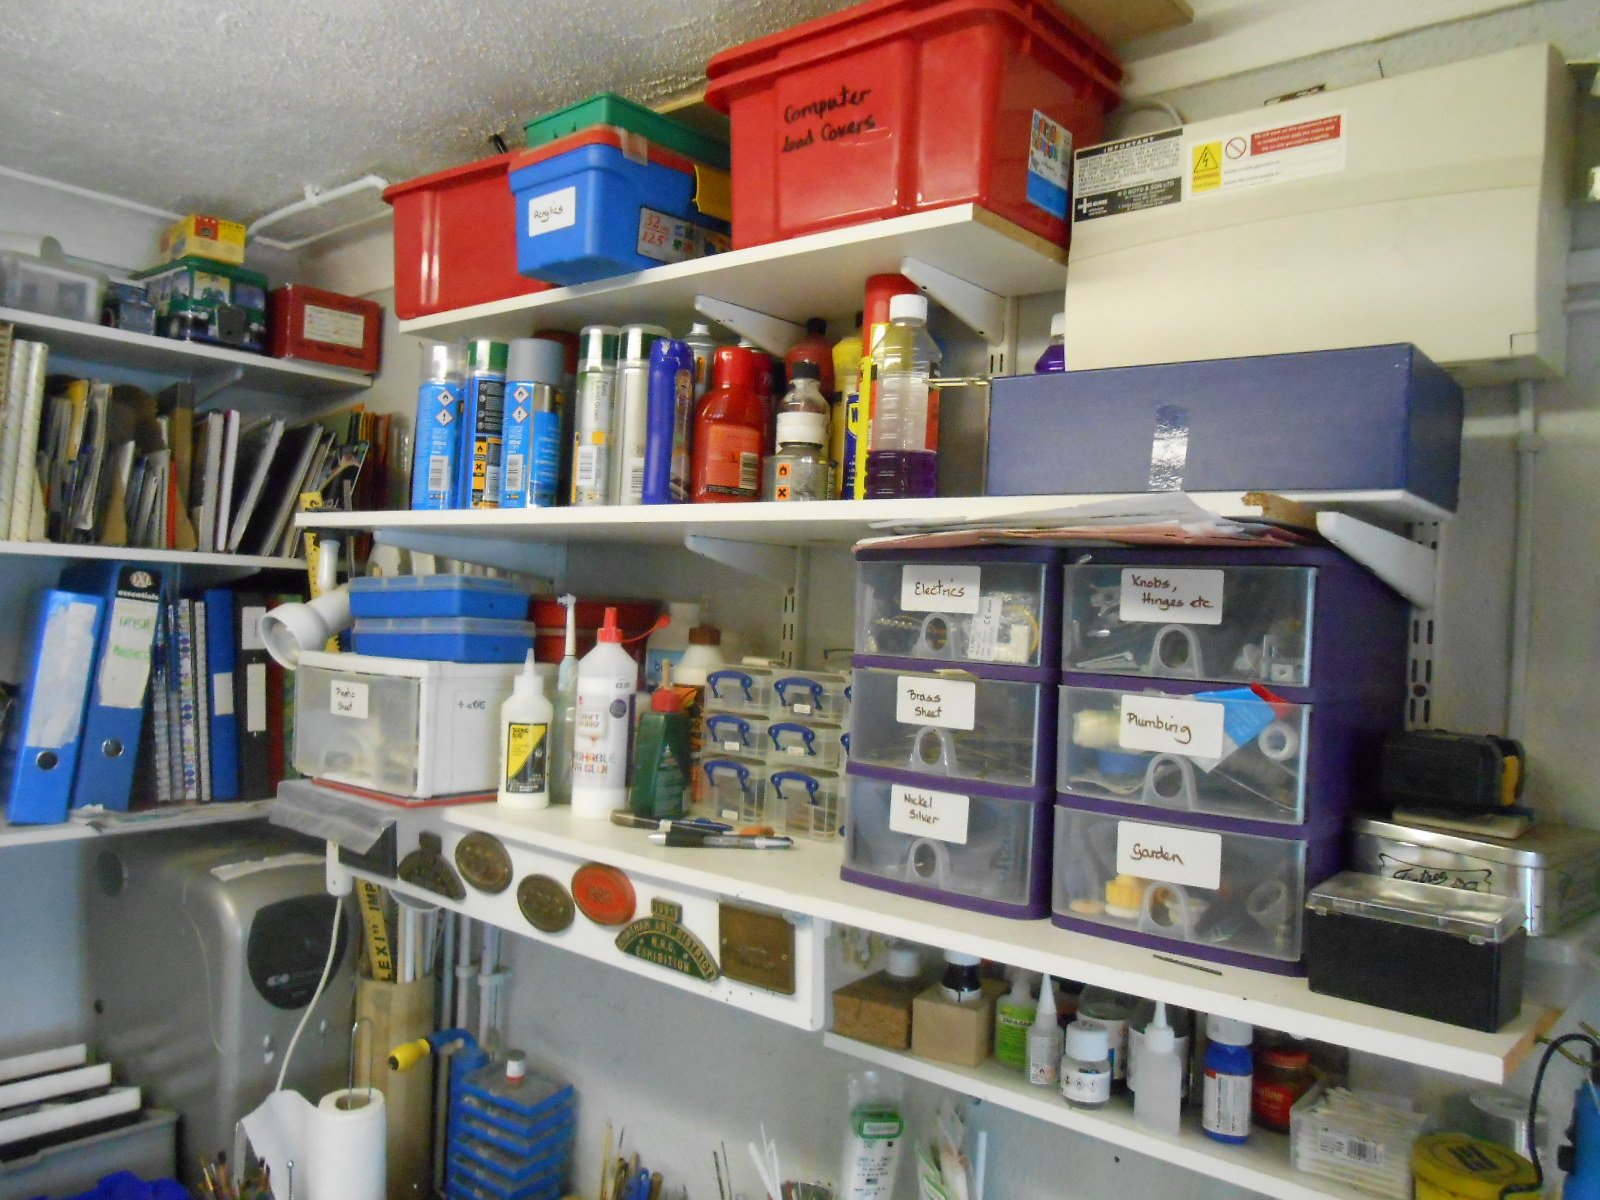
It's been a while, but the workshop makeover is getting there at last. Decided to repaint the walls and ceilings, so it was a real Chinese puzzle to move the various elements around without [much] stuff invading living area of the house. Though not a great deal has changed, hopefully what has been done will make life easier: Shelving has been tidied up and now is mostly at the same height around the whole workshop Lighting has been changed to LEDs - both on the layout and the workbench, so in future I'll be painting under the same light as I display/exhibit What's on the shelves has been moved round, to improve access, while all the bits and pieces, tools etc have been likewise re-organised for the same purpose. Electrics for Belmullet have similarly been improved, with the control panel now on the shelf above and track/magnet/lighting transformers grouped at one end. There is now a better back scene to Belmullet, with 'skyboards' added, behind the land and sea back scene. Fintonagh has swapped places with the magazines/book shelves, so the latter are all together for reference purposes Still some more tidying up to do, not least getting the layout running again, but hopefully can get back to some modelling again soon. Hopefully the photos will enable changes to be seen - but no prizes for spotting anything I've not mentioned!

-
Freelance Mixed Gauge - Handbuilt Trackwork
David Holman replied to RichL's topic in Irish Model Layouts
Great to see so many people coming to 5'3. Not that long ago, Andy was the only person doing 4mm/21mm gauge, so with Ballyconnel Road in 3mm and Arigna Town in 7mm, that was about it for exhibition layouts especially following Richard Chown's sad demise and Paul Green's S layout no longer on the circuit either. If we ever get back to having exhibitions again, a whole show of correct 5'3 and 3' gauge layouts could well be possible. now there's a nice thought! -
Guessed as much! Either way, certainly hope the Donegal project can prosper. Wasn't open when I visited in 2013, but could still tell it was a very good museum and hope to get back one day.
-
Better than nothing I guess, but given what has been done at the Arigna Mining Experience (really well done), am hoping for much better.
-
Visited Finntown seven years ago and had a ride on the Donegal Railcar, 18 I think, so that bit of the Glenties branch was very much alive. However, a 5mph speed limit did not off much excitement!
-
Looks like it! Inside there is also a photo of a contractor's loco on the C&L.
-
6mm birch ply by far the best in my experience, though if a home layout then traditional softwood frame and chipboard top will do. Avoid 'hardwood' ply at all costs unless at least 9mm thick
-
What about the Finn Valley Railway? Home territory, track etc in place, albeit needing run round loops, though guess there are other factors, or it would already have been mentioned.
-
While the right thing to do, we can only hope that someone (s) will have the wherewithal to set up a museum of Turf, complete with working railways. As a key part of Irish industrial heritage, something needs preserving, you'd hope.
-
Do I have to glue the cork underlay to plywood baseboard
David Holman replied to Bill Paddy Andy's question in Questions & Answers
For me, using a cork base is more about forming the correct ballast shoulder as any sound proofing. Hence often do away with it on station and yard areas, where you would otherwise be covering the whole baseboard surface with cork. That said, 3mm cork floor tiles are great for this, being completely flat and thick enough to cut channels for wire in tube point rodding and the like. -
That overall roof really is quite something, but have been running our of superlatives for a while now.
-
Freelance Mixed Gauge - Handbuilt Trackwork
David Holman replied to RichL's topic in Irish Model Layouts
Really fine work and love the thinking with the gauges. My 21mm roller gauge was turned up by a friend at the model club - never thought about simply adapting an existing one... -
Couldn't find this mag in WHS, but did find a similar publication called Wheels of Industry, where there are four pictures of Larne aluminium works locos. However at ten quid, you'll probably need a wider interest in all things industrial. A decent article on Aveling and Porter locos persuaded me to part with the cash, plus another one on crane tanks. Not that I'm about to build either, but do find such things interesting.
-
Appears to be some more than decent track laying going on here, with a really nice flow to things and spacers used to keep adjoining lines parallel.
-
Freelance Mixed Gauge - Handbuilt Trackwork
David Holman replied to RichL's topic in Irish Model Layouts
My Fintonagh layout, though 7mm scale, is 3' gauge on 21mm track to EM standards with 1mm flangeways. Has done over a dozen shows with no major running problems. I downloaded point templates from Templot. These were labeled as Irish EM and 20.2mm gauge, so simply enlarged them on the copier to 21mm. As for layout names, with tongue firmly in cheek have previously considered things like Killyconcarney, Ballerina and, my favourite, Ballyshawbeaghan - think zebra crossings! -
Been tempted by the Sentinel, as could be a very quick fix to 36.75mm. Unfortunately the absence of shows means have yet to see one and check if it just a case of moving wheels out to you he correct gauge. If so, something like the Limerick market in branch would make an interesting little shunting puzzle, with just a couple of points and a few wagons.
-
Indeed! However, rather like Tyrconnel kits, 32mm gauge does not translate well to 36.75 where splashers are concerned, though at least there are only two to worry about. Equally, seem to remember reading that when converting the Jinties to 5'3, they had to skim the driving wheels to make them fit inside the splashers. Nevertheless, Jim's kits are superb and you only have to look at the website to see he tells you the total cost, including wheels, motor and gears, something other kit makers could follow methinks. Guess the main reason we don't see (m)any of them is their work rarely, if ever took them outside the docks or York Road, though am sure someone will enlighten us on that. Would still make for a nice shunting layout though!
-
Dare I say it would be a pain to regauge, especially as the prototypes were a challenge themselves.
-
Maybe it's just me, but I continue to find it remarkable that Mayner, in New Zealand is first to flag up news from County Clare. Such is the power of the Web in enabling us to share knowledge - even if not all of it is interesting like this.
-
Another master class. So much to admire and learn from here.
-
Peco Code 75 or 100 Wooden Sleeper
David Holman replied to burnthebox's question in Questions & Answers
All model track is a compromise, unless you go along the P4 route and it is the same in the other scales. Peco code 100 was designed as something robust, but better than set track. However, the sleeper spacings are wrong for British practice, never mind the gauge being 4.5 mm too narrow for Ireland. Code 75 track improves things because as well as finer rail, the sleeper spacing are better, though note that this does make the flexitrack less robust than code 100. Still want to run older stock? Probably no option but code 100, but disguise it with careful painting, balllasting and a low viewing angle, then it will look much better. All newer stock with finer flanges? Code 75 will look so much better. There again, how adaptable are the new models coming out these days? Can the 121 and A class be easily converted to 21mm? Likewise all those fine new wagons. Food for thought, maybe? -
So, the secret is revealed! Splendid stuff and a project to savour. As Ken says, a rolling chassis is a really satisfying way to start.
-
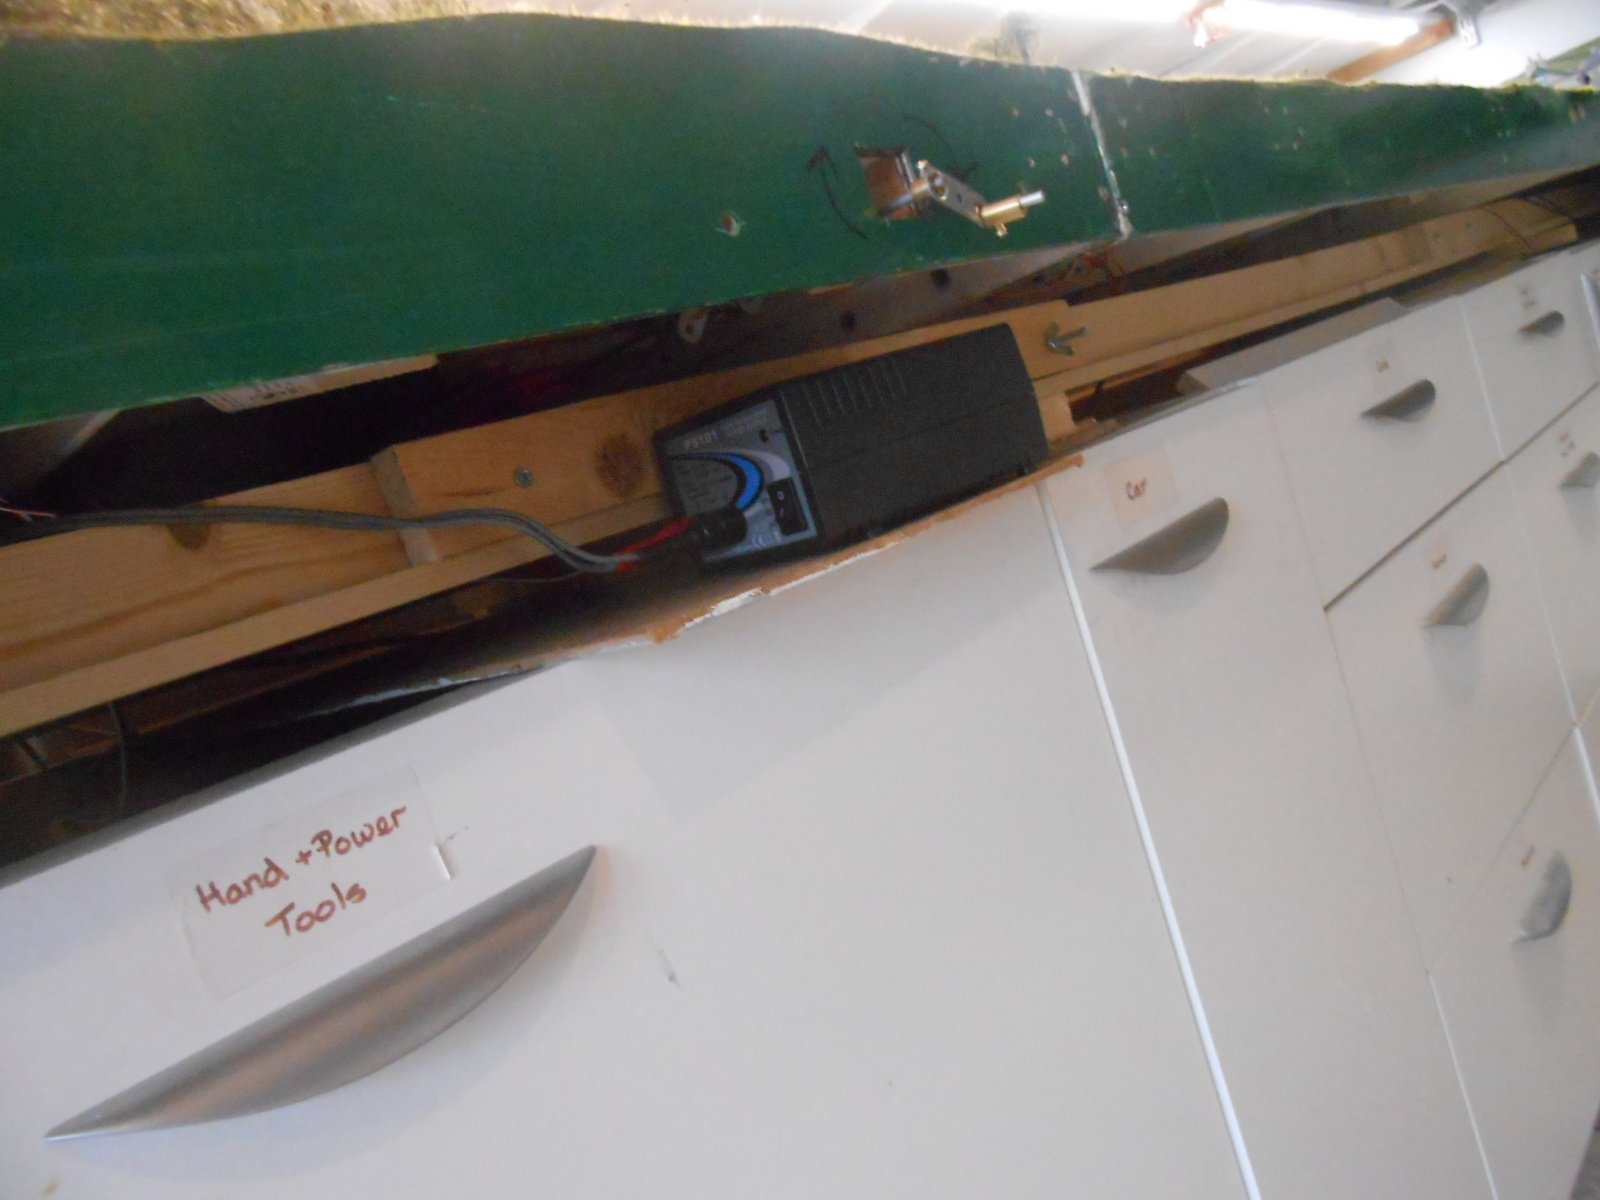
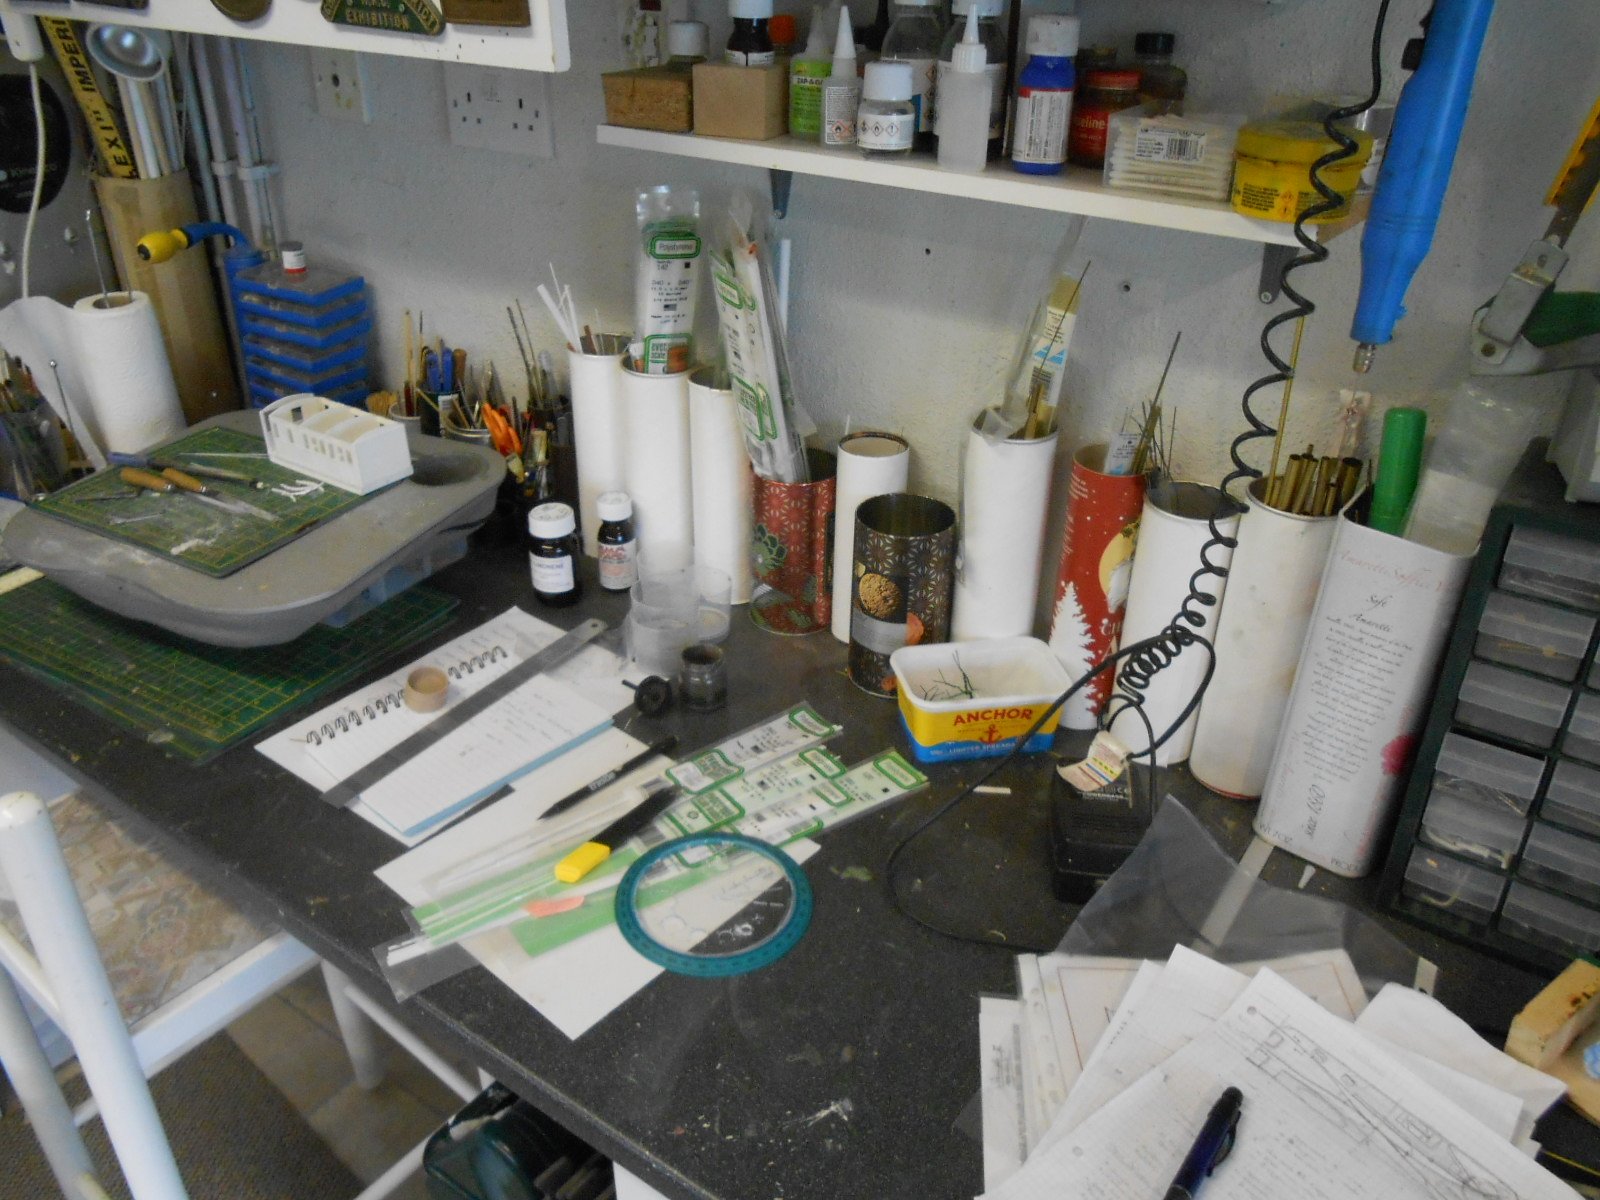
Sorting out the ugly bits Have taken a step back from stock modelling for a few days - things were not going as well as I like, so a change is as good as a rest as they say and there is always something else you can do in the world of model railways. In addition, a chance phonecall also prompted a new train of thought. Belmullet was due to make its debut on the exhibition circuit in October, at the Uckfield show, but like pretty much everywhere else this year, it has been cancelled, so the rebuilt layout will not be going out for at least another 15 months and before anyone tries to tempt me, all the shows I was going to this year with Fintonagh have been moved to 2021, so [all being well], there is no room in the diary for anything else for now. Anyway, the eagle eyed amongst you will have noticed that Belmullet only has a partial back scene at the moment. I've held off making the sky boards, which means you can see the odds and ends of plywood and MDF behind. Similarly, the four transformers [lights, track, uncoupling magnets and point motors], don't have proper homes, while the workshop as a whole is due a bit of a makeover too. This last one more than justified as I've been doing as I'm told by the domestic authority of late with decorating around the house - 'nuff said! All this has prompted some scribbling, measuring and drawing, so that [hopefully], I can have both a bit of a sort out and, in particular, make sure the layout is better presented/more easily operated. When I knew it was going to a show in October, getting things ready for that was more important. Now it is staying at home for at least another year, I might as well make it look 'proper', as it were. As for the workshop, I am sure I am not alone in having a hodge-podge of storage for all the accutriments a modeller gathers over the years, so again, it is about time I made an effort to make things neater. The workshop was originally created out of the integral garage about 20 years ago and in many ways is a nice place to work. Centrally heated, plenty of power sockets and lighting, but although it was substantially updated with kitchen base units and worktops, many of the odds and sods for storing things have remained, as I'm sure you will see below. The lighting needs a rethink - being more quantity than quality with a large overhead fluorescent tube, an ugly strip of LEDs over the layout and incandescent spotlights scattered around - not good when I exhibit under LEDs. Oh, and it would be nice if all the shelving were at the same height around the workshop! So, watch this space - and hopefully, the layout will look a lot better for it too.
- 179 replies
-
- 10
-

-
Splendid and clever chassis work. As you say, a big loco, which means a lot to think about.