Glenderg
-
Posts
3,490 -
Joined
-
Last visited
-
Days Won
11
Content Type
Profiles
Forums
Events
Gallery
Blogs
Everything posted by Glenderg
-
Excellent value. Whatever about the brush, it appears to have a decent compressor. Perfect for things like spraying and weathering track... hint hint bosko...
-

Reference books for the railways of Ireland 1980s onwards.
Glenderg replied to Robert Davies's question in Questions & Answers
Can't recommend the second book enough snapper, always to be found on sale at any of the shows. [it was one of Des Coakham's classics not Colin Boocock's] -
Reference books for the railways of Ireland 1980s onwards.
Glenderg replied to Robert Davies's question in Questions & Answers
Rob, I found this page by accident on Wikipedia, and I think it might be useful as a reference guide, especially if it's a location or a specific time period that interests you. Welcome aboard too! Richie. http://en.wikipedia.org/wiki/Bibliography_of_Irish_rail_transport -
Excellent work. Any plans for that girder bridge on the upper right hand side of the photo? Richie.
-
It took 14 hours to do that model. At $2,199.00 plus the material PLA, you'd want it running day and night to make it pay. Plus the software deals in a really untidy format [.obj] which doesn't do curved profiles very well. I'd like to see how strong the finished product is. Could you make a 42' flat and would it warp?
-
-
Page not found des correct one below. Nice work too btw. http://www.studio-scale-models.com/TVehicle.shtml
-
Spot on
-
Tidy bit of work Dave, any chance we'll see it posted up by your customer as it progresses?
-
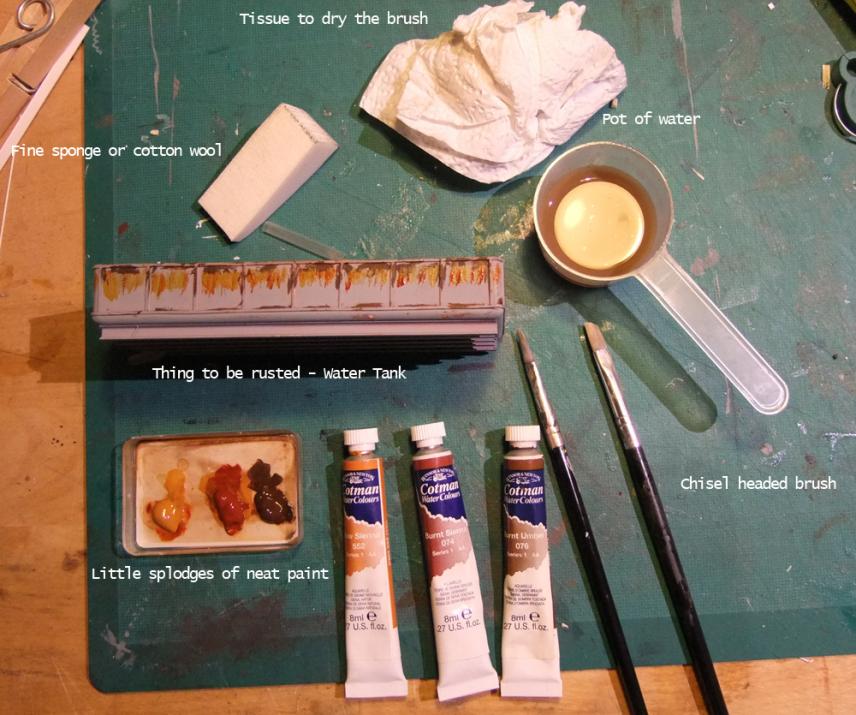
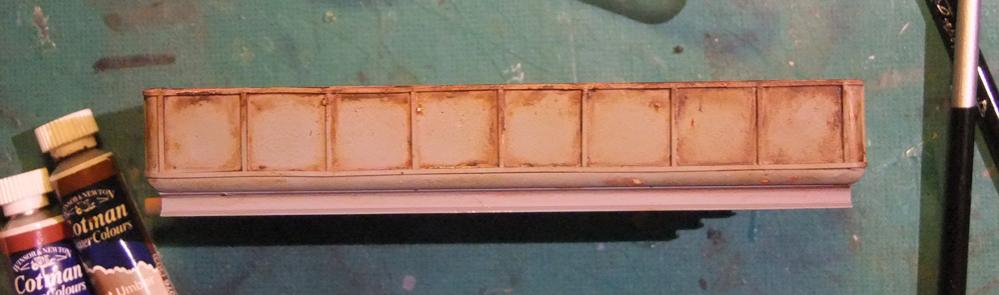
[i'm not claiming to be brilliant at this, it's just something I discovered that's worth sharing, and I'll get better over time] Mornin All, As an alternative to Deluxe Materials Scenic Rust, and other more methods which Anto etc. are king of, I have an alternative to the beginner that I thought might be worth sharing. So the method is done using Gouache paint, or Cotman Water Colours as it's branded in shops. They come in small tubes at about €5.25 each, but there is enough in each tube to do for years it seems. I work with three colours - Burnt Sienna, Burnt Umber and Raw Sienna, and they are gloopy watercolours that are designed to dry, be re-wetted and re-worked, and so on. So here's how it work's and what you'll need. The object it's going on to needs a primer or base coat. It will not stick to plain plastic surfaces. The paint is put on neat, not watered down. The burnt umber chiselled into corners and alternative stripes of raw and burnt sienna chiselled in vertical strokes. Ok, so it look's like a child did it. That's perfect. Let it dry - it will take about 6 minutes. The next step is to wet the chiselled brush and then dry it off. There will be enough moisture left in the brush to wake up the paint. Using vertical strokes again the paint will start to blend together, but you do not want a single colour. Push the darker paint into the corners and leave the bright colours bloom in the middle. It will take 3 or 4 minutes to dry. The next step is to rewet the area with an almost dry brush, and tap the surface with cotton wool or the fine sponge to soak up excess that you don't want. Cotton buds can also be used. This is the result. Leave the project overnight, and return in the morning. If you feel it's too heavy re-wet the paint and remove more. I'm happy with this so I'm going to seal it and leave to dry with Games Workshop Fixative/matt varnish. Acrylic varnishes will re activate the paint, so avoid them where possible. If you want to add more layers, seal that layer and once dry the process can start again. The great Tim Shackleton uses this effect with far more skill than I - http://tonysissons.zenfolio.com/p472785474/h2D2D78C3#h2d2d78c3 This is it currently, and I'm off to remove a bit.It still looks a bit heavy, but that's the beauty of this paint. I hope this post has been of some help, might encourage others and get some more tips. Richie.

-
Not boring at all Frank, and mighty useful. Gonna take one thing really useful from this [if anyone has seen me workbench photos] Guilty as charged, m'lud. Richie.
-
Oh god that's a shock. He's a bit of an unsung hero in my mind. The sheer number of drawings he produced and information he committed to books should not be forgotten. My sincerest sympathies to his family. Richie.
-
Dancing lady we assume? Listening to a state of Trance ep 580, after piper at the gates of dawn....weird mix.
-
I haven't laughed so much. That's the most bampot thing I've seen in a while. In fact, it should inspire us buggers with no space to do more! Cracking work seamus.
-
Ha ha wrenn, I meant to tell you about that set. I pop in regular for brass wire, styrene sheet, and model air paint (always in stock unlike some others). I asked him how much it was and he says 350 he'd take , but it's worth 400. So we shoot the breeze about and I buy a few bits. as I leave I tell him I'll stick it on IRM forum. "Oh" he says "it's 450 for the lot" And "It's in a box". He returns to his paper, I throw me head in the air.
-
Just a quick thought on a 5ft span bridge - The William Dargan Luas Bridge could be easily replicated using MDF for the vertical upright - holes drilled for the cable ties at 10mm centres, a piece of ply for the bridge surface, clad in card/plastic to give the bridge look. The cable ties could be made of guitar steel string [D strings] with the eyelets to attach through drilled holes in the bridge road, fed through the vertical span, and through holes on the bridge surface on the far side, tensioned and clamped with screws like the ones found in plug sockets. Maybe too modern for most layouts though. Richie.
-
Top class job Tom, impressive masking with the windows too, don't think I'd have the patience.
-
Graham's layout - Monkhill and Saltstown.
Glenderg replied to irishthump's topic in Irish Model Layouts
They, sir, are the first videos I have ever seen that really advertise sound in locos. The Class 31? at the start? Wow, what a bass tone, and the 141's - fabulous. -
oooh, that was tough to watch. if "The Lord looks after Fools and Drunks" - then the divil is a train driver. Good post Anto.
-
The platforms look tiny in place, all 24 feet of em! Good god, how big is that layout!!! Don't forget that little bit of charcoal on the tops to weather them nicely, and then paint up around 300 little plastic people to populate it. An evenings work, eh?
-
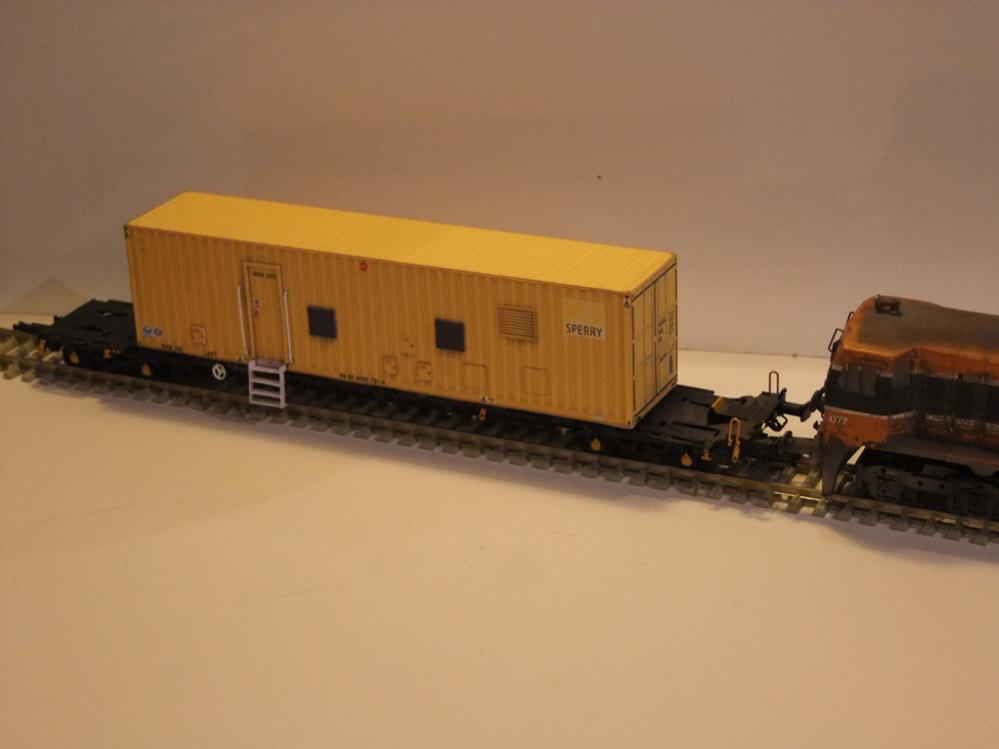
Cheers lads. Seamus, the Sperry is all yours, but it is card, not plastic. You still want it?
-
They have changed the formula for Johnsons Klear, such that it is near useless for modelling. If you use the current formula, it will not put a shine on your model, though it will fix weathering, but after a few weeks or handling and humidity, it will wear off. If you can find a shop that sells nearly out of date stuff, you might have a chance of getting the original formula.
-
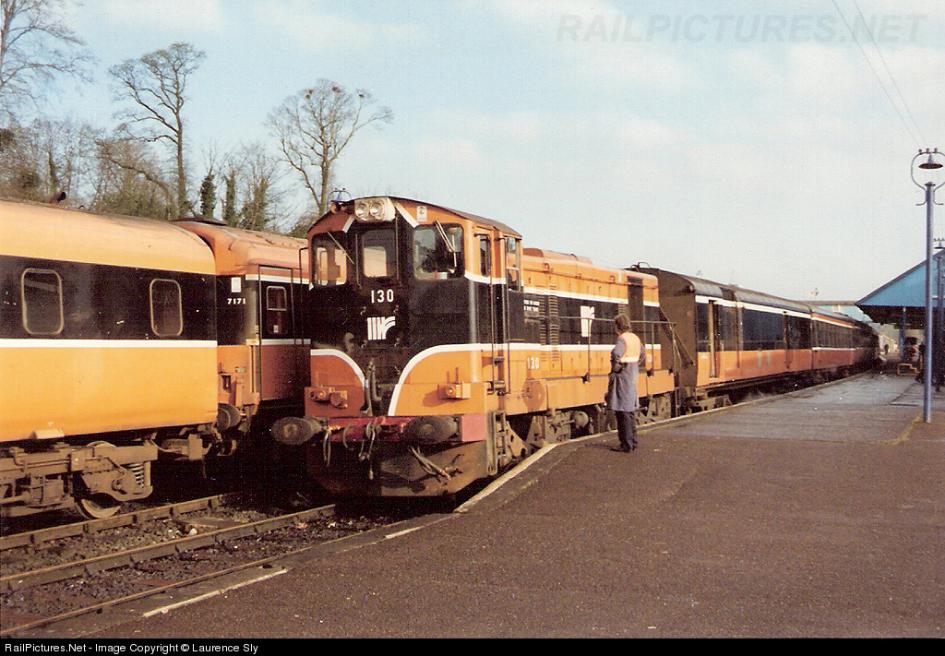
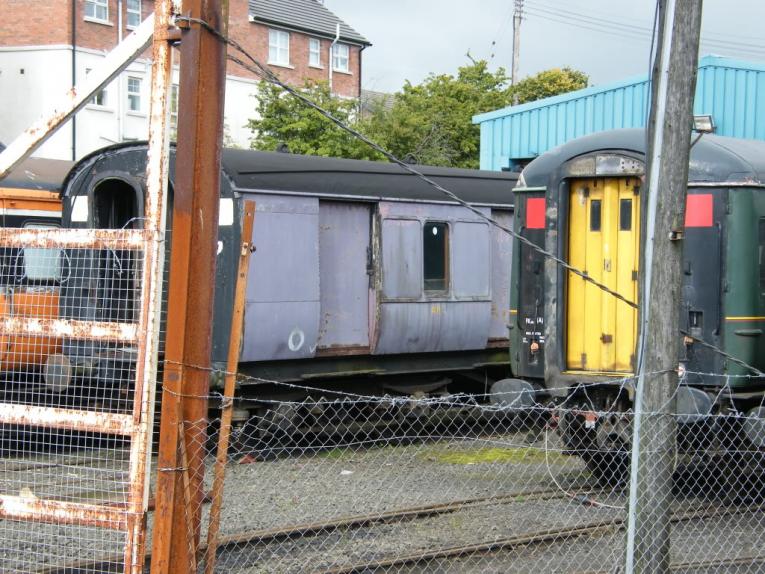
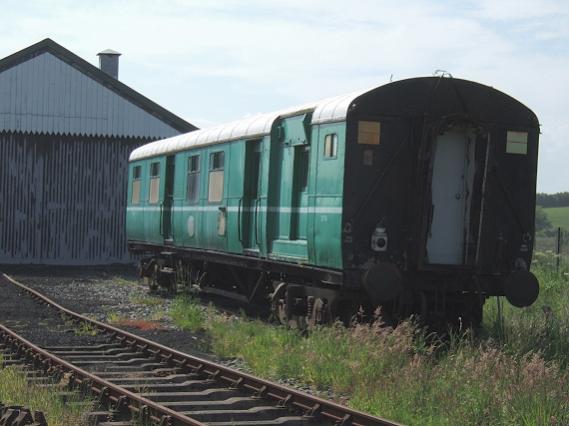
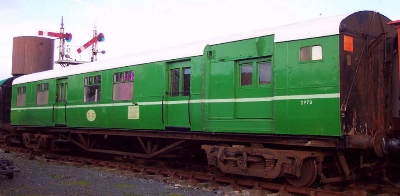
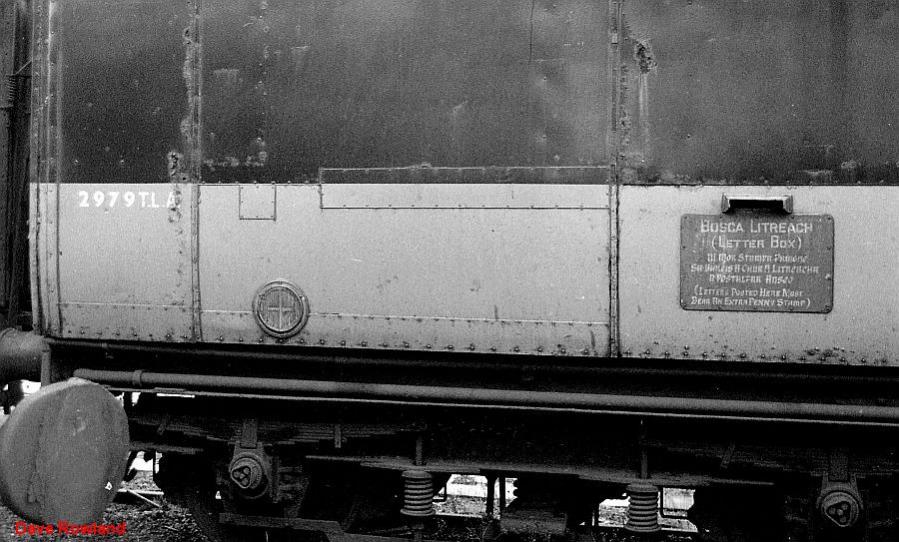
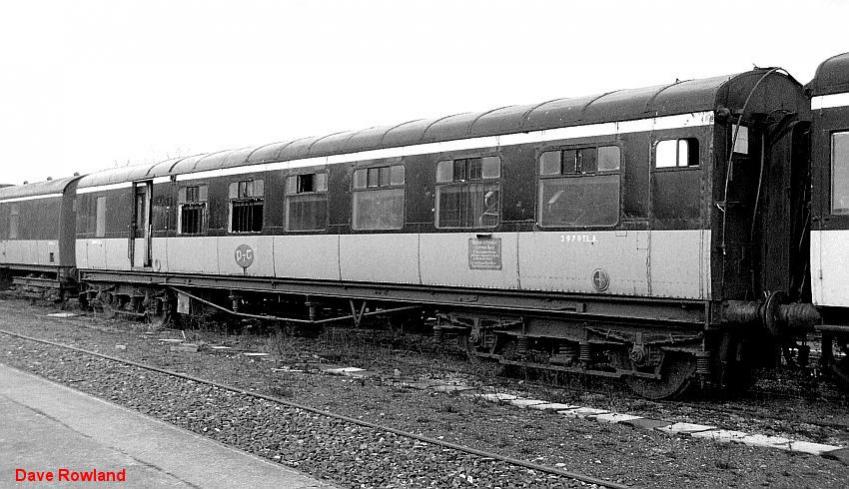
I'm going to post what photos I have, most are from Fotopic, and I apologise in advance far any copyright abuse - if anyone has grief about the photos, let me know and I'll take them down. My intent is to gather as much info as possible about these illusive creatures as possible so I can produce a drawing and upload it to Bosco's drawing site. So far I know that they were converts of what may be known as Bredin Mk II's, from around the mid to late fifties, and they were made immortal in the cheesiest RTE show on youtube, involving stopping the train in Thurles, having a few sups, and resuming they're journey once plenty singing was conducted. Richie
-
IS that Doyle & Hirsh book still in print? It might save me squinting at frosty shots from Ernie and Fred Deans collections on Flickr. I've photos from Dromod, of what I thought was a P&T carraige, but I might start a post to gather what little is available. Richie.
-
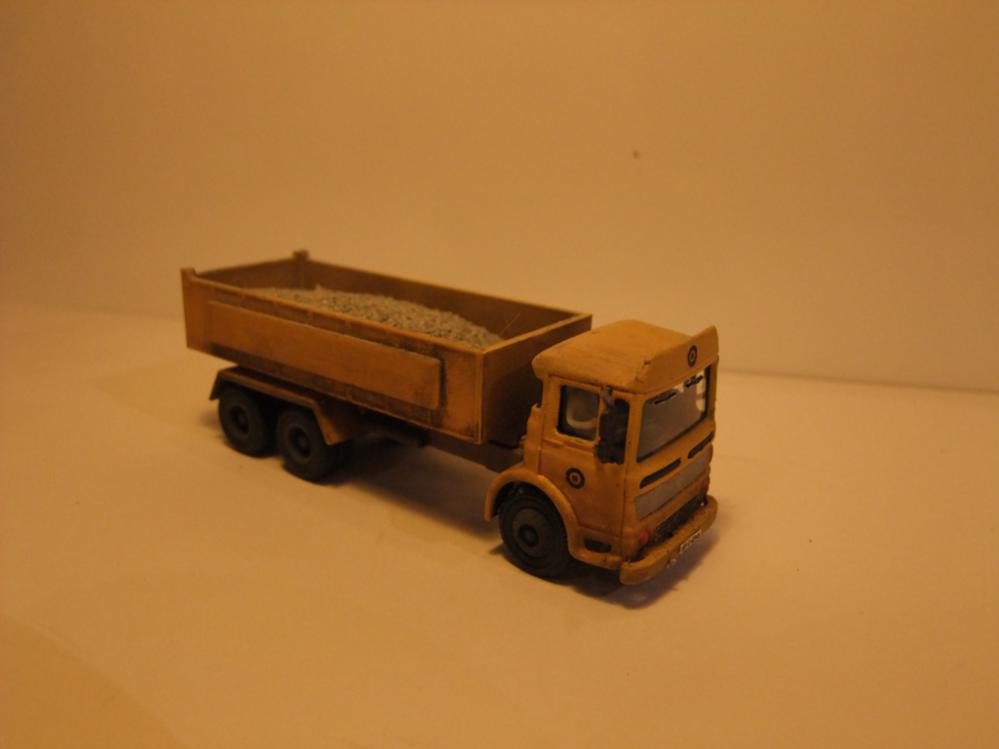
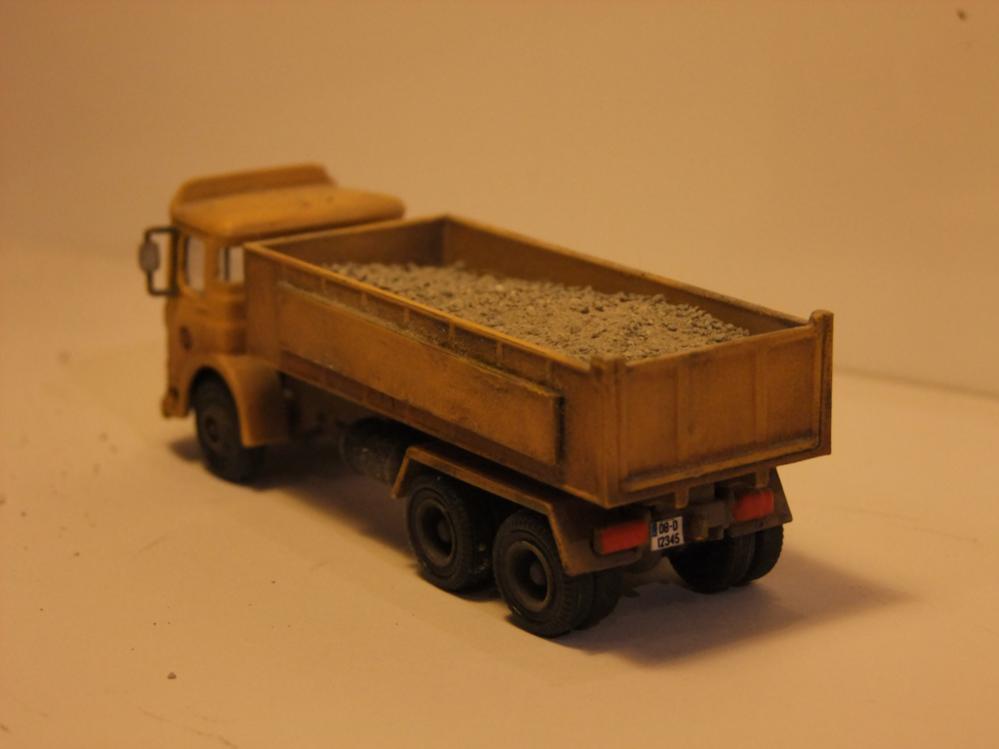
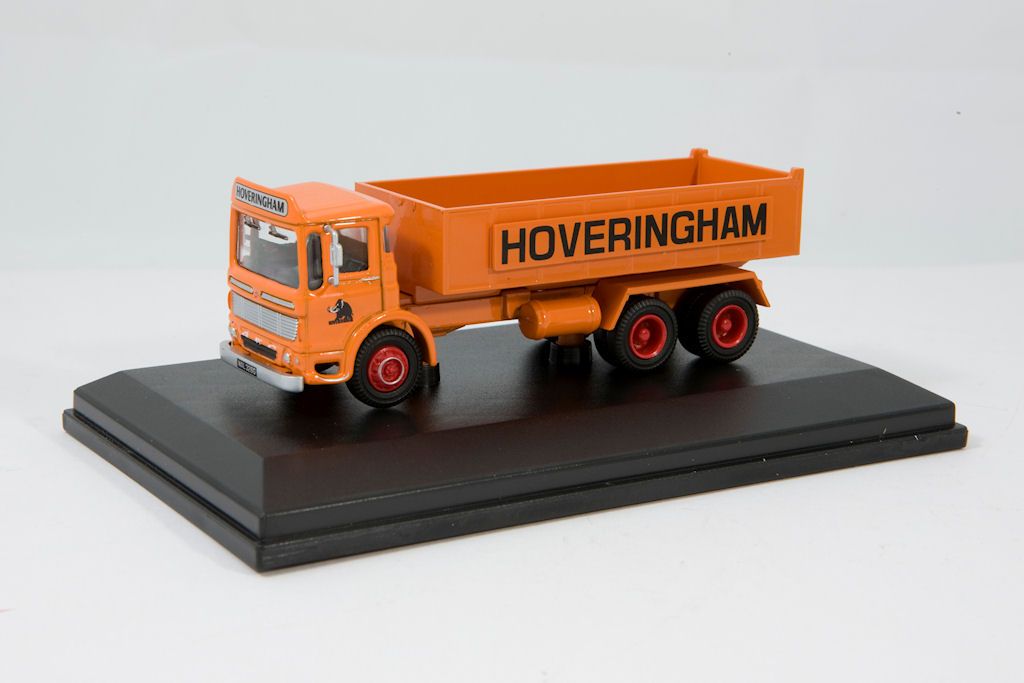
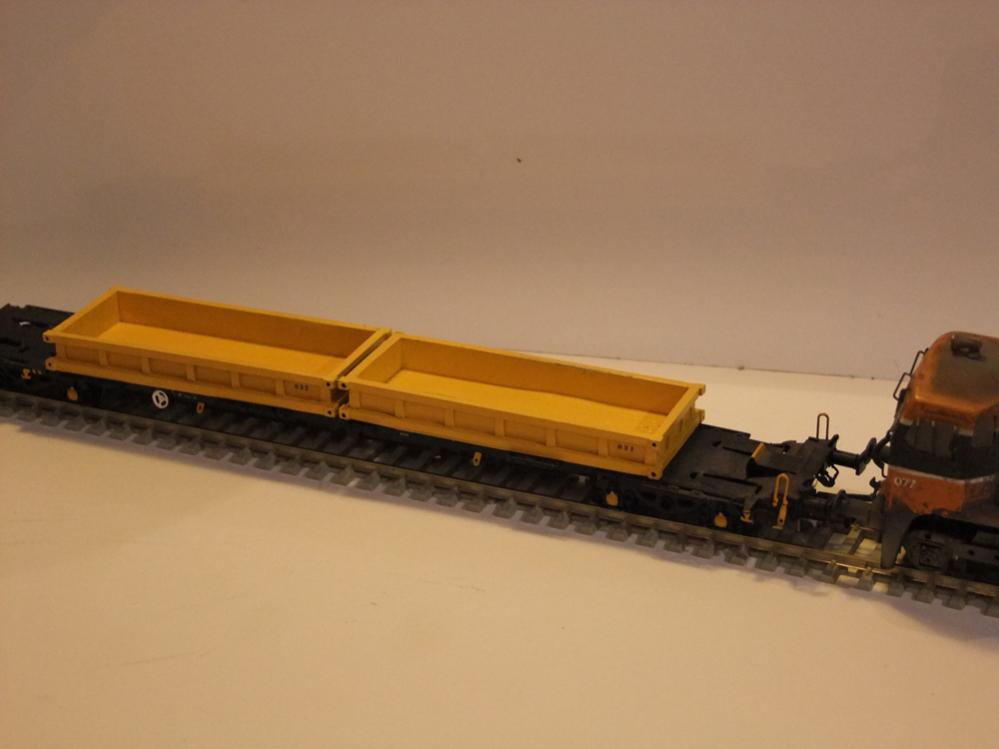
Things are mad busy of late, and I've a lot of you guys to thank for that, but I put the card away [mostly] for the weekend to work on a few other bits and pieces that I thought I might post up. It's been so long since I did purely "plastic" work, and I'd forgotten what paints did what, and what varnishes didn't do sod all. Very enjoyable process, but I can certainly say that Uncle Arthur's Restorative Tonic has nuked a few brain cells over the years and I'm a bit annoyed at how crap the human brain is in retaining useful stuff. So this is the Corgi AEC Ergomatic Six Wheel Tipper in pristine condition. I confess here I don't have a driving license, and know less about trucks. A friend picked it up at Dun Laoghire and I offered to repaint it. It looks a little more work weary than I'd imagine, but I'd like your feedback on the how to improve it. Have I over egged the pudding??? It's supposed to be part of CIE's Infrastructure Division. Does it need branding on the tipper panel too? Does it need to be finished in gloss varnish? This is an unknown world to me..... [Cat litter Ballast in the tipper] Then there are the Spoil Containers that sit two to a 42' flat. I think I have Heirflick to thank for the initial photos that fired my interest:banana: I made up one some weeks ago, and another yesterday, but both are prototypically incorrect so I'm keeping them. The next lot will be "bang on". I don't have a 42' flat to sit them on - I'm on my third styrene prototype and they are more warped than Frankie Boyle's sense of humour, so I'll not show em here. The one on the right is the first one where Plastic Magic warped it, and on the left the sturdier one! [Nevermind ol' dirty 077, she may be a crap resin mould but I love her!] Moving on, I have to thank Garfieldsghost, Snapper, ttc0169, and thewanderer for all the info regarding the sperry ultrasonic container. I sat down and did a few hours to get the artwork right for it to make a prototype model to see if it was possible in 00 as a scratchbuild. Turns out, after building it, it's 8'6 not 9'6 as I originally thought, so this baby goes in the bin. The next weekend I get to work in plastic again, which might be Christmas, I'll do her up proper, at the right height! Richie.