David Holman
-
Posts
4,359 -
Joined
-
Last visited
-
Days Won
117
Content Type
Profiles
Forums
Events
Gallery
Blogs
Everything posted by David Holman
-
That's your own house in the background then...
-
Great work and love to see people trying new things and learning new skills. Experimenting is what it is all about, though also worth remembering that sometimes, the old fashioned paint brush is the best tool for small areas like the gangway doors.
-
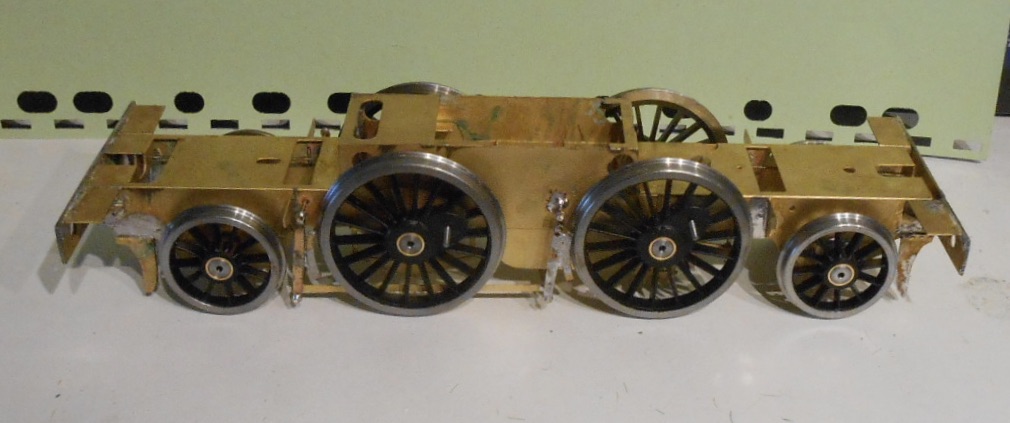
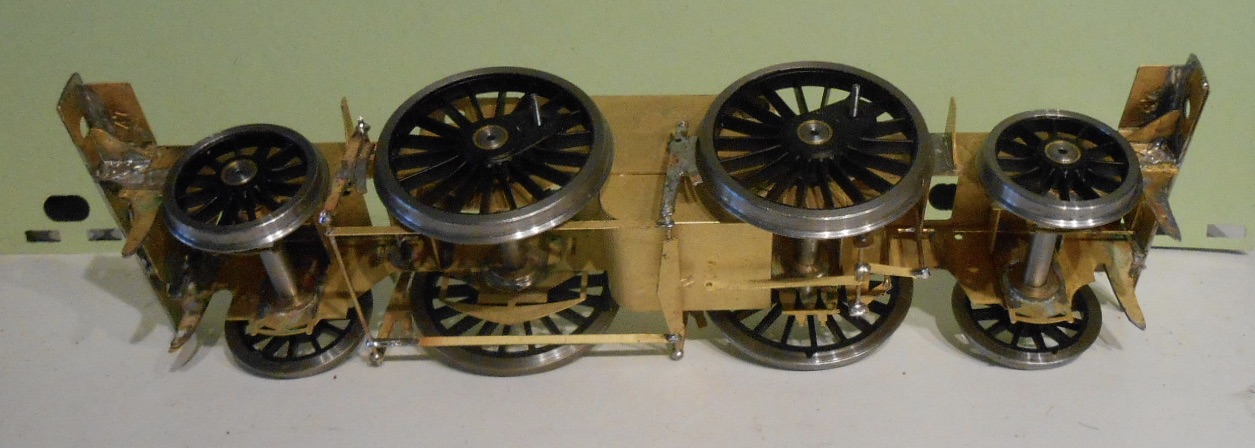
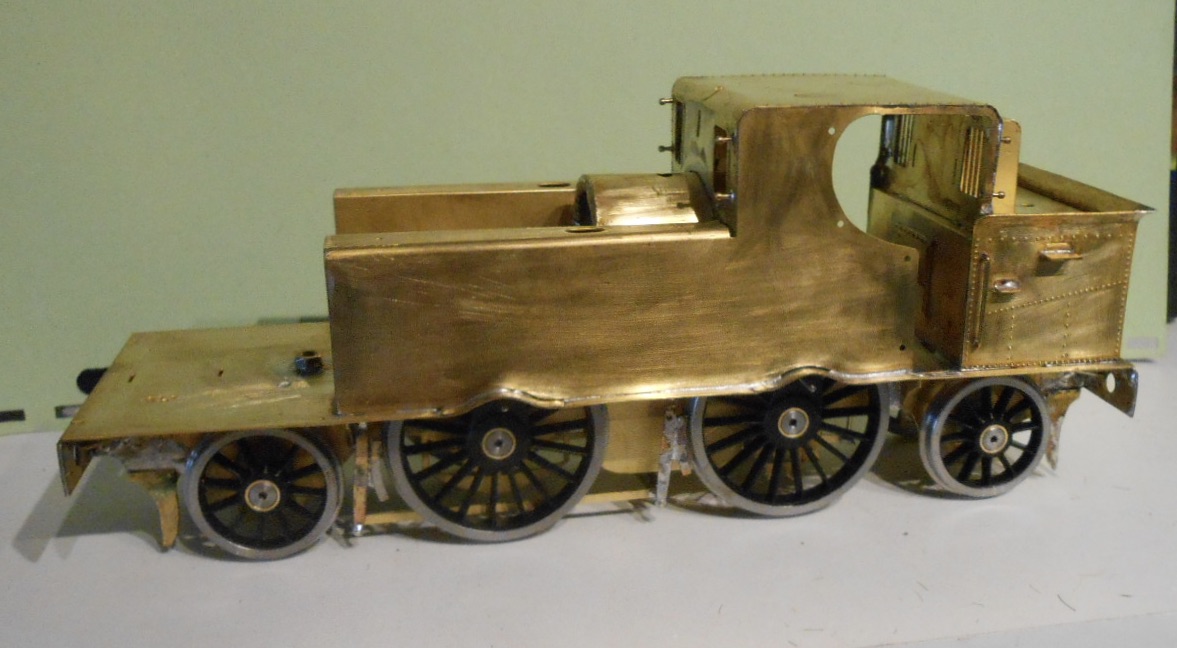
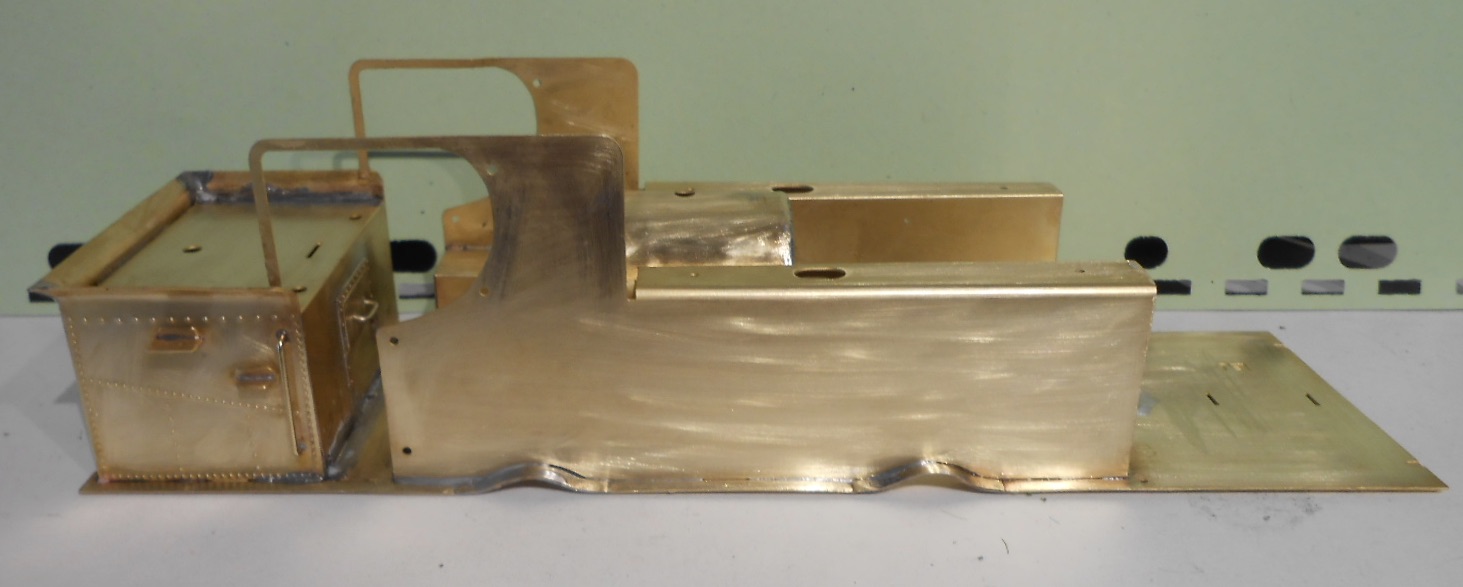
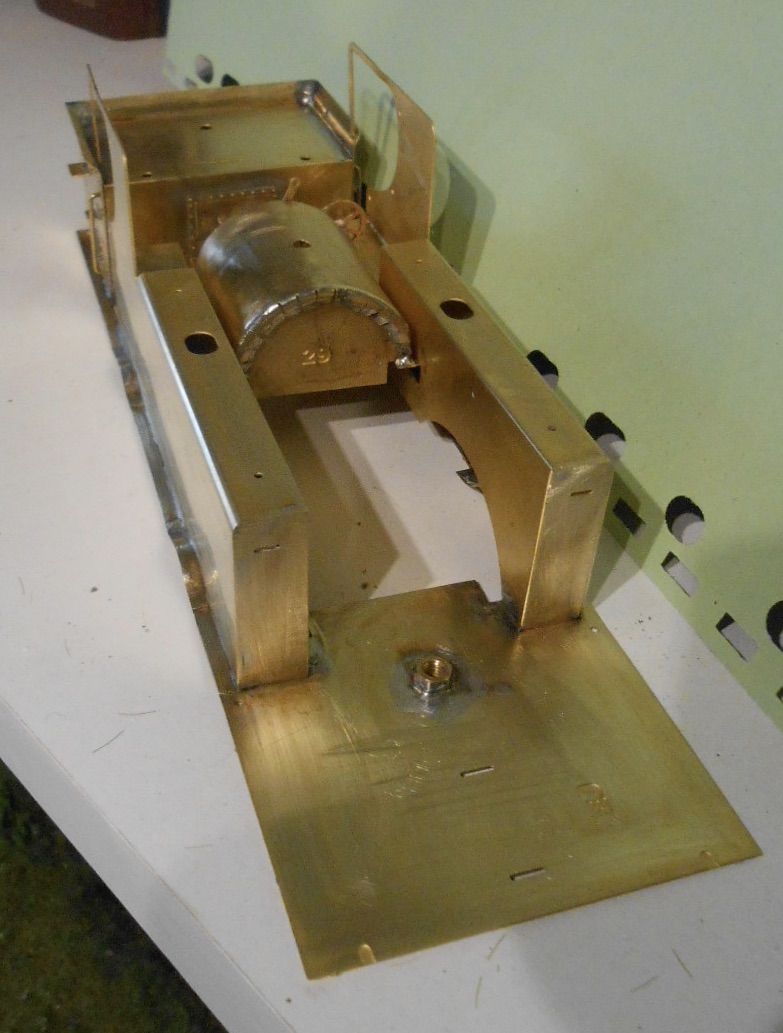
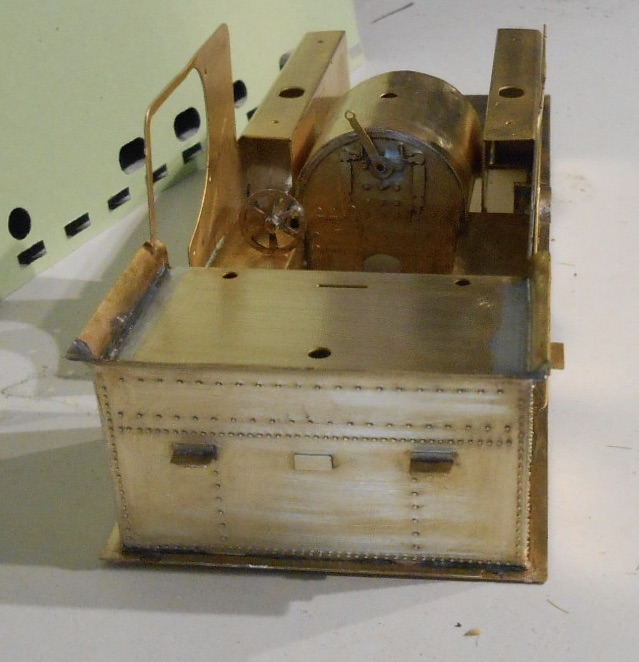
After the challenges of the main bodywork, the chassis has proved relatively straightforward. My order from Premier Components arrived on Monday, containing their excellent machined gearbox, but now fitted with a Canon 1833 motor instead of the previous Mashima, which is no longer available. I'd also ordered some more axle bushes/top hat bearings and various bits and pieces recommended by the Alphagraphix kit. I've used Slater's bushes in the past, but the etched holes in the frames require significantly more reaming out to make them fit. The frames follow the usual Alphagraphix practice of being a single fold up etch, which always works well and gives a very square base to add all the other stuff. This includes a clever motor cradle: for 36.75mm gauge you add the top hat bearings the wrong way round, soldering them to the cradle [not the frames], so the whole cradle pivots downwards if required. The cradle also doubles up as the ash pan sides and means the motor and gearbox are neatly hidden between the frames, leaving plenty of room for extra weight in the side tanks and boiler. The motor drives the leading driving wheels. The front and rear pony wheels include a simple springing system [a bit like on the 6 wheel coaches] and there is enough side play available to go through my 6ft radius curves and points. After a bit of gentle reaming of the bearings, all wheels now rotate freely. Being a four coupled loco, there is only a single pair of coupling rods to deal with. The etches need to be paired up for double thickness, but once done and added to the driving wheels, a quick test showed these also run freely. Despite building over 60 locos in various scales and gauges, I'm still really pleased, if not surprised, when this happens first time, but is certainly proof of well designed etchings. Brake gear was [as usual for me], a bit of a faff - I just never seem to have enough hands or fingers! However, it went together well enough and includes representation of the linkage from the vacuum and hand brake controls in the cab. The body work sits well enough on the chassis, as shown in the photos. Very little cleaning up has been done so far, apart from washing off excess flux, which certainly shows the benefits of soldering joints from the inside, wherever possible.

-
Well done Ken, always great to see folk pushing the boundaries. Does the green track base also involve alchemy?
-
Good for you, Phil. I have an airbrush and compressor, but have never used them enough to master the technique, not least because of what I can get away with using automotive rattle cans.
-
Sounds like operation is more your thing than buildings and scenery at the moment. Nothing wrong with that, of course, but as jhb says, realism means observing the prototype and trying to emulate it as closely as you can. About 60 years ago, the then editor of Railway Modeller, Cyril Freezer, wrote about scenery and buildings being much less important to those wanting to run an intensive service. 10 x 10 is a great space to do that in 00.
-
Inchicore Class J10 Conversion From LNER J72
David Holman replied to murrayec's topic in Irish Models
Clean, sharp and just looks so good. -
Fascinating! Many thanks Ken and others. The quality of 3D printing has certainly improved massively in the last couple of years. Will look forward to seeing how these wagons progress.
-
The wagons look great, Ken. How long does each one take to print? Not sure it would be practical to resin cast sides and ends for open structures like these, so certainly the way to go. However, just for comparison, a set of resin castings for a van take about 30-40 minutes to set, with about another half hour to assemble into a box, so am wondering if I need to consider changing to 3D printing any time soon?
-
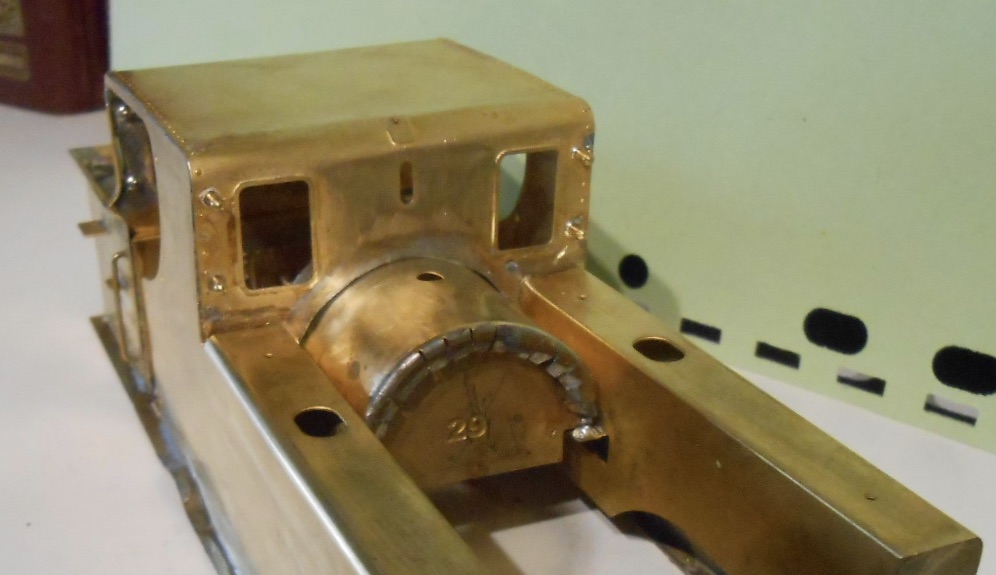
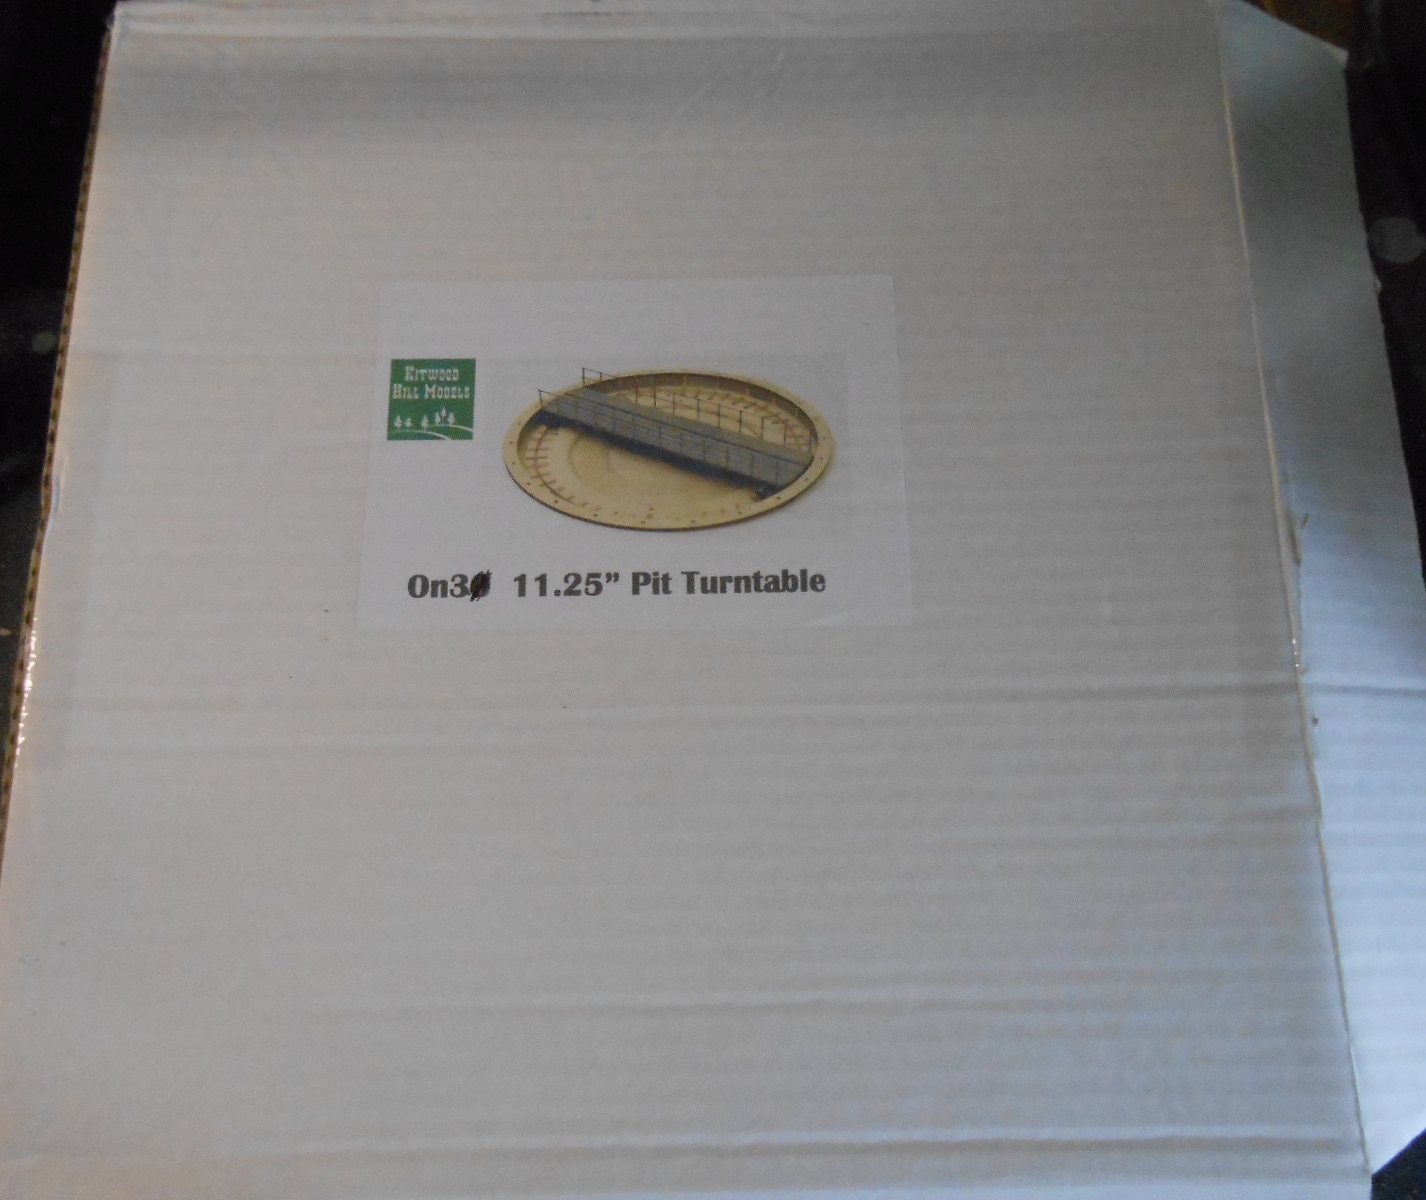
Well, if the bodywork was a bit of a challenge, the cab roof was a decided pain in the fundament. It is a single etching, which needs forming over the outline of the front, side and rear of the cab. Easier said than done - not because there was anything wrong with the etch, rather that no matter how accurate it was, errors in construction easily result in gaps or short comings. In my case, I can only think that the tabs and slots used for the bodywork didn't quite line up because there was a bit of leeway in their fitting - hence the one piece cab front/roof/end didn't sit right and not only was there a gap between it and the firebox top, but side tanks didn't mate up with the etched outline on the cab front. So, what to do..? In my case, I decided to solder a new fillet to the inside of the cab front, then carefully file it to match the profile of the firebox top. I ground off the etched sections which are supposed to line up with the water tanks and similarly ground off the beading on the cab front, around the firebox top. With hindsight, a better idea for the kit would have been to provide this beading as a separate curved etch, so it could be used to cover any small gaps between the two. I will now need to fashion something similar from brass strip. Curving the whole section and then soldering it in place took me the best part of four sessions. However, 'tis now done and hopefully careful application of filler and sanding back will ensure the final coats of paint hide any blemishes. Meanwhile, this morning an interesting parcel finally arrived, in the shape of a 12 inch pizza box. Inside was my order for a new turntable from Kitwood Models. It's been a while since I first asked for it, but what seems to happen is that Kitwood wait for a certain number of orders to accumulate, before embarking on production - in this case a run of sixty or so. The box contains a wealth of laser cut timber parts, along with an electric motor, necessary gears and plunger pick ups, brass wheels, etc. The kit is actually sold for American [or Australian] outline 0n3 scale, but hopefully, with a few cosmetic additions, I can make it look the part for 36.75mm gauge. Indeed, it may just take precedence over the F6 for a while...
-
Well done for including this often ignored, but essential feature. Fiddly, even in 7mm scale, I was very glad to find the SLNCR often boarded over their rodding runs at stations.
-
Me three, also in 7mm. The aim is to do it in plastic sheet/strip, with whitemetal fittings. Only need one or two, so not thinking resin casting with it.
-
Indeed and Patrick's layout shows how well good presentation works on large layouts too; also why pictures need frames.
-
Not difficult to see why this scale/gauge combination is so attractive.
-
Last time, I was wittering on about doing the presentation aspects of the layout, but thinking about it, decided it could probably wait, not least because DIY supplies are getting expensive at the moment, particularly wood and board, so prices are going up too. Hence, attention has turned to the F6 kit instead. I'm still waiting for extra components for the chassis, so in a break from my usual practice have started with the loco body. As with other Alphagraphix kits, this one is well thought out, with instructions that indicate whoever wrote them, actually built the kit as well - not always the case in my experience with other manufacturers! However, the curved footplate, cab, bunker and tanks mean this is not an easy kit to make, especially compared to the J26. The footplate is very fragile until the tanks, bunker and [especially] the cab splashers are soldered in place, so there was a fair bit of muttering and grumbling while it was all coming together - not unlike Galteemore's experience on his model I suspect. Fingers crossed, it is all sitting nice and square, but such things can still come back to bite you as other parts are added. Must admit the firebox is a curious affair, with the front end etched as though it had been cut with pinking shears. The triangular bits are bent inwards and filled with solder, before filing flat, so until the boiler is made up, I've no idea how this works out. Equally, Roger's stuff has always worked out before, so watch this space...
-
Tasty. I believe there is even a working overhead crane available too, for sufficient funds!
-
Got to be pleased with that!
-
TWO Irish articles in the latest Model Railway Journal. First on a model of Dromod station building, plus another on West/South Clare locos in both 4mm and 6mm scale. Given MRJ never normally goes outside Britain, this is quite a departure, but then the editor this time is Iain Rice, who for me always has something interesting to share.
-
Brookhall Mill - A GNR(I) Micro Layout
David Holman replied to Patrick Davey's topic in Irish Model Layouts
Now that is rather nice. -
Jools Holland, often seen at exhibitions in a previous age.
-
Just goes to show that there is always room for a model railway and like here, less is more.
-
For me this is a good design, because the loco will always be on scene while shunting. There are examples like this, but the other way round, where the loco is almost always out of sight!
-
Speaking of Bishops Castle, Lydham Heath was the junction in the middle of the line, where it reversed - very Irish, of course. Track layout was just the loop, plus a siding at the end of the run round and the junction point just beyond the platform. Hence a bit of operating interest, as all trains reversed. Barry Norman did a fabulous rendition of it in S scale. To do it justice, battery power would be needed as the weeds were famously knee high at times. However, nobody has mentioned Valencia Harbour yet. Just the loop, with a single siding. Am sure Andy will eventually.
-
Just spent an enjoyable half hour flicking through posts right from the start. Really interesting to see how the layout has developed. There's a lot to be said for American layout design features if you have the space, while many exhibition layouts are not presented this well either.
-
Inchicore Class J10 Conversion From LNER J72
David Holman replied to murrayec's topic in Irish Models
Shades of Steve Fletcher, horologist in The Repair Shop - find precision work like this just fascinating.