murrayec
-
Posts
2,717 -
Joined
-
Last visited
-
Days Won
70
Content Type
Profiles
Forums
Resource Library
Events
Gallery
Blogs
Store
Community Map
Everything posted by murrayec
-
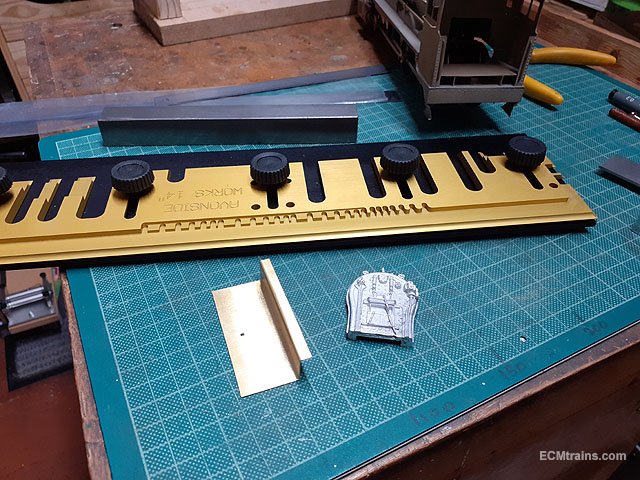
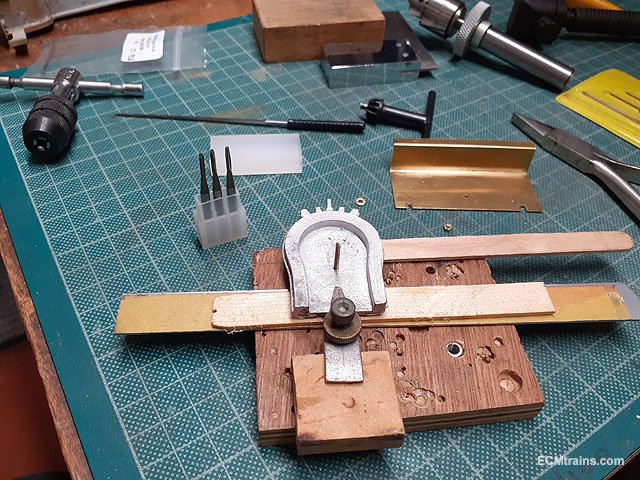
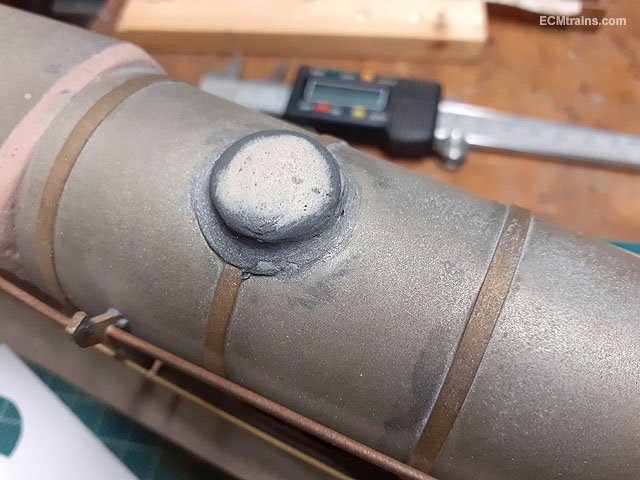
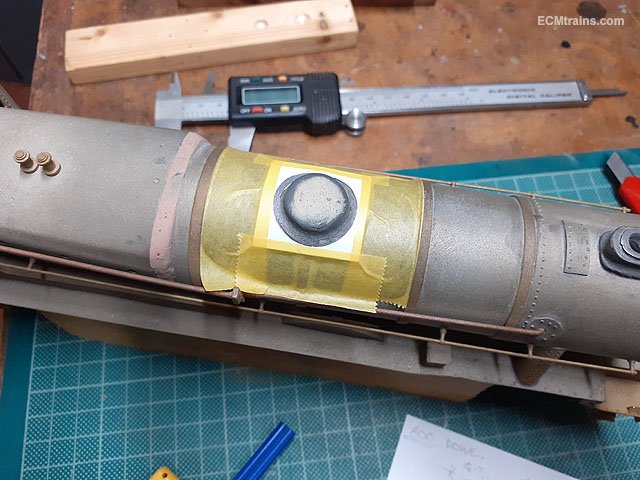
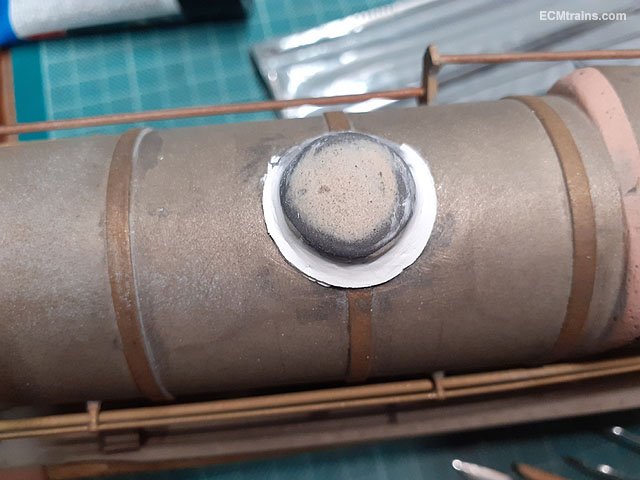
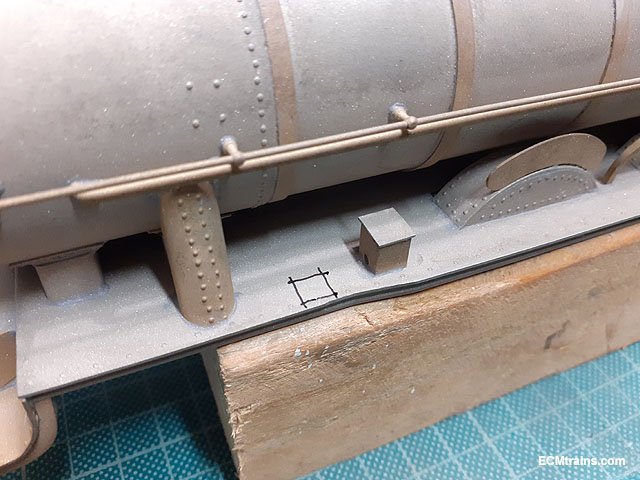
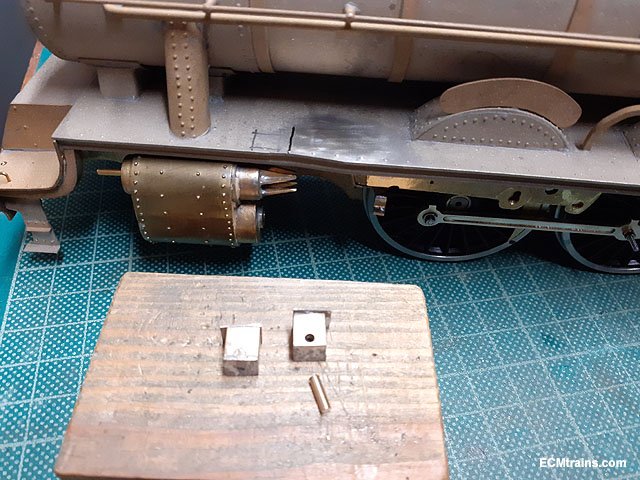
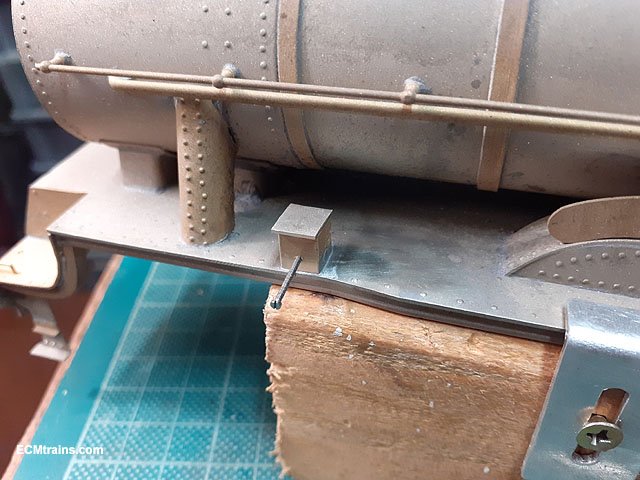
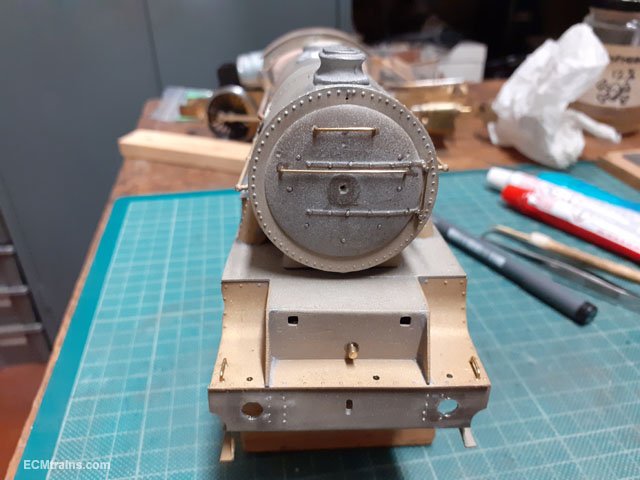
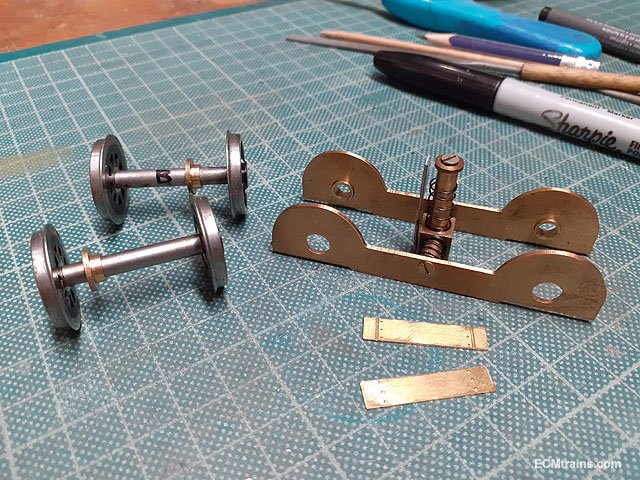
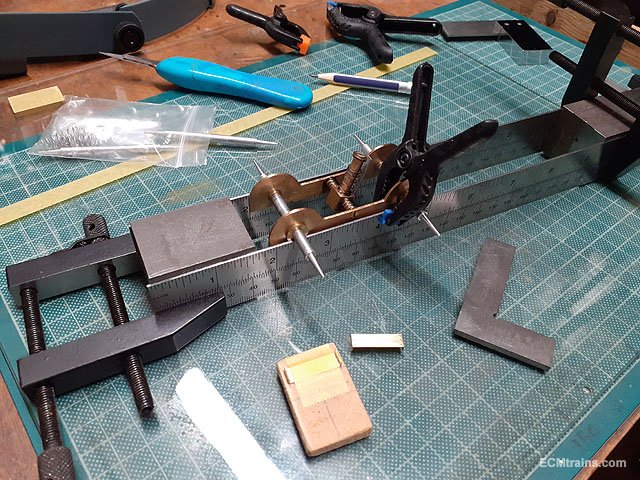
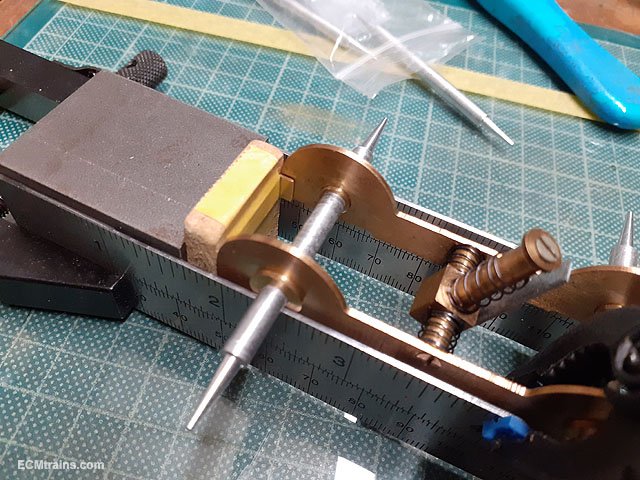
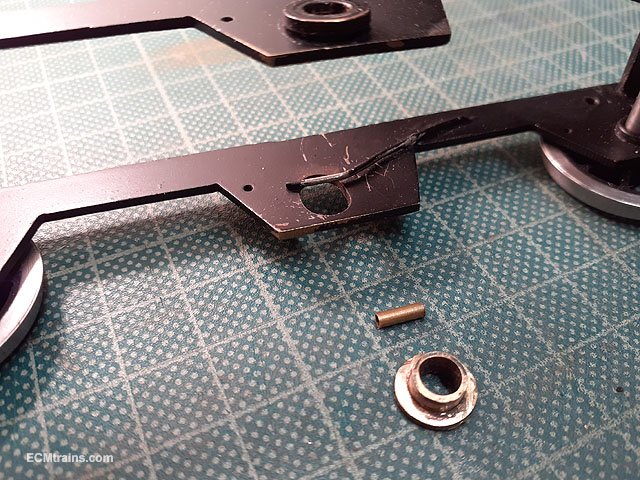
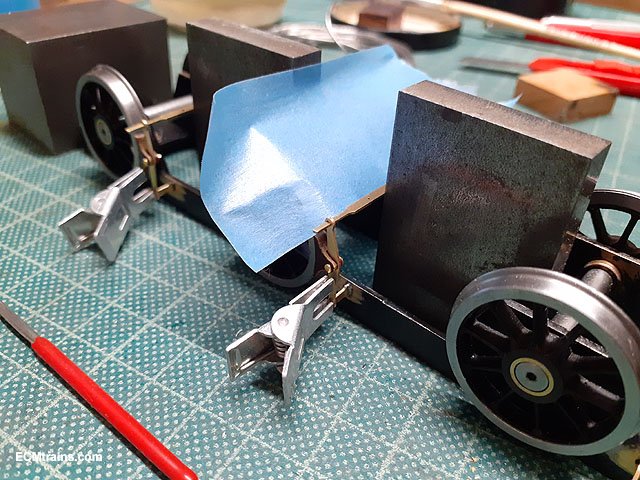
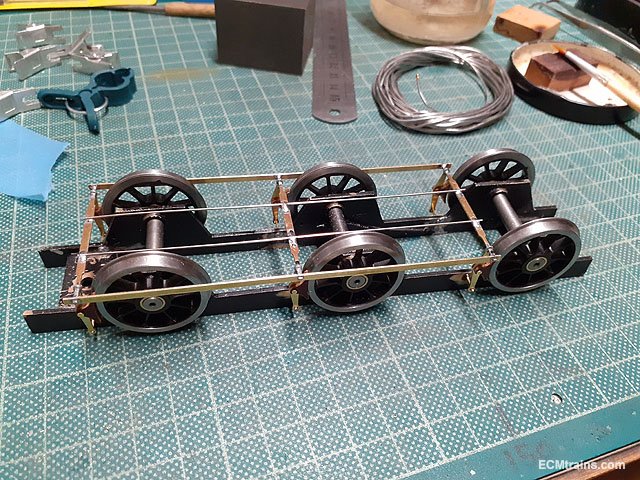
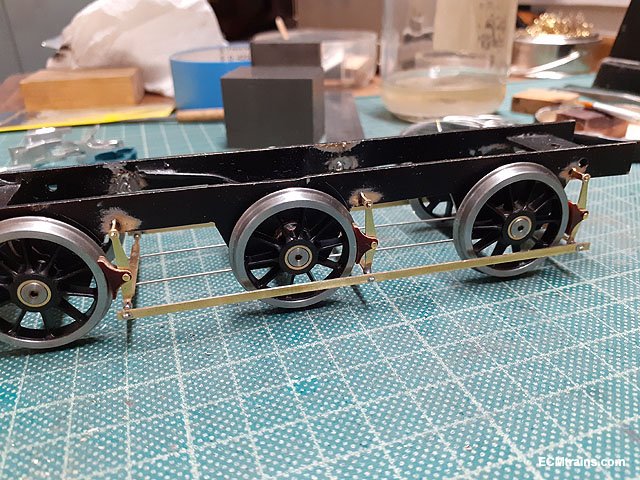
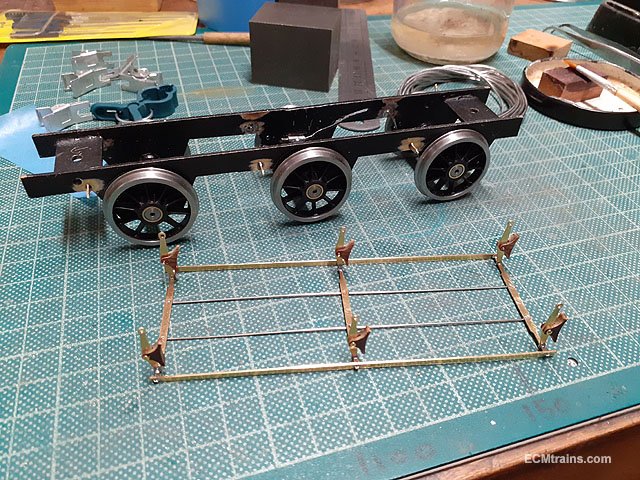
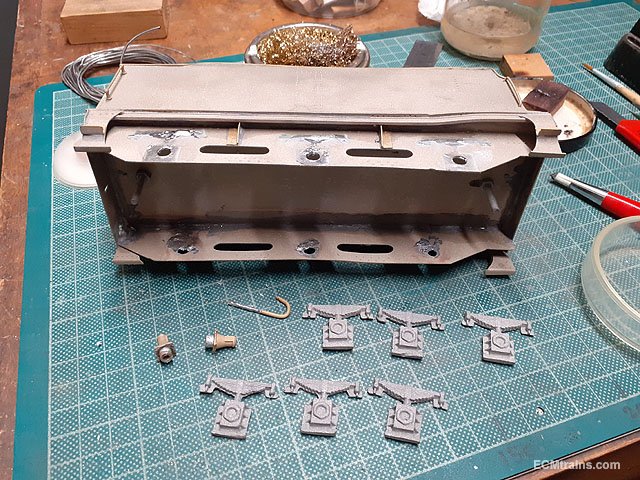
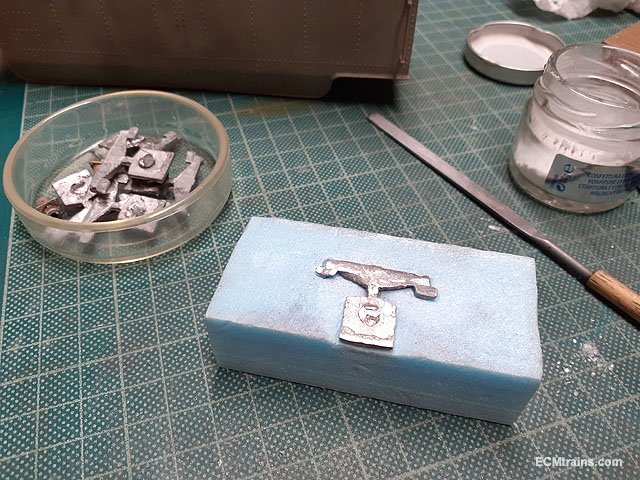
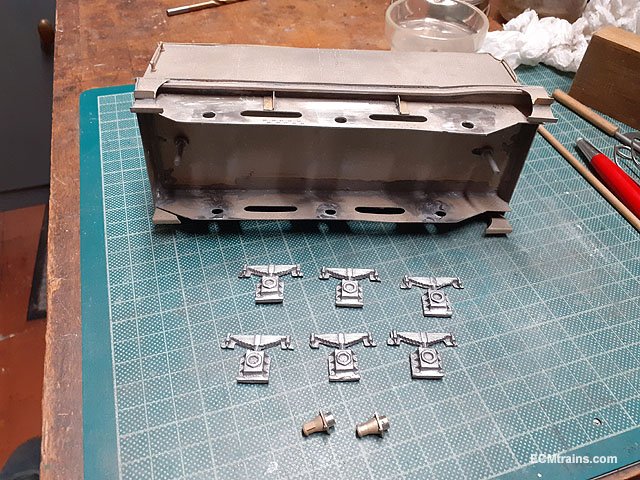
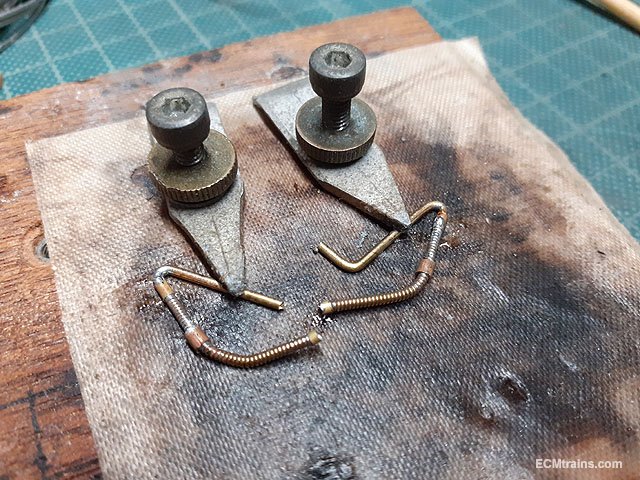
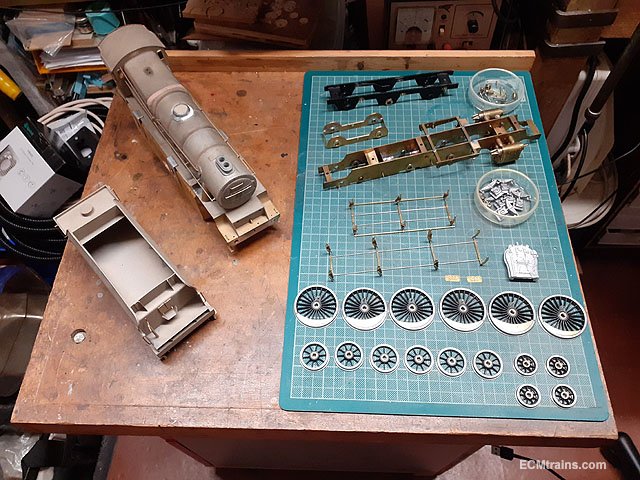
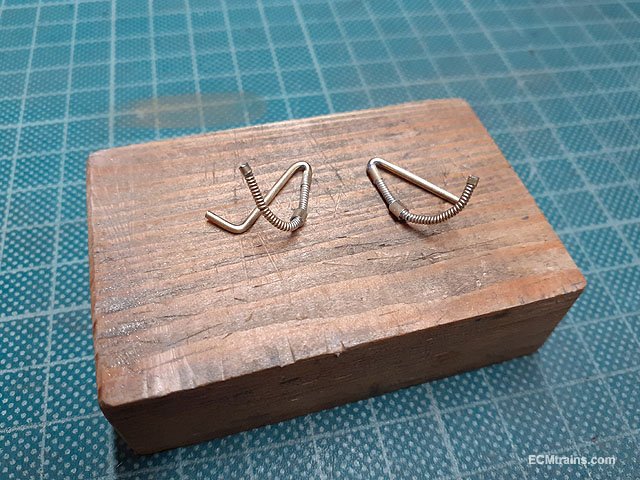
So on the Class 800, after sorting the valve link problems I returned to final body and chassis work;- Fixing up the gaping hole in the cab and installing a not so prototypical backhead (it's what the client gave me and he's happy to use it!), the brass cover piece was folded up and made to fit. I installed a BA screw in the backhead so that its bolted in and can be changed in the future. The step in the floor is required to clear the wheels and to allow the chassis to be fitted in. Next is the steam dome- its missing it's edge for about 70% and just would not look right! I cut a hole in a piece of .5mm styrene card to the diameter of the flange and stuck it on around the dome to fill the recess with plastic filler. The dome seems to be part plastic and lead so decided to keep the soldering iron away from it. Filled ready for painting the undercoat then I will clean it up. Next the oil pump boxes on the running boards- I'm doing the drive rods from the valve gear for these and as the came they are in the wrong position- to far back and to far in from the edge so..... ....pop them off, filled the holes in the boxes with brass rod for drilling new 14BA taped holes..... .....soldered back on in the correct position with BA screw showing which will hold the little brass hand-wheels and drive gear in place. Detail bits are now glued onto boiler front with epoxy. The buffer shanks were de soldered for the painting process. Bogie truck is next, I made frame stretchers in .5mm brass for back and front of bogie with a little bit of rivet detail. After folding up the stretchers the bogie was jigged up to keep all straight n level in relation to the axles, the stretchers taped to a piece of mdf to hold in position while soldering. All soldered up. Then the tender chassis, one of the the middle axle bearing needed to be re fixed to the springing system, a short length of brass tube was used to slide over the spring and then soldered to the bearing without soldering it to the spring or chassis frame. Next installing the tender breaks. The breaks are done as per the loco and can be removed by springing off the spigots soldered into the chassis frames I decided to de-solder the tender WM spring n axle boxes, this will make the painting and lining process in this area far easier. The buffer shanks were also de-soldered for the painting process. Cleaning up. Done. Soldering up the vac pipes. Done, bent into shape and cleaned up. and we are now ready to start the painting process.....yippee Eoin

-
@LM186 Yes that would be correct, if you build a lateral beam with brass channel like the Bull-Ant type you can then hang the Spud and the third axle frame from it. Eoin
-
Hi @LM186 Tenshodo motor bogie also known as the 'Spud', Branchlines in the UK have the best price on them Eoin
-
Some more photos of the old Fry layout at this link;-
-
Yes, really is a shame, not much of that stuff will ever been seen again, nor a Gauge O layout of that size- very sad, I believe an opportunity lost....... Eoin
-
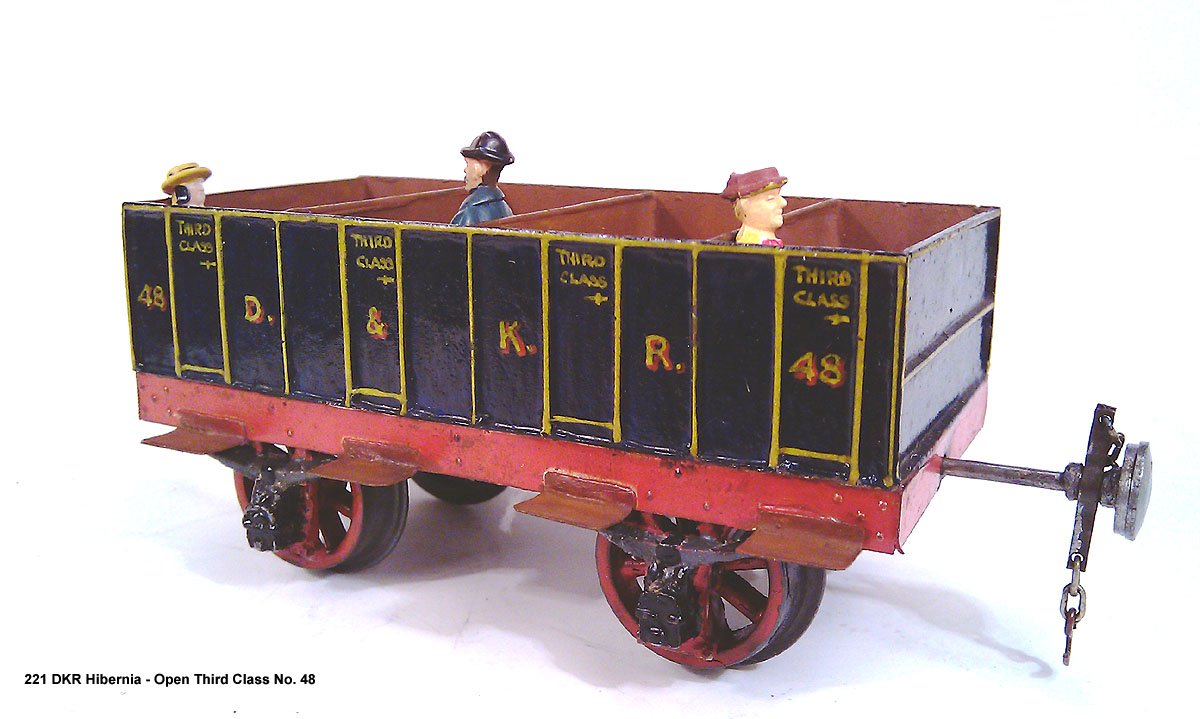
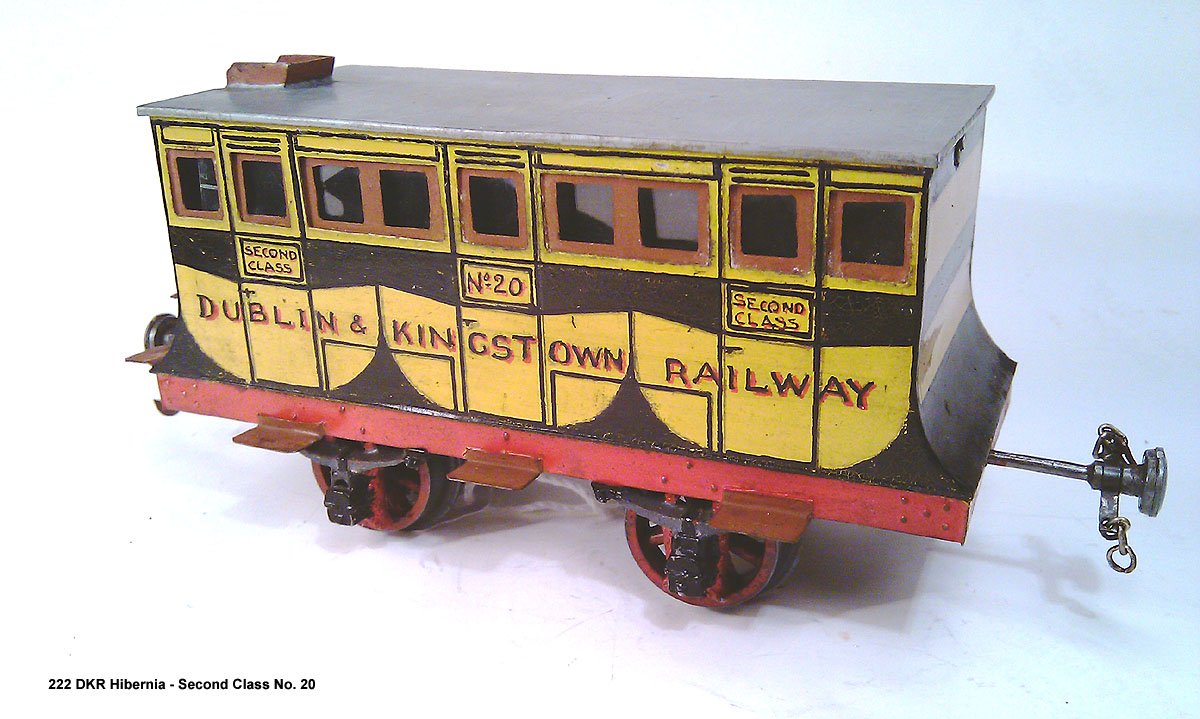
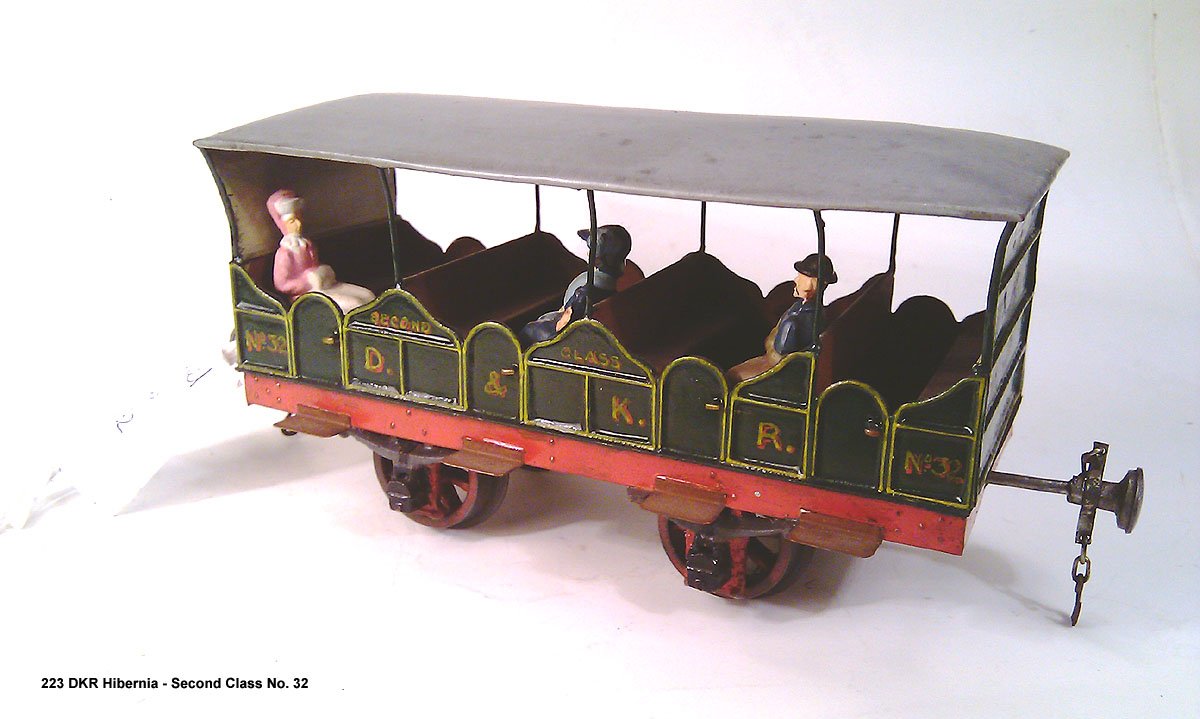
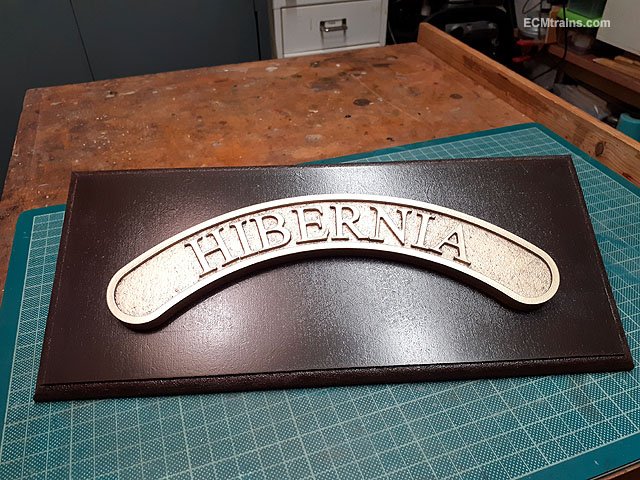
My favourite of the Fry Models has to be the D&KR Hibernia Loco and coaches;- Eoin Edit;- 'R' for 'W'
-
My own little 185th year celebration for one of the first locomotives on the Dublin & Kingstown Railway;- Eoin
-
Hi Colin R Studio Scale Models do a brass Class S kit. Eoin oops! narrow gauge I see in the title, ignore me!
-
I calculate it out at a scale difference of .8875 so 6.11mm = 1ft?? But I have to agree with Galteemore it would be far easer to make 5'3'' track than it would be to model in 6.1 or 6.26mm scale, it even knocks out kits, everything would have to be scratch built. Eoin
- 41 replies
-
- 1
-

-
- o gauge
- exhibition layout
- (and 2 more)
-
Talk to Diarmuid in Weirpark he may be interested?? Eoin
-
George Weirpark Books, Kieran the Soldier-man & Edward White to name three do plastic kits, there are a few others that have kits sometimes but I don't know their names. Weirpark & Edward can be contacted on facebook to check their stock Eoin
-
Will be going for the Rocket myself
-
@scahalane Go for an ESU V5 chip, something like a J72 would probably work- Peters Spares have a good range of sound chips. If a model has been opened by the end user most manufacturing warranty are voided! Eoin
-
until
-
Happy New Year to all Train & Model Fair patrons and IRM members, our flyer this year is sporting DART no. 1, 1980's livery. It also includes future dates up to 3 months ahead, and please note the February date is on a Saturday due to availability of the hall.
-
Good ahead planning @Dave Dawes Lidl have aluminium coin cases for €14.00 at the moment, though they have coin trays instead of foam but I'm sure that can be remedied...... Eoin Edit;- Just thinking! It may be prudent to store the locos across the case (rotate 90 deg) as this will protect the couplers and front end detail when the case is upright and in bumpy transit.
-

CIE Laminate Coaches - Worsley Works - ECMbuild in 4mm
murrayec replied to murrayec's topic in Irish Models
Hi John I cut the styrene with a Cameo Silhouette machine, it doesn't cut all the way through .5mm styrene but scores it heavily and then out with the scalpel..... I have set up the Stepcraft cnc machine to cut styrene now, it can cut with a drag knife like the Cameo and cuts all the way through .5mm sheet and more, or I cut with the rotary tool like cutting metal but experiencing heat problems. There are special single flute tools to cut plastic and one uses compressed air to cool the plastic, I'm still perfecting this system...... Eoin -
'Quoins' Fantastic work David Eoin
-
CIE Laminate Coaches - Worsley Works - ECMbuild in 4mm
murrayec replied to murrayec's topic in Irish Models
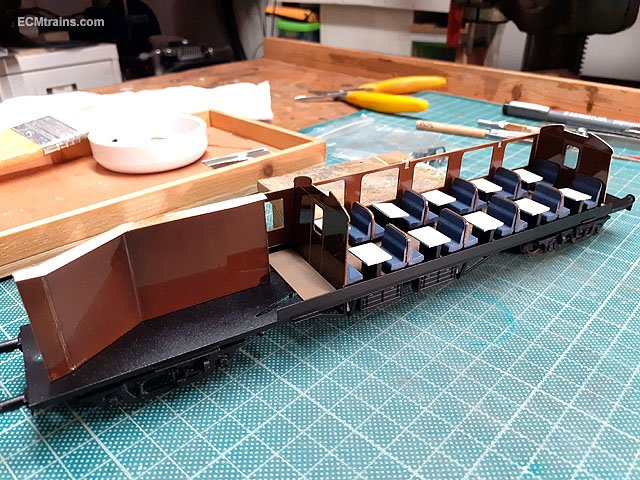
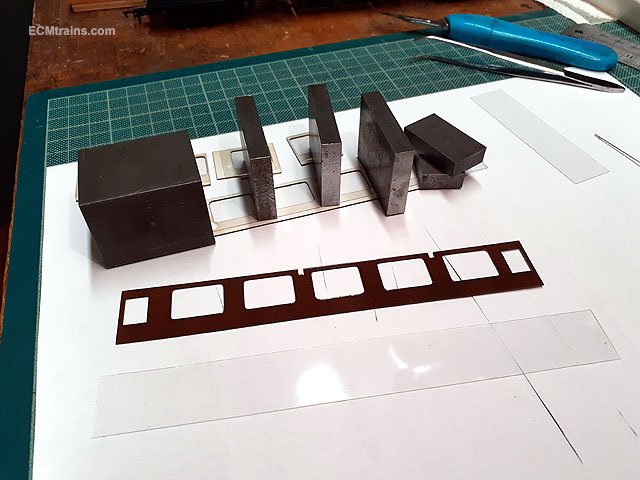
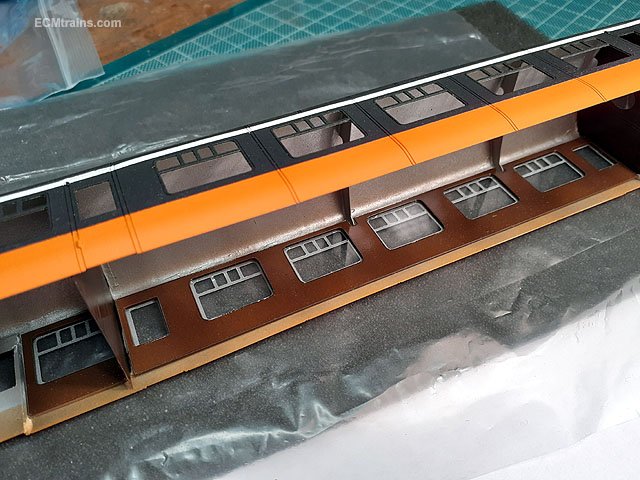
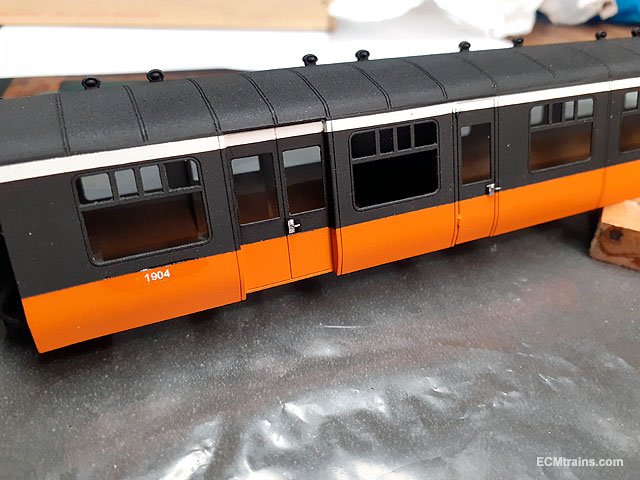
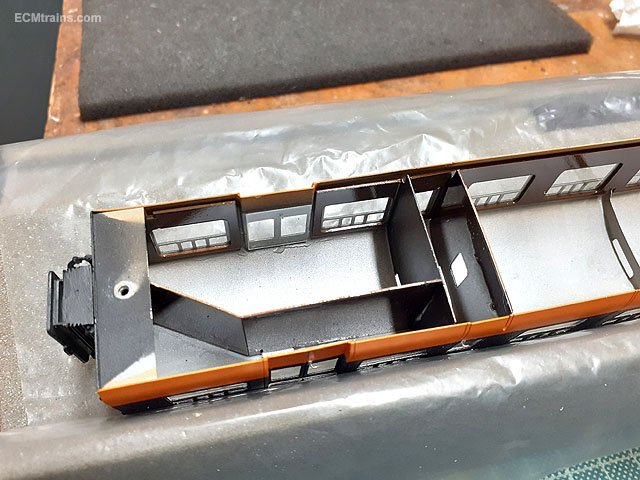
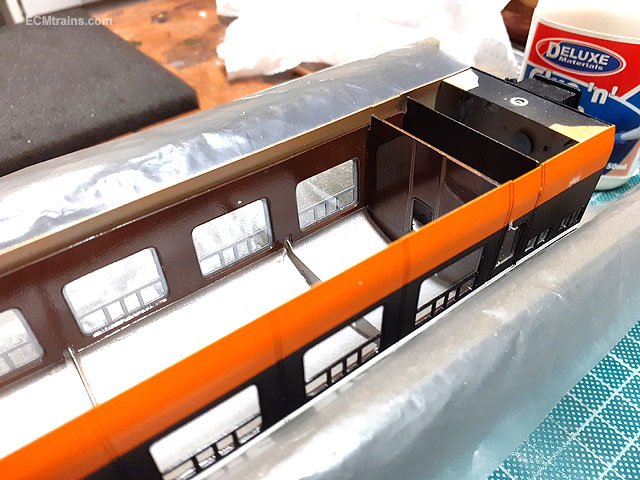
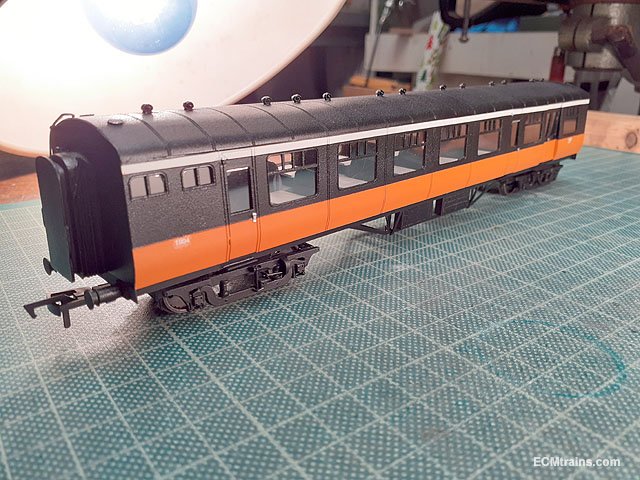
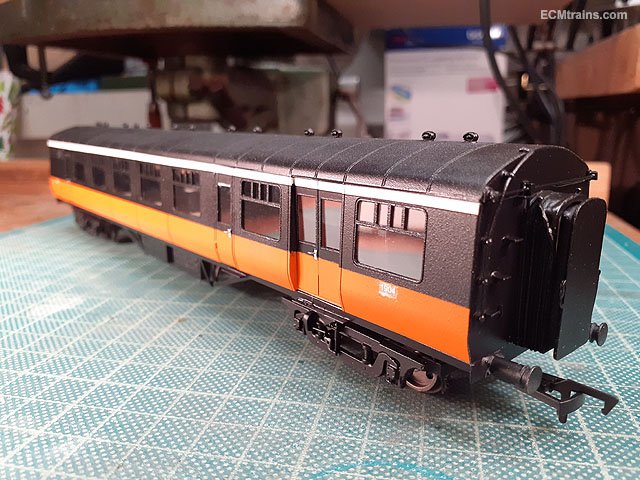
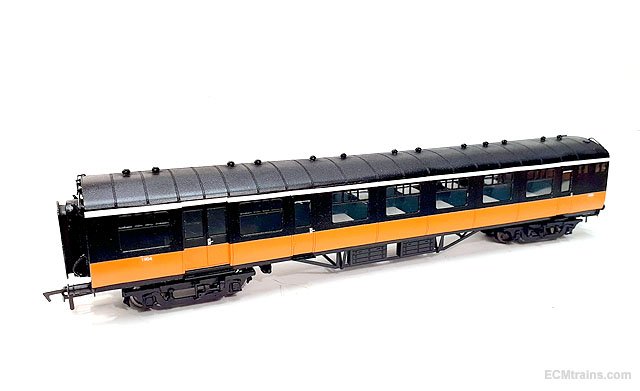
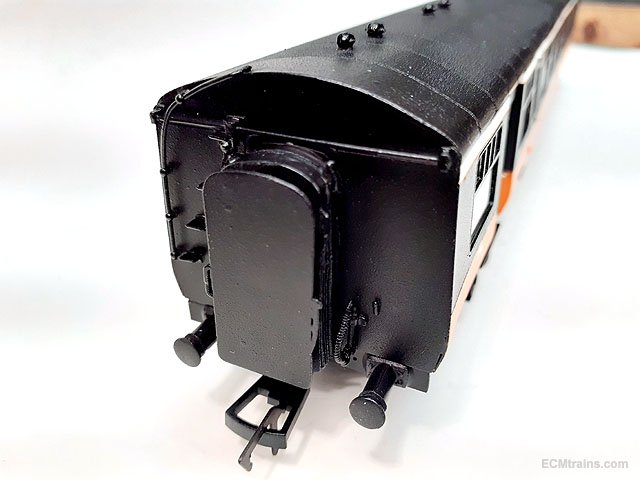
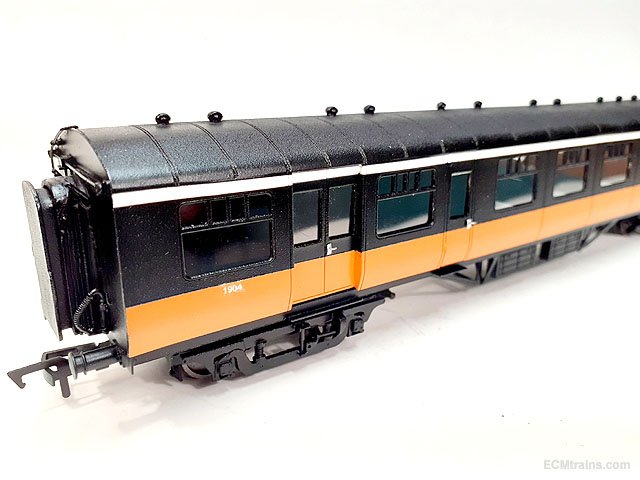
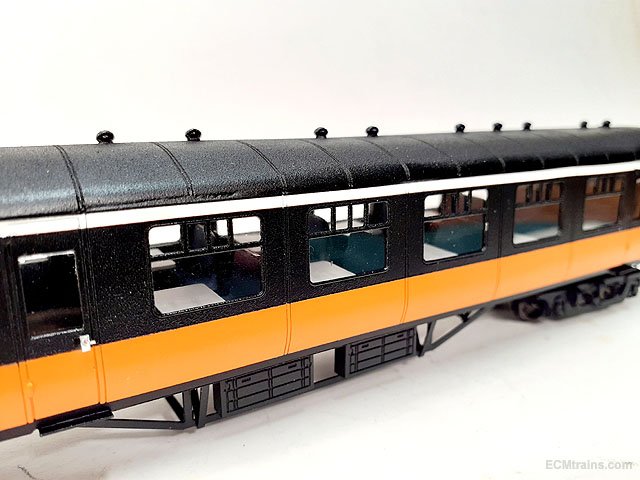
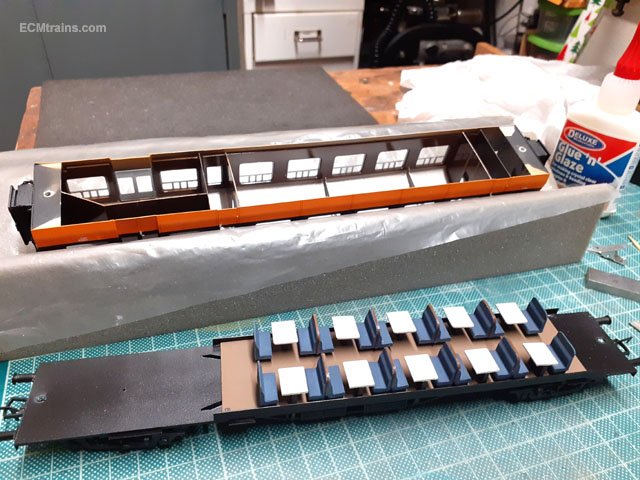
I completed out the Laminate coach a month ago or so, set up some photos to post up and promptly forgot to do! - So here are the final bits of the build;- I made .5mm styrene partitions for the corridors and break/goods compartment, painted them brown and test fitted them to the body, chassis n seats. .25mm styrene window sheets were cut out and stuck onto the internal sides with Deluxe Glue'n'Glaze with the aid of a few metal weights to old as the glue goes off. The decal numbers and door handles were fitted, the handles are .4mm bent NS wire through a sliver of tinfoil as the escutcheons for the locks, the body is now ready for a few coats of satin varnish. Varnish complete I test fitted all the internal bits and then glued them in with Glue'n'Glaze- windows & corridor dividers. Everything ready to bolt it together! It fits beautifully, the screws just slotted in and screwed up a treat. Some tinfoil bits were stuck onto the tops of the passenger door glazing and finally it's pristine Complete!! And some photos on white. Eoin
-
Happy Christmas Wrennie
-
Got my card yesterday Happy Christmas lads Thanks Eoin
-
Belorusian / Moldovian /Romanian Railways
murrayec replied to Georgeconna's topic in Continental European Modelling
Hi Goerge Big trains! I think they need a weed-spray train... Happy Christmas to you & family Eoin -
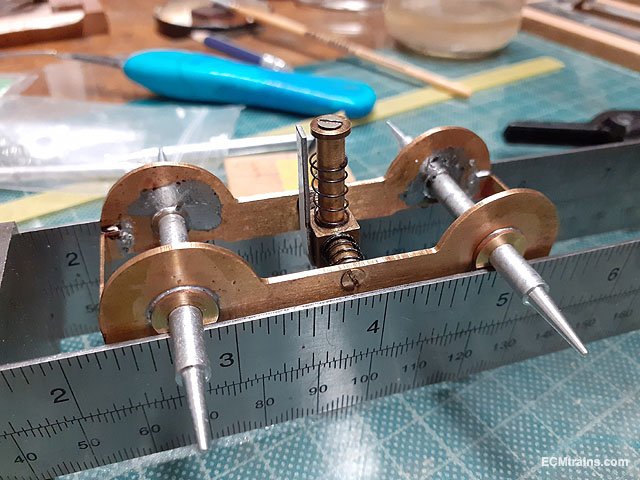
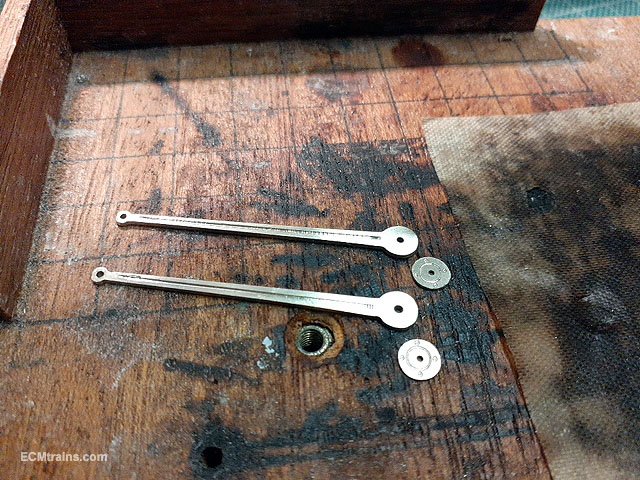
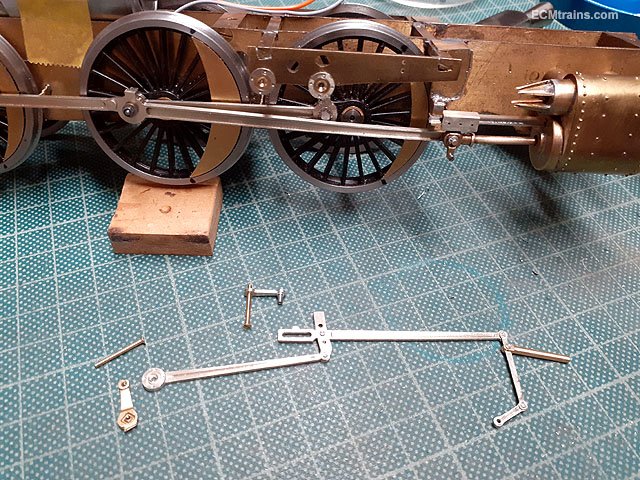
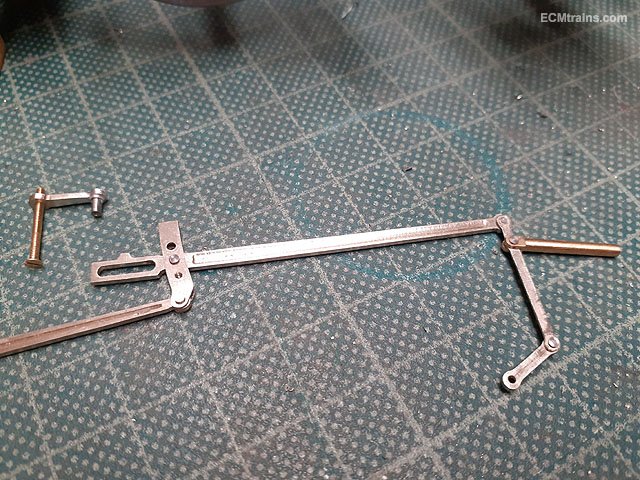
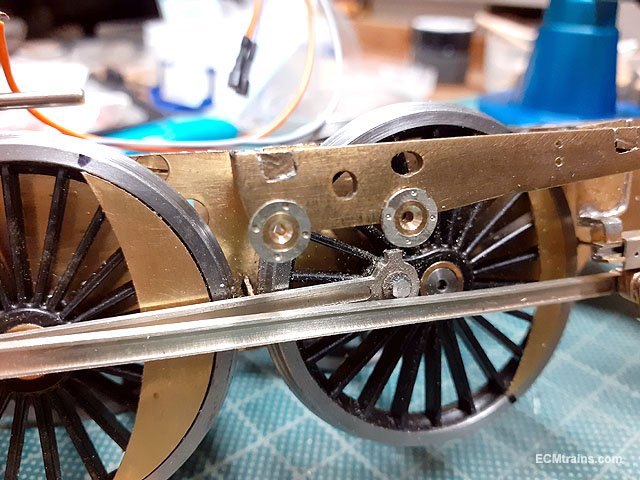
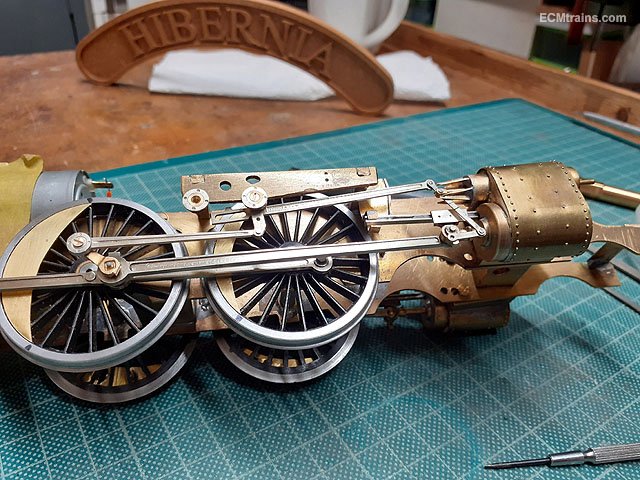
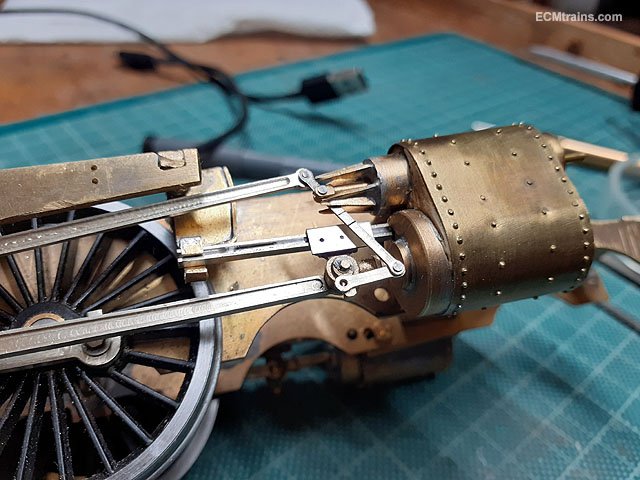
On the 800, this is the mod I make to the LNER crosshead and slide bar, its a single H slide bar with a bolted clasp around the bar holding the crosshead on so I use a .5mm NS folded plate soldered onto the LNER bits after the head is filed down. The unit is clamped using the slide bar to set the gap, the slide bar is removed and the unit is soldered, being careful not to get solder in the slidy bit . The end of the slide bar has been filled down to fit into the cylinder backplate. .5mm NS 800 detail bits just about to be soldered onto the eccentric rod, this end will be screw fixed to the return crank with 12BA screw. All the valve gear is now riveted and ready for a test fit. The lifting arm has a 1.5mm steel rivet soldered onto it which fits into the radius rods lifting slot. .5mm NS 800 detail bits in the motion bracket, these fit onto brass bush crankpin bearings fitted into the motion bracket which are counter-sunk to take the 12BA screws. Fitting of the gear..... ....and we've got problems! The anchor and drop links are fouling the cylinder backplate and jamming the gear, its not much- the thickness of a 14BA screw! In the photo below one can see the anchor link is disconnected from the crosshead to allow overlap otherwise the crosshead can not travel this far. New anchor links will have to be cut and made a bit shorter. Other than that link problem everything is working fine, the valve rod may need a bit of attention also, its a bit sloppy in its cylinder but not fouling, will decide on that when the gear is test run under power...... Eoin
-
Hi Dave Dawes Noel forgot to mention that the z21 takes a Multi-Maus handset for your ' shunting style of operating and/or using a shunting layout' Eoin