Mayner
-
Posts
4,879 -
Joined
-
Last visited
-
Days Won
119
Content Type
Profiles
Forums
Events
Gallery
Everything posted by Mayner
-
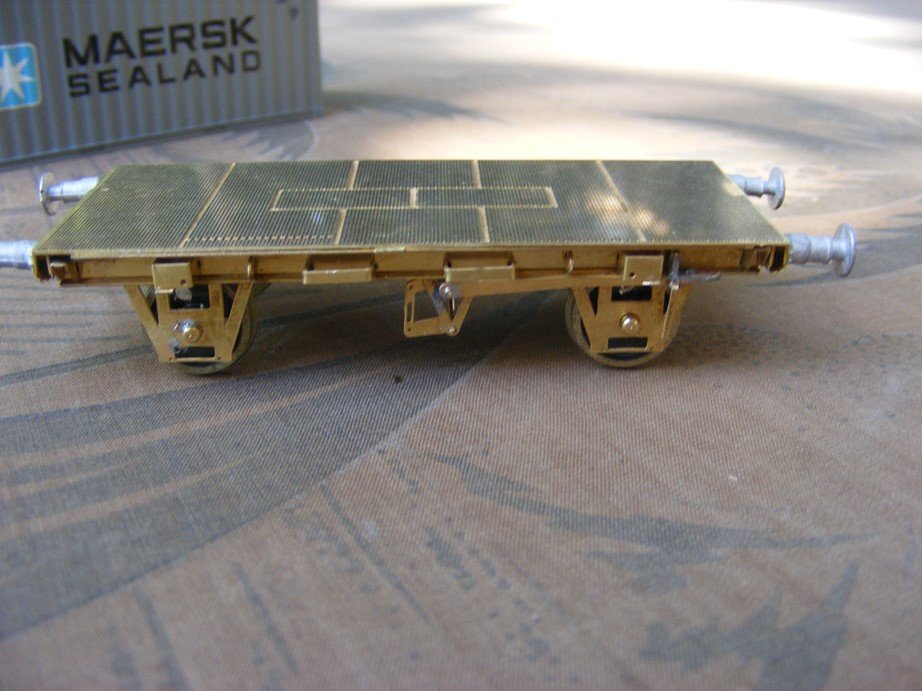
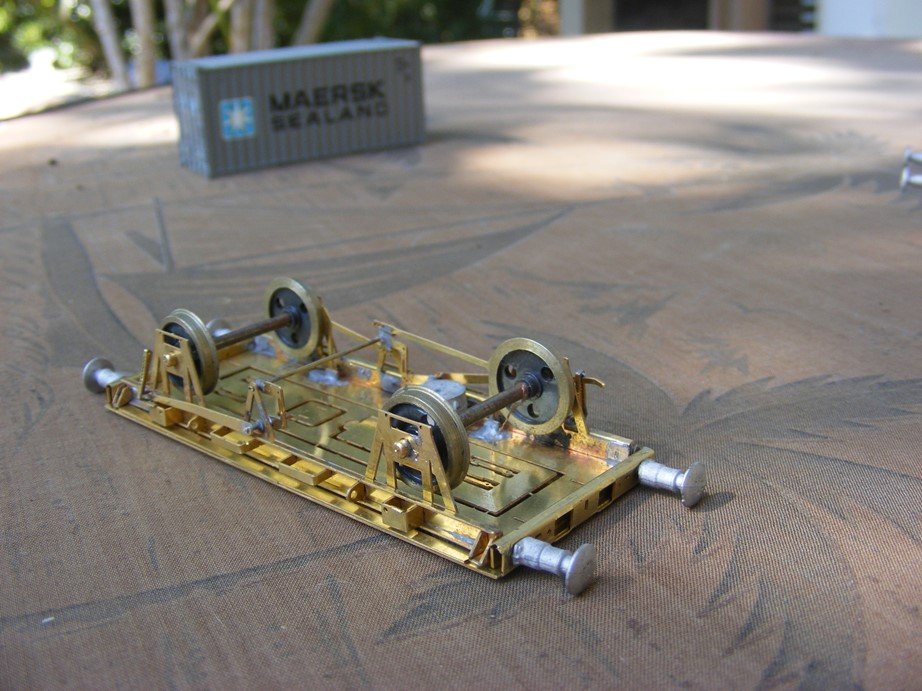
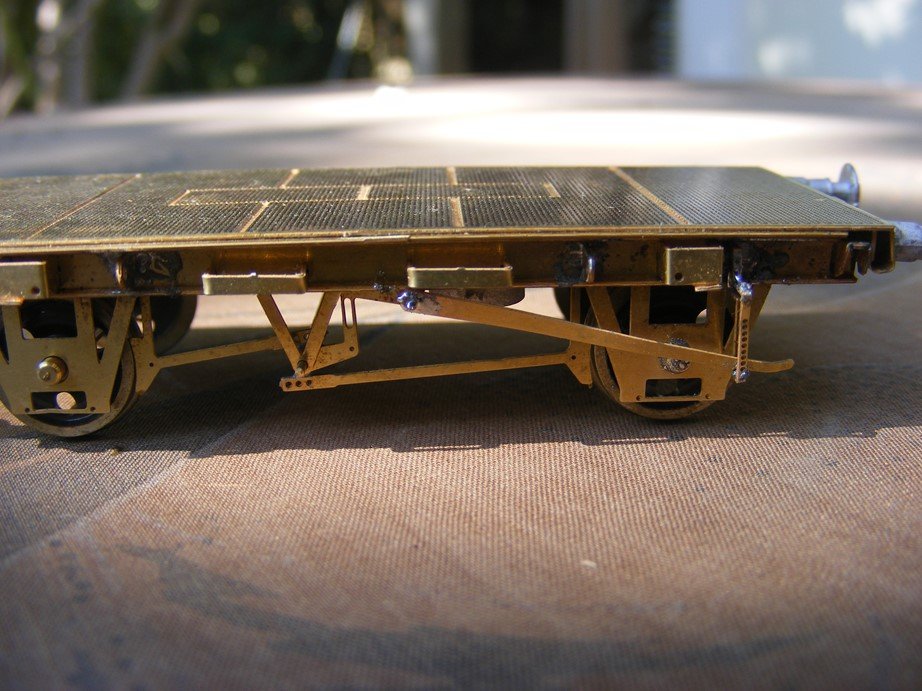
A high standard of detail and durability are the main advantages of using sheet metal construction. A well designed kit should be straightforward to assemble with minimum modification to allow components to fit together. I have to modify the pattern for the spring J hanger castings on these wagons as I am not happy with the castings & find the pattern I made for the container cuplocks that were later fitted to these wagons. The wagon in the photo is basically an EP to check fit and appearance, I have revised the design of the buffer beam and beefed up the fold down stanchions that were originally fitted to these wagons.

-
At least one rake of fertiliser wagons were converted to container wagons as fertiliser traffic tailed off during the mid-1990s. I remember seeing some converted wagons during a visit to Inchacore Works, but don't remember whether they kept their floors.
-
I don't appear to have posted photos of the assembled & painted MGWR vans. Still have not gotten round to lettering or fitting couplers over 6 years later. Train of fish vans. The original prototype Fish/Meat Van Dogbox end of MGWR Horse Box Grooms compartment end. Underframe showing brake pull rods. The vans live in a display cabinet but have got quite dusty.
- 21 replies
-
- 10
-

-

-
There is an excellent article with colour photos of the Killybegs layout in the November 2016 edition of New Irish Lines and the layout also appeared on the cover of the November 2017 edition. Both editions are accessible in the IRM archive https://www.dropbox.com/s/fppdhvdav7vjvos/New Irish Lines Vol. 7 No. 6 - 2016 November.pdf?dl=0 https://www.dropbox.com/s/xrgk5h1z95zw5go/New Irish Lines Vol. 8 No. 2 - 2017 November.pdf?dl=0
-
Classical spread panic and Black Market economy, my Galaxy phone has been swamped with adds for masks for the past month or so. We had panic buying on the weekend with supermarkets in Auckland sold out of baked canned food and toilet paper. Some of the buyers are believed to be stockpiling to sell on the blackmarket if there is a serious outbreak.
-
Cattle were often driven down the North Circular Road from the Cattle Market at least into the late 60s, I once saw a herd of cattle being driven (or stampeeding) across Summerhill Parade at speed, very little traffic on the roads in those days! I had a Grand Aunt that lived in a house on North Richmond Street her landlady's husband "Christy" was a cattle drover that worked between the Cattle Market and the Docks. My father had a story of a bull breaking loose on the North Circular Road early one morning on his way to work, being from a farming background he felt sorry for the bull who may have been put down.
-
There is the old saying that a horse will always find its way home to the stable or barn. That takes me back! Horse drawn vehicles were fairly common in Dublin up to the mid 1960s besides CIE, some of the coal distributors and scrap merchants used horse drawn vehicles, although milk and bread was delivered by small battery electric trucks. In the days before the large supermarket and relatively few people had cars, most of life's essentials were or could be delivered to your door by horse drawn or battery powered vehicle or messenger boys bike. Most grocers employed a "messenger boy" for bicycle deliveries- ending up on a "messenger boys bike" was the ultimate parents threat of a dead end job for kids that did not do well or apply themselves at school. Horse's had to be treated with care, otherwise the owner or driver could get in serious trouble with the animal welfare people. Some streets in Dublin particularly around Christchurch Cathedral were paved with cobble stones into the late 60s apparently to provide a better grip for horses shoes, but became dangerously slippy for horses after heavy motor vehicle use.
-

Narrow Gauge in the Rockies not quite
Mayner replied to Mayner's topic in US / Canadian Railway Modelling
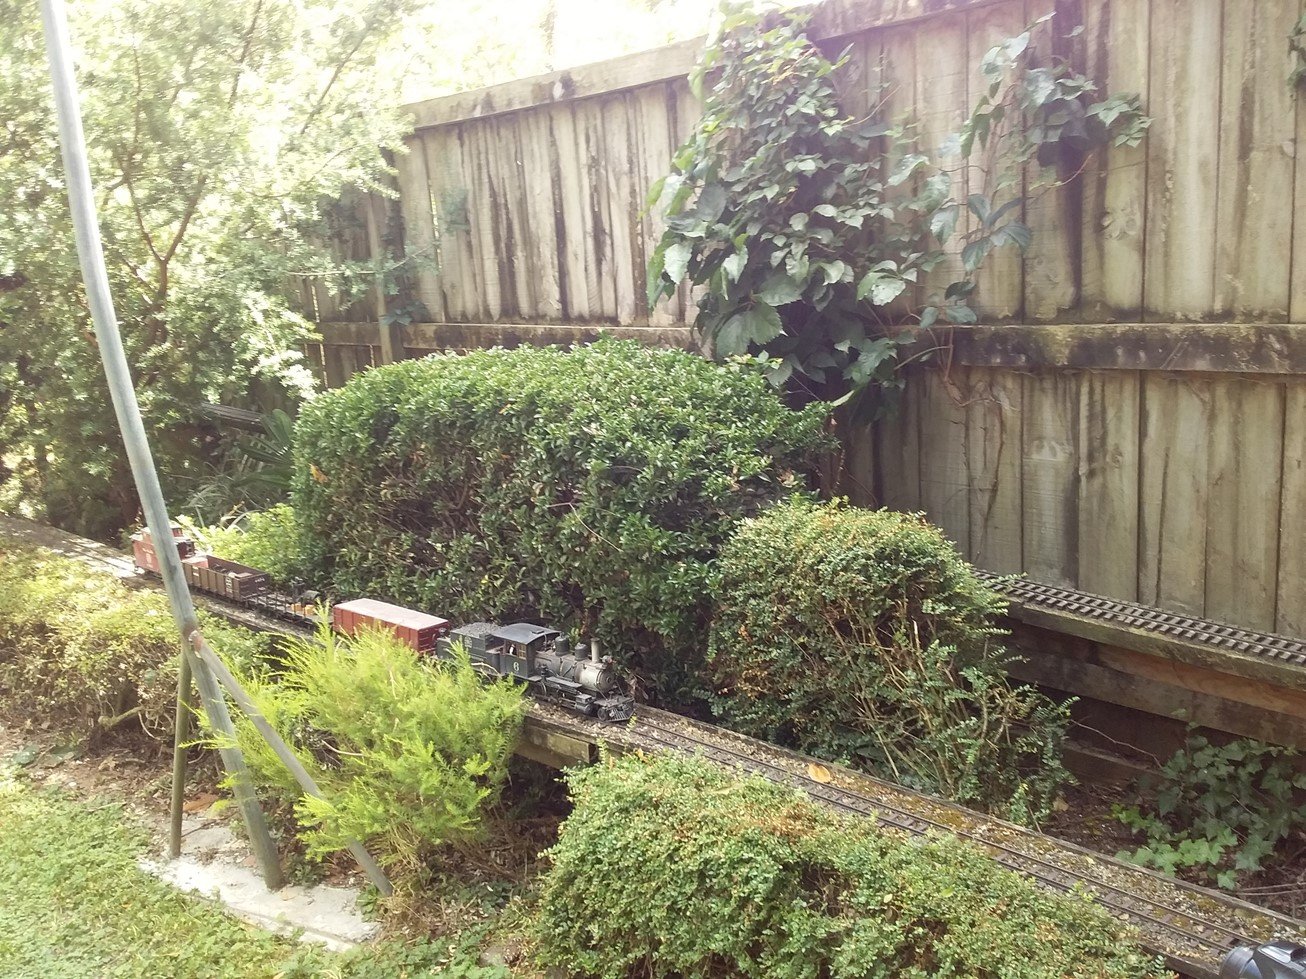
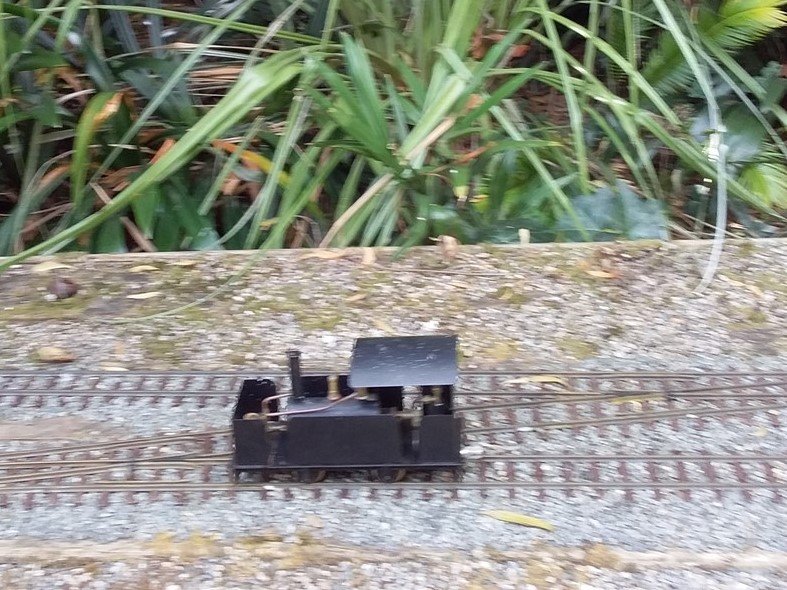
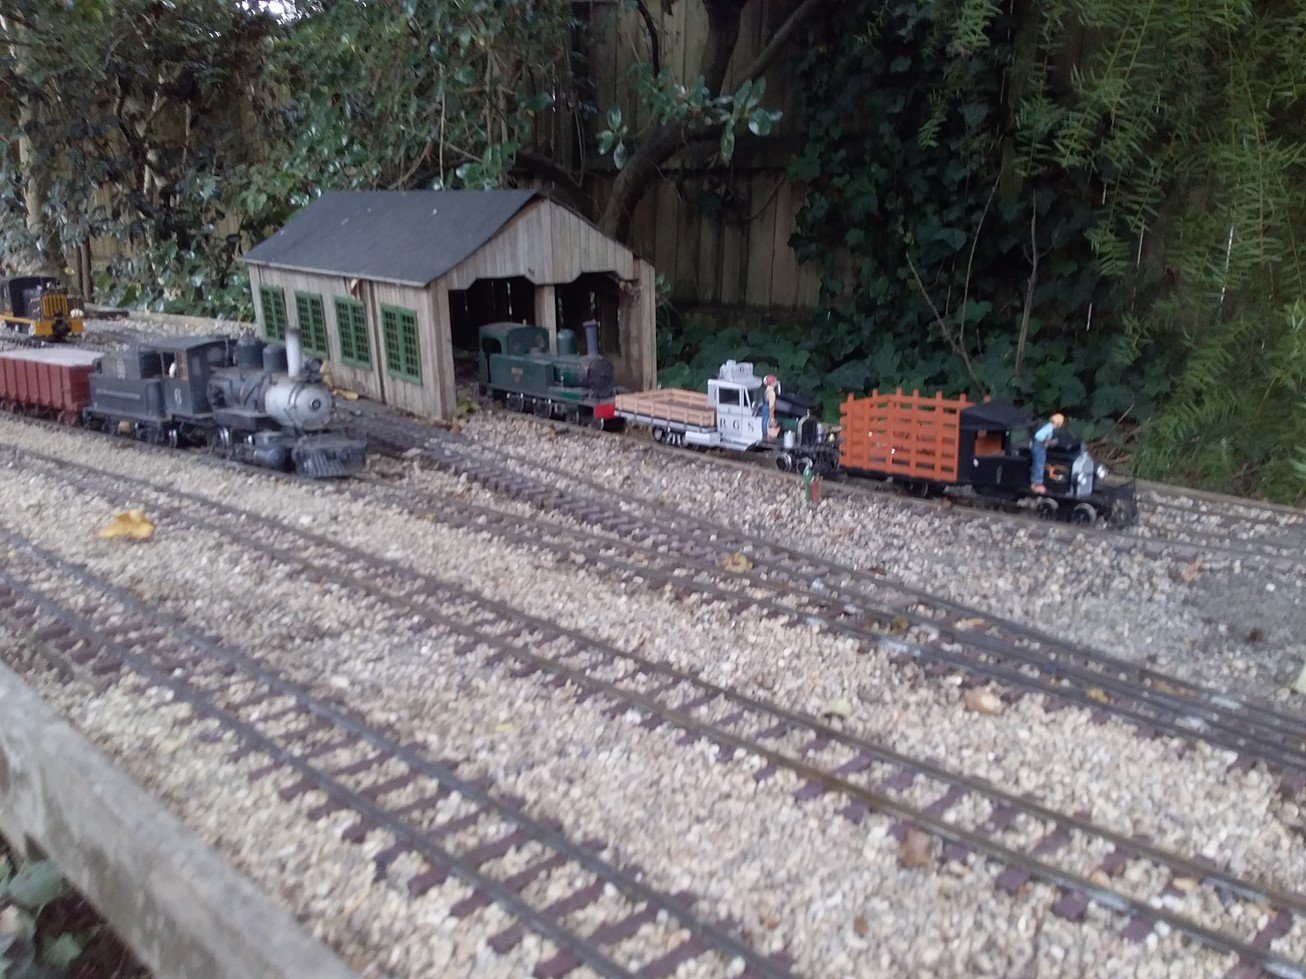
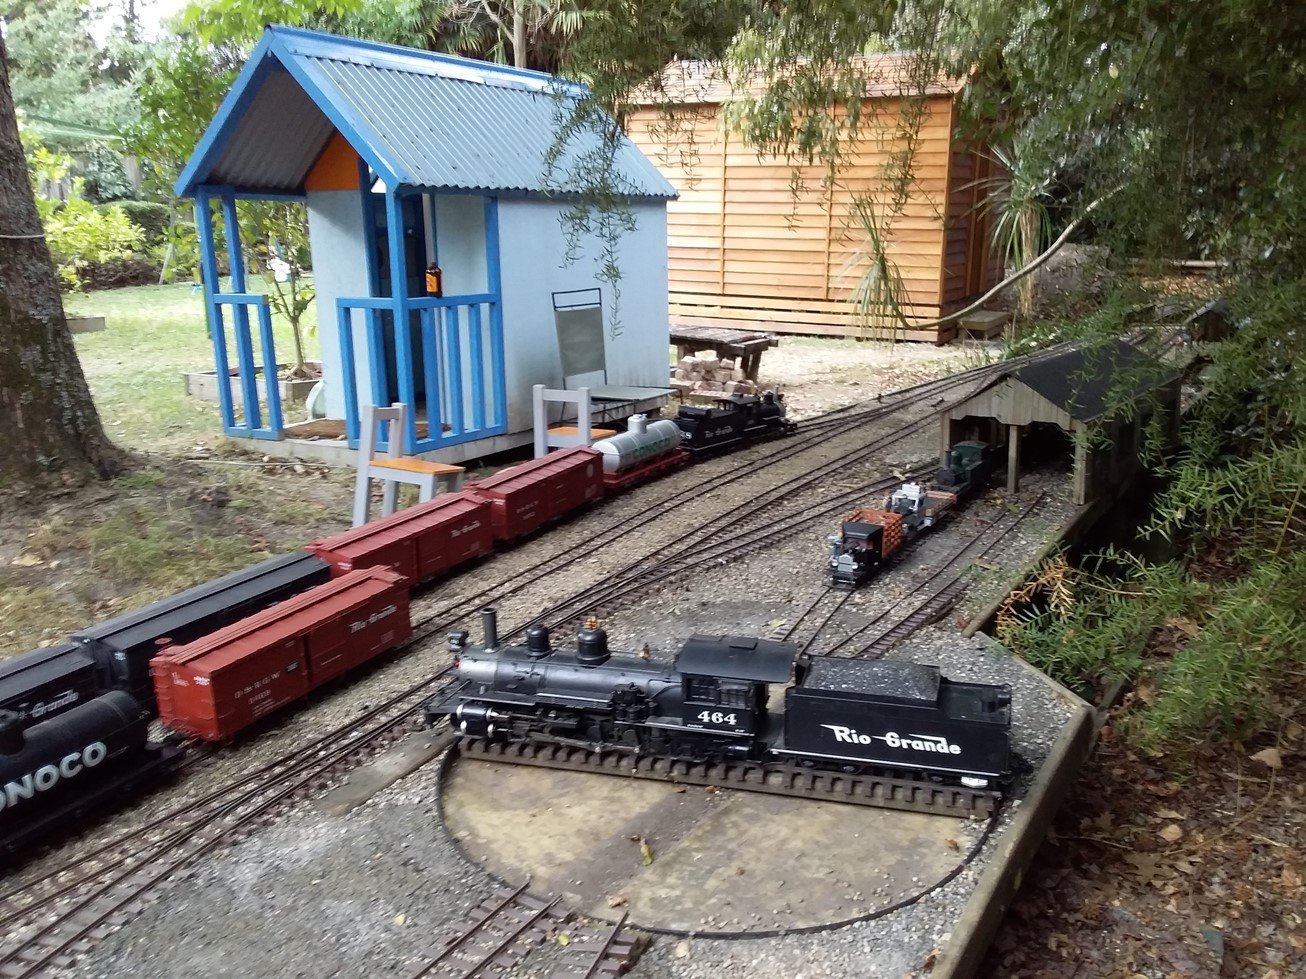
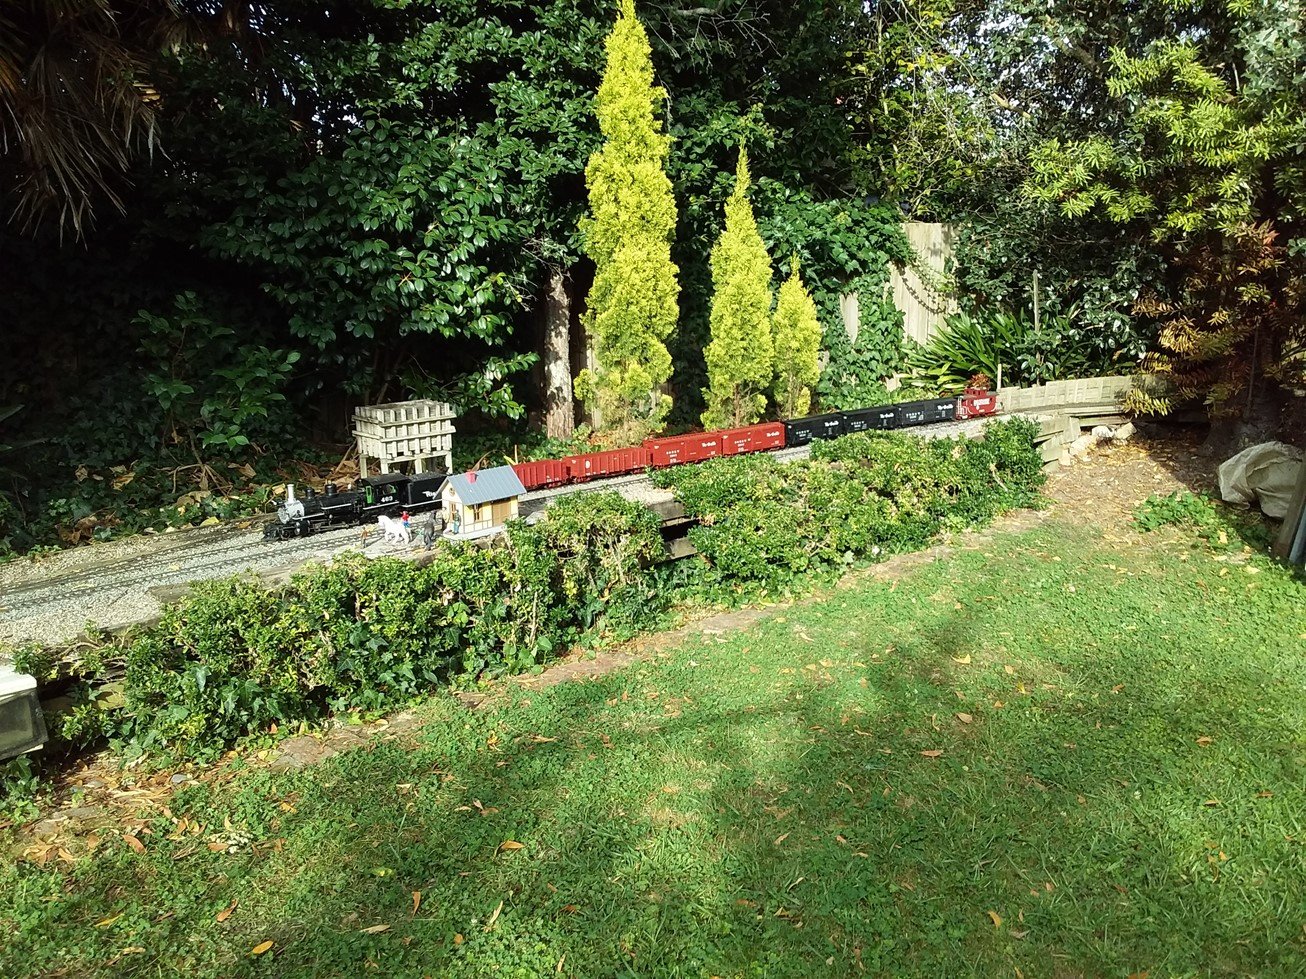
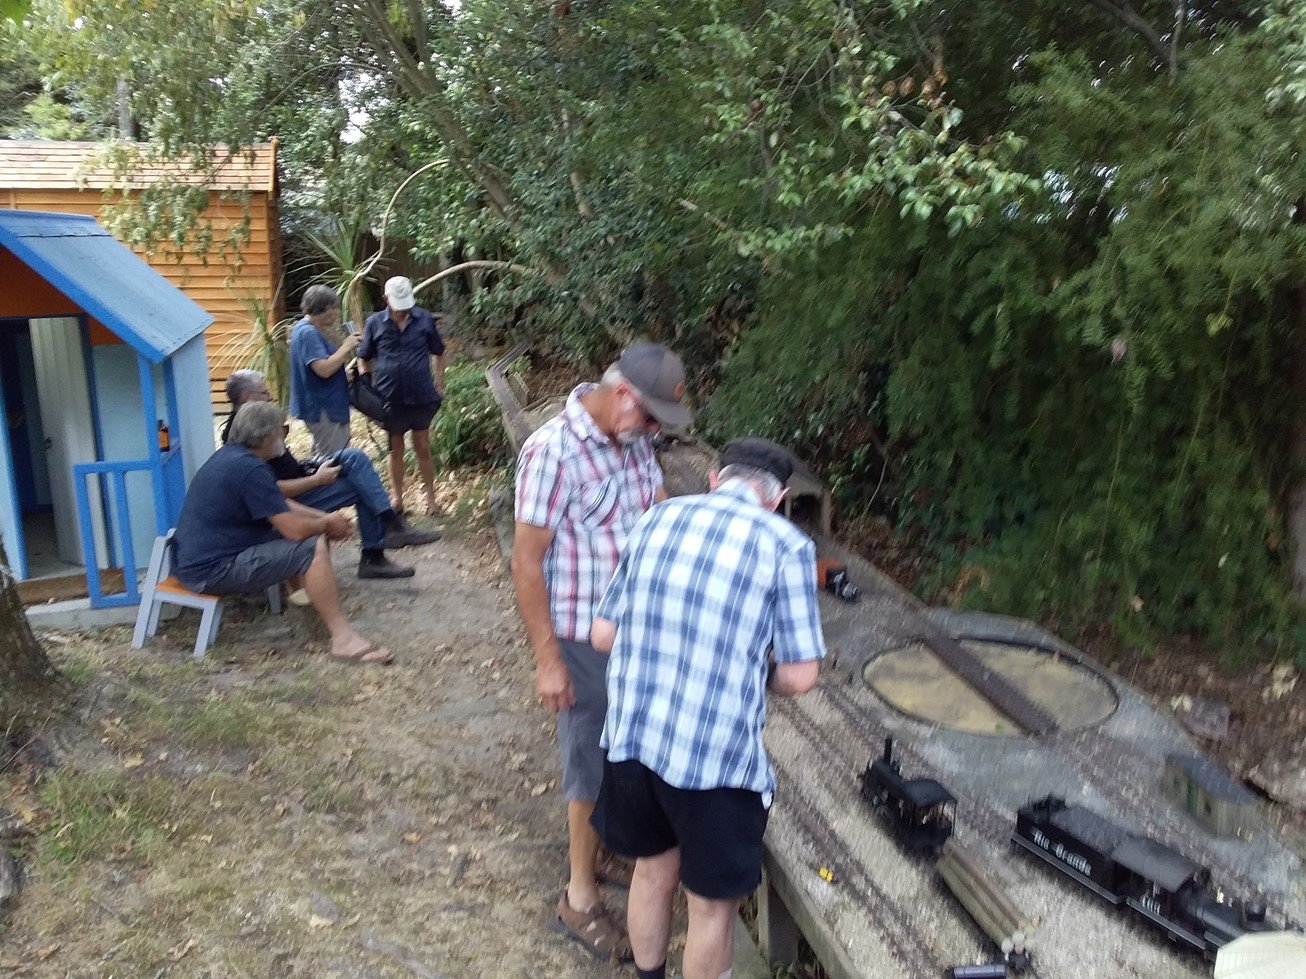
We had our first garden railway group running day in a long time on Sunday, combination of people getting older, moving out of the region, finding the time or the motivation to play trains! While several of us wanted to run live steam a visiting battery powered LGB loco turned out to be the most reliable on what turned out to be a hot sunny afternoon. Visiting LGB Mogul on short freight Running trains/ taking it easy on a "Sunny Afternoon" Scratch built single cylinder oscillating tram loco chugs along. Line up of railtrucks at the loco depot. I moved the shed back from its usual position for the line up but will probably leave the shed in this position as it works well both visually and operationally, though I will need to extend the supporting framework. The K27 just about fits on the turntable which really works. My largest locos was a 2-8-0 when I installed the turntable. The train is on one of the 1st sections of track installed in 2007, although I had to replace the sleepers or ties in this area the treated timber framing has stood up well to the weather and will probably last another 12-3 years.
-
There is some interesting background on the Cork & Youghal Railway on https://spellerweb.net/rhindex/Ireland/GreatSouthern/Youghal.html. The Cork and Waterford appears to have been promoted in connection with a Great Western Railway steam ship service from South Wales to Waterford, the cost of building and operating a line across the hilly country between Waterford and Youghal may have been a factor in the scheme being cut back to a Cork-Youghal Line. The GSWR planned Cork-Fermoy line via Waterglass Hill in the early 1900s to provide a more direct route than via Mallow for the Rosslare Express. Interestingly at one stage it was planned to transport dolomite limestone from deposits near Lombardstown on the Kerry Road to Ballinacourthy during the planning stages of the Quigley Magnesite operation which would have kept the western end of the Waterford-Mallow line in operation.
-
OO 1:76 basically evolved as a necessary compromise to allow mass produced models of British locos and stock to run on OO gauge track. Apart from the problems with the large motors of the 1920s & 30s into a HO body shell alluded to by the Minister, the larger scale was necessary to provide sufficient running clearance to allow models of British and Irish locos and stock run on small radius curves (less than 3') necessary for train set use and the majority of continuous run layouts in Ireland and the UK. While its feasible to build a reasonably large OO gauge layout in a relatively compact space with minimum 2' radius curves, you would need to increase the minimum radius to 3' for a 21mm gauge layout using OO/HO gauge track & wheel standards or a min radius of 4' for a modeller working to finer P4 or S4 wheel and track standards. While there is a certain attraction in tailoring the scale to suit an established track gauge particularly for narrow gauge models, it creates the additional problem of a model railway where the track is a different scale to the locos, stock, buildings, structures and vehicles. While 3mm scale appears to be a reasonable compromise for Irish broad and narrow gauge models, it aggravates the problems experienced by British modelers and manufacturers when they attempted to build HO scale British outline models in the 1920s.
-
CIE-built 1950s Wooden Coaching Stock (Pre - Laminate Stock)
Mayner replied to DiveController's topic in Irish Models
I always wondered if CIE managed to source a new supply of laminate panels for re-building the Laminate carriages in the late 70s-80s. I remember reading somewhere many years ago that the laminate panels were made up of an aluminium outer skin and insulated core and a plywood inner skin and thought asbestos insulation board (AIB) was a logical material for the insulated core. AIB contains brown asbestos which was not considered to be as hazardous as blue asbestos and its use was gradually phased from the late 80s. Laminate panel construction was a fairly novel way of speeding up carriage construction and it allowed CIE to introduce a large fleet of modern coaches within a 2-3 year timeframe. Its possible the 1964 carriages had timber frame construction as they had a similar upright end profile and panel cover slip detail to the 1953 coaches and 59 vans. The timber framing would have formed a nice cavity for sprayed blue asbestos insulation before fitting the interior veneer in what were intended to be state of the art coaches. I did not realise that CIE re-skinned the Park Royal coaches during the early 1980s, the carriage builders got very good a re-building coaches during those cash strapped days between the completion of the assembly of the MK2D Supertrain coaches and the beginning of the MK3 building programme.- 17 replies
-
- 1
-

-
- cie
- wooden coach
- (and 6 more)
-
Its believed that replacing the MK3 fleet with IRCs was more economical, in terms of operating and maintenance costs than a Mid-life refit of the MK3 Fleet. The big advantage from a customer service and operating perspective is that with a uniform carriage fleet IE has eliminated that "frayed edge of quality" problem which plagued BR & CIE with widely different types and standards of Intercity passenger stock. CIE originally planned to build at least some of the MK2D Supertrain, MK3 stock and the "International Train" as push-pull sets, particularly for use on Heuston-Waterford and Heuston-Limerick services. A MK2D driving cab mock up was assembled at Inchacore, the additional funding to assemble the coaches as push-pull stock does not appear to be available. A similar issue arose when the Government rejected IEs proposals to build railcars to replace Park Royal stock on commuter services arose in the late 80s. Approval was given to build 5 Push-Pull driving trailers convertible to railcars, the order for Intercity Coaches was reduced to 100, the remaining 24 coaches were built as Push-Pull trailers. In the big picture of things rail makes up a pretty insignificant proportion of Ireland passenger journeys (<5%) (OECD Performance Review 2000) it could be argued that the Irish rail users, IE and its workers are very lucky to have a railway, as the Irish Government would get a better economic and environmental return by abolishing CIE and de-regulating the bus and coaching industry.
-
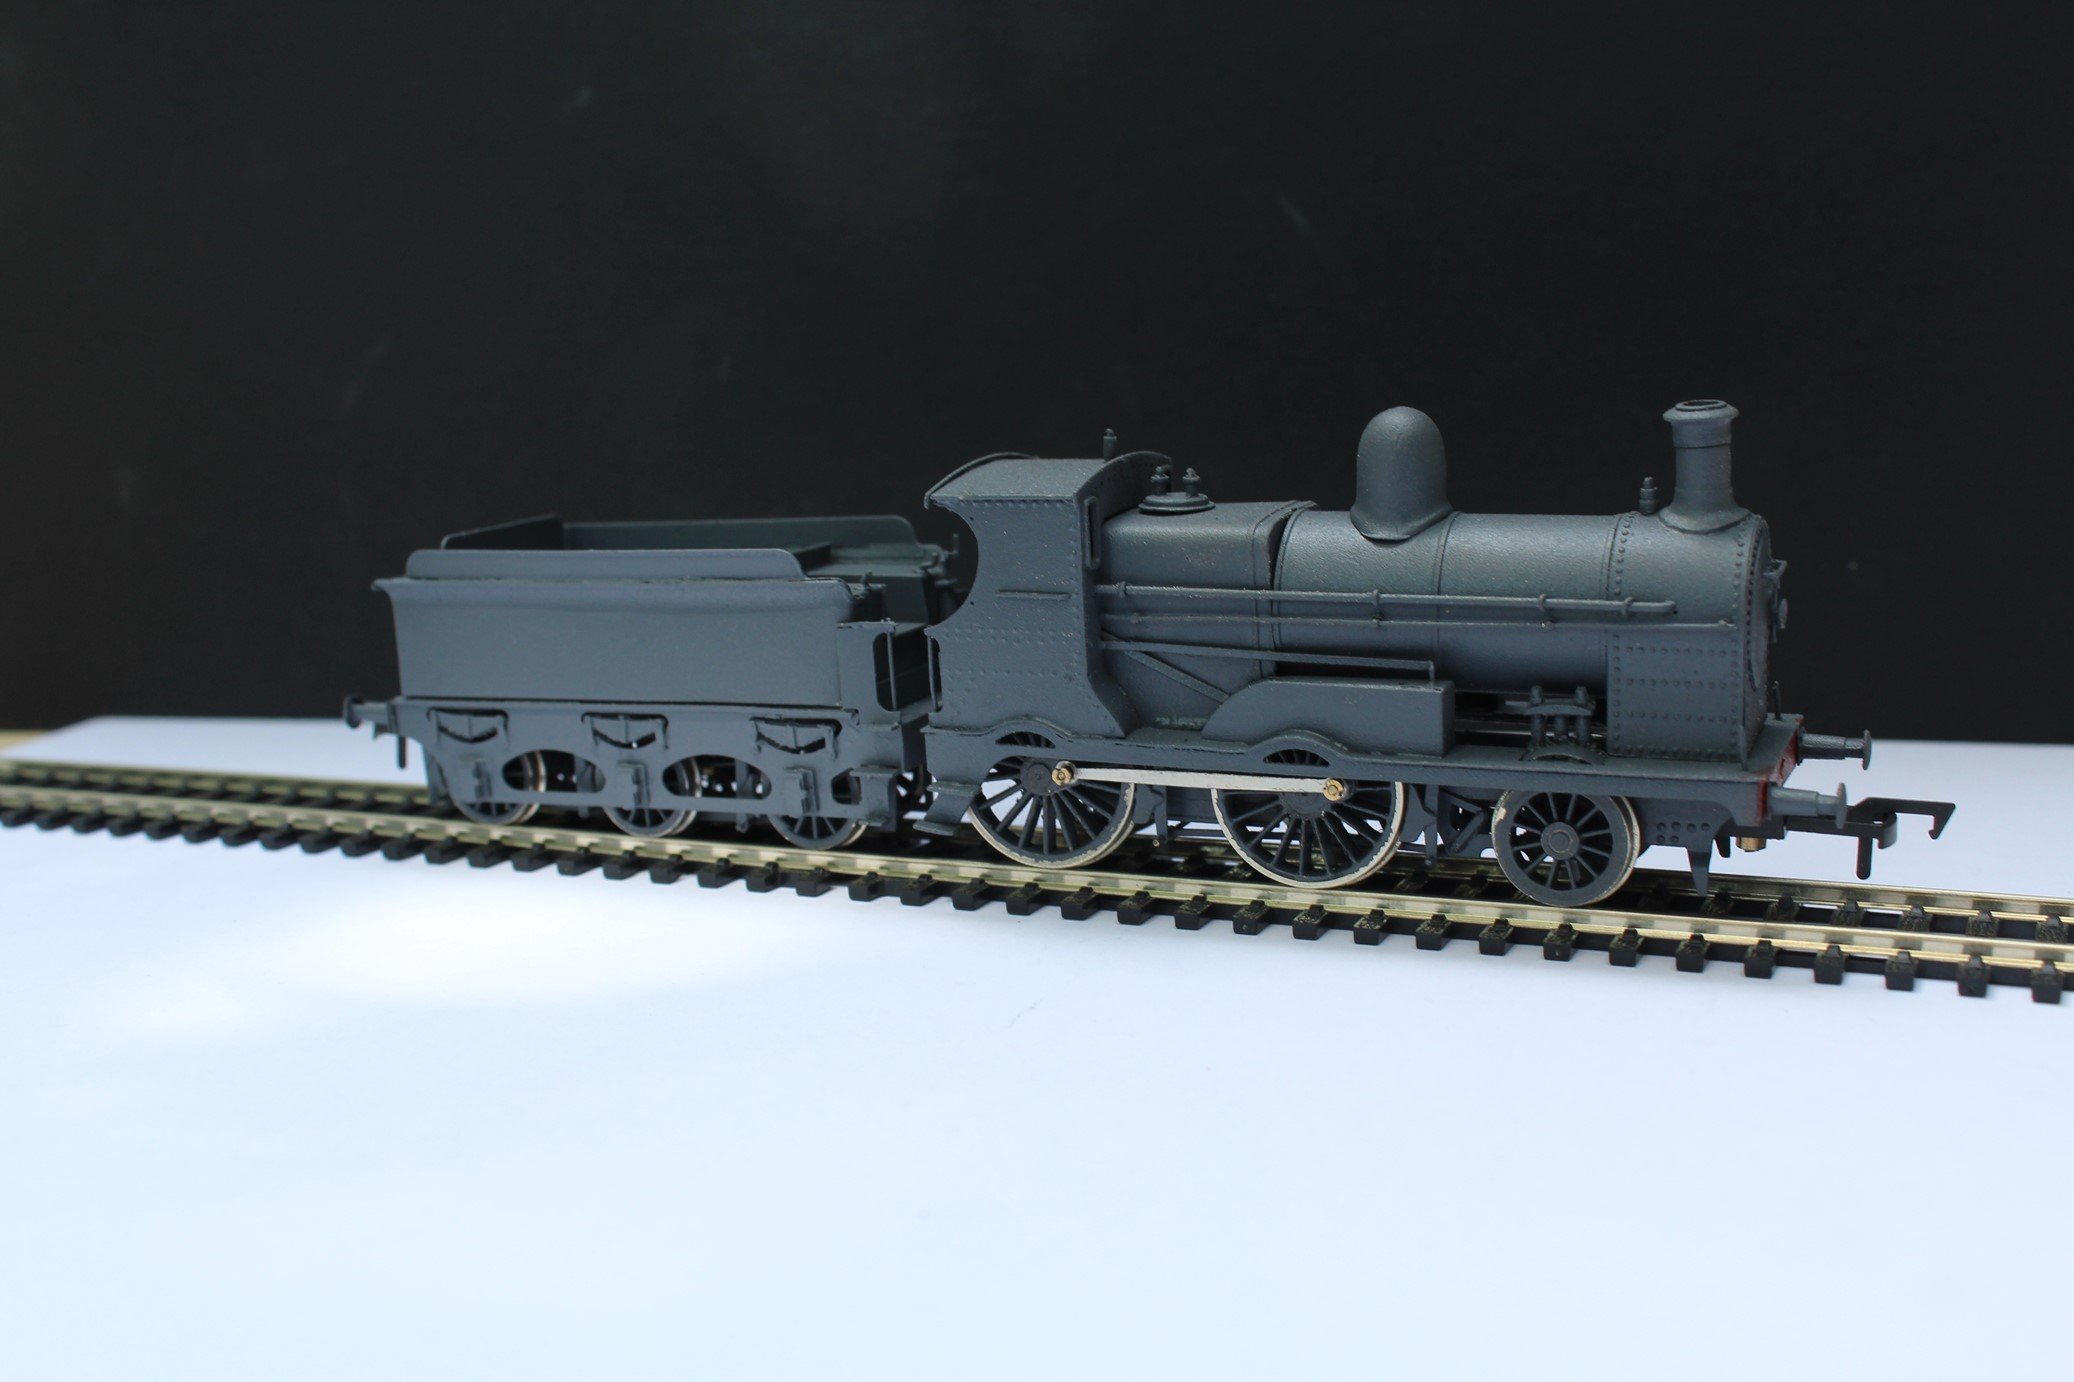
Final assembly of the Ks/650 Class 2-4-0s In a way I prefer the GSR grey to the satin black of the MGWR version. The GSR Y boiler version appears to has a much more massive almost overstuffed appearance compared to the round topped boiler versions although the boilers were similar dimensions and pitched at the same height above rail level.
- 392 replies
-
- 13
-
-
-
I think the C Class in the double headed goods, may have been worked to Dungarvan in order to shunt the yard and return with a goods train to Waterford rather than as a result of a failure. Goods traffic was heaviest between Waterford and Dungarvan with an afternoon Waterford-Dungarvan-Waterford goods in addition to the daily Waterford-Mallow goods trains. The train may have been double headed with a driver in each loco or been hauled dead in the train, the Sulzers & C Class could not operate in multiple. The train 32 wagons including vans appears heavy for a single C Class on a steeply graded road and is substantially longer than other goods trains in the video and photos of goods trains. Its possible that the C Class is being worked to Dungarvan on a Waterford-Mallow goods rather than by working a separate Waterford-Dungarvan goods either as a result of a delay to the through goods or it was possible to work the Dungarvan traffic on the earlier train. The luggage van is likely to be carrying parcel traffic marshaled beside the guards van for convenience in dropping off and picking up traffic and minimise damage during shunting The 1960 working timetable had a daily 07:00 Mallow-Waterford goods with a corresponding 09:40 Waterford-Mallow goods both trains were scheduled to cross at Cappaquin with 8-9 hr running time over the 76 miles of the line. 12:10 Waterford-Dungarvan Goods with 3 hr running time and 5:00 pm Dungarvan-Waterford with 2:25 scheduled running time. 12:10 The Waterford-Dungarvan had a scheduled 57 minute stop at Kilmacthomas to shunt the yard and cross the Mallow-Waterford Goods. Goods traffic appears to have been very light between Dungarvan & Fermoy with short goods trains in photos and videos of the line in its final years.
-
I have always been fascinated by the Waterford-Mallow line since I first saw the section of line along the coast near Ballyvoyle and the causeway level crossing in Dungarvan in 1965-66 during a family road trip from Dublin to Cork via Waterford. I didn't see any trains on the Dungarvan line, but had the bonus of seeing (to me) a long goods train heading north along Wexford quay and staying in a guest house on Glanmire Road across from the City Railway. The passenger service was typically sparse with a single scheduled return passenger working between Cork & Waterford apparently worked by a Waterford based crew and single train set. The Rosslare Express operated 3 days weekly T,Th,S with a morning departure from Rosslare and an evening departure from Cork. Goods services were a little more intensive with one goods train in each direction daily between Mallow & Waterford scheduled to cross at Cappoquin and a daily return goods train between Waterford & Dungarvan. Goods traffic was sparse on the central section of the line between Dungarvan and Fermoy and heaviest between over the difficult heavily graded section between Dungarvan & Waterford. The Waterford-Mallow line closed to passenger and good services on 27th March 1967, so unlikely to be running in connection with the 4th June match between Cork & Waterford, its possible that the passenger train at 2:30 may be the Rosslare Express carrying peak summer holiday traffic or strengthened for another purpose. The Rosslare Express was mainly worked by Woolwich Moguls with the small wheeled Coey D4 on the Waterford passenger train and J15 on the goods. The B111 class took over passenger and goods working following dieselisation up to the arrival of the B121 Class. The Sulzers were well thought of because of the power, reliability and good traction and braking with their A1A A1A wheel arrangement over a challening route. The C Class on the double headed goods may have been for shunting at Dungarvan before a Dungarvan-Waterford goods with the B111 continuing on the Mallow.
-
The new timetable was adversely affected as a result of a work to rule at Inchacore Works which reduced locomotive availability and the 1st Oil Crisis. The timetable appears to have been based on single 1325 Hp 001 Class hauling the majority of Intercity trains with the 1650hp uprated locos working the Dublin-Tralee trains. The majority of additional services were cancelled, trains decelerated in the following timetable, with most of the radial routes loosing one return working daily, many of the additional services were not reinstated until the late 1990s. One effect of the cutbacks was longer heavier trains on the main routes, CIE introduced double heading with pairs of small Bo-Bos to speed up running from 75/76 on-wards before the introduction of the 071 Class. CIE shifted to Soviet diesel imported by Tedcastles in the mid 70s, possibly an attempt to secure supply and price. This followed Ireland opening diplomatic relations with the Soviet Union in 1973, not sure if the Soviets received payment in kind with Irish meat and dairy products, like Eammon Kellys story of the EEC selling the "Butter Mountain" to the Russians "to oil the axles of their carts" The Midland Railway in the UK operated on the light frequent high standard of comfort model up to its amalgamation into the LMS, the Midland was one of the first British railways to implement a centralised traffic train control system and was surrounded by competitors so it had to provide a superior service to stay in business, the NCC seems to have operated on a similar principal with a service of fast comfortable trains it lost money but the LMS had deep pockets to support its Irish subsidary.
-
Its possible that the Papal Legates train was double headed to put on a show of high speed non-stop running, rather than as break down insurance. If the lead loco failed, the train would most likely had to run at reduced speed until the dead loco was removed. A single A Class had a lower power output than a single 800 Class which usually hauled visiting Churchmen there is a photo of a line up of all 3 800 Class specially prepared to haul the Archbishop of Bostons train(s?) at Cork in 1949. 800 & 801 are all decked out in flags and insignia with the cleaners putting the final touches to 802 It looks suspiciously that the two A Class were recently overhauled and specially selected for an important run, rather than th3e best available locos in the running shed. Dan Renehan had a good account of Crossley operation in one of his IRRS papers. CIE allocated recently overhauled/repaired locos to main line passenger duties, re allocating locos onto less demanding passenger and freight duties by monitoring engine oil condition for signs of contamination arising from fuel contamination or water leakage as faults developed.
-
CIE-built 1950s Wooden Coaching Stock (Pre - Laminate Stock)
Mayner replied to DiveController's topic in Irish Models
Nice clear photos Kevin a very useful resource! although 1465 is a Laminate rather than a pre-laminate coach The photos of 1361 & 1465 nicely illustrate the visual differences between traditional timber frame and Laminate coach construction. I hope you follow up with the side corridor stock & the buffet cars- 17 replies
-
- 1
-
-
- cie
- wooden coach
- (and 6 more)
-
The P.W. on the West Cork was never designed for speed, the trains on the West Cork were slow even by Irish standards In the 1960 WTT speed on the Baltimore-Skibbereen section was limited to 30mph with a maximum of 40mph between Skibbereen & Albert Quay. The AEC railcars were allowed a maximum of 50mph on the straights as there was no super-elevation on the curves.
-
Cork was a very compact city with urban development mainly restricted to the river valley, the West Cork entered the city on a sinuous route through a largely rural area from the South West. Even today Waterfall approx 6 miles from Albert Quay appears to be in a completely rural area. Up to the 1980s commuter/suburban passenger services in the Republic were largely restricted to Cork-Cobh, Dublin-Bray-Greystones, Dublin-Howth-Drogheda lines. There was very little urban development to the West of Dublin before the 1970s with even less along the railway lines! The Muskerry and Passage lines appear to have been much more suburban in nature, both lost traffic to the trams and no doubt the early motor cars. There are stories of children commuting to school on the Muskerry
-
Going back to the original thread passenger services appear to be pretty much secondary to goods on the West Cork and most other Irish secondary main lines. The passenger service actually got worse on the Clonakilty Branch following the introduction of the C Class diesels the morning mixed train from Clonakilty Junction to Clonakilty became a goods which worked the Timoleague & Courtmacsharry line as required. C Class locomotive working appears to have been quite complicated as the locos working the main line goods trains were used to swap power with the branch locos. In a way the West Cork would be excellent for a system layout with timetable working like Drew Donaldson's Dublin-Cork main line, Sam Carse's Donegal or Castlerackrent modelling a number of main line stations and branch terminals would be very interesting even with the 1940s & 50s sparse train services.
-
I had a very brief involvement in the Rena Salvage mainly around public safety on the beaches where containers were washed ashore,. Some of the containers were reduced to twisted pieces of metal https://www.odt.co.nz/news/national/rena-containers-wash-ashore
-
Pretty close to the mark, interesting to see traditional timber frame coaches being assembled long after other railway had changed to all metal construction. http://catalogue.nli.ie/Record/vtls000304519 Plasticard is an excellent medium for scratchbuilding carriages that would be uneconomic to produce in kit or rtr form. David Jenkinson built over 200 plasticard coaches from 4 to 10mm scale and some pretty impressive layouts. Jenkinson found that he could scratchbuild a coach from plasticard quicker than he could assemble a kit. Carriage Modelling made easy is a good introduction to his methods and includes some impressive model coaches. https://www.amazon.com/Carriage-Modelling-Made-David-Jenkinson/dp/1874103321
-
Interesting the photo indicates that vans were built without a horizontal cover slip at cantrail level between the sides and roof, unlike the heating van. The nails securing the roof cladding to the sides is visible in the Thurles photo. The coverslips appeared to have been added at a later date which makes it easier for someone wanting to model these coaches. I would imaging the CIE would have used the standard 61'6" triangulated underframe & standard roof jigs for the 1959 vans, the body appears to be of traditional timber frame construction with aluminium cladding, rather than the Laminated panels used in the Laminate coaches and 4w heating & luggage vans. Inchacore reverted to timber frame construction for its final coaches a batch of 7 2nd Class Coaches in 1962 & 2 1st Class coaches in 1964, these appear to have the similar end profile to the vans and pre-Park Royal stock.
-
Official records are not always 100% accurate and without a surviving van its impossible to check if the physical dimensions. Differences often exist between the original concept design and the end result in engineering projects. I have an "official" drawings of the AEC railcars and a "Beet Double" which are substantially different to ther actual as-built vehicles. I am inclined to believe that CIE used the original 1935 body design with vertical sides above waist level on a triangulated underframe for the 1959 vans. The duckets and outward sliding doors are the giveaway that the vans were built to a narrower width, van doors were recessed into the body and guards lookout duckets were not fitted to wider coaches with a teardrop end profile like the Laminate Coaches and heating vans as they would have fouled the loading gauge.